Send Outs
A Send Out test must have External Test ticked in the test preference.
The Send Out tab under Sample Management lists all the send out (external) tests and their samples along with sent/due dates and test results. This page is used to add tracking numbers and generate send out letters for these samples.
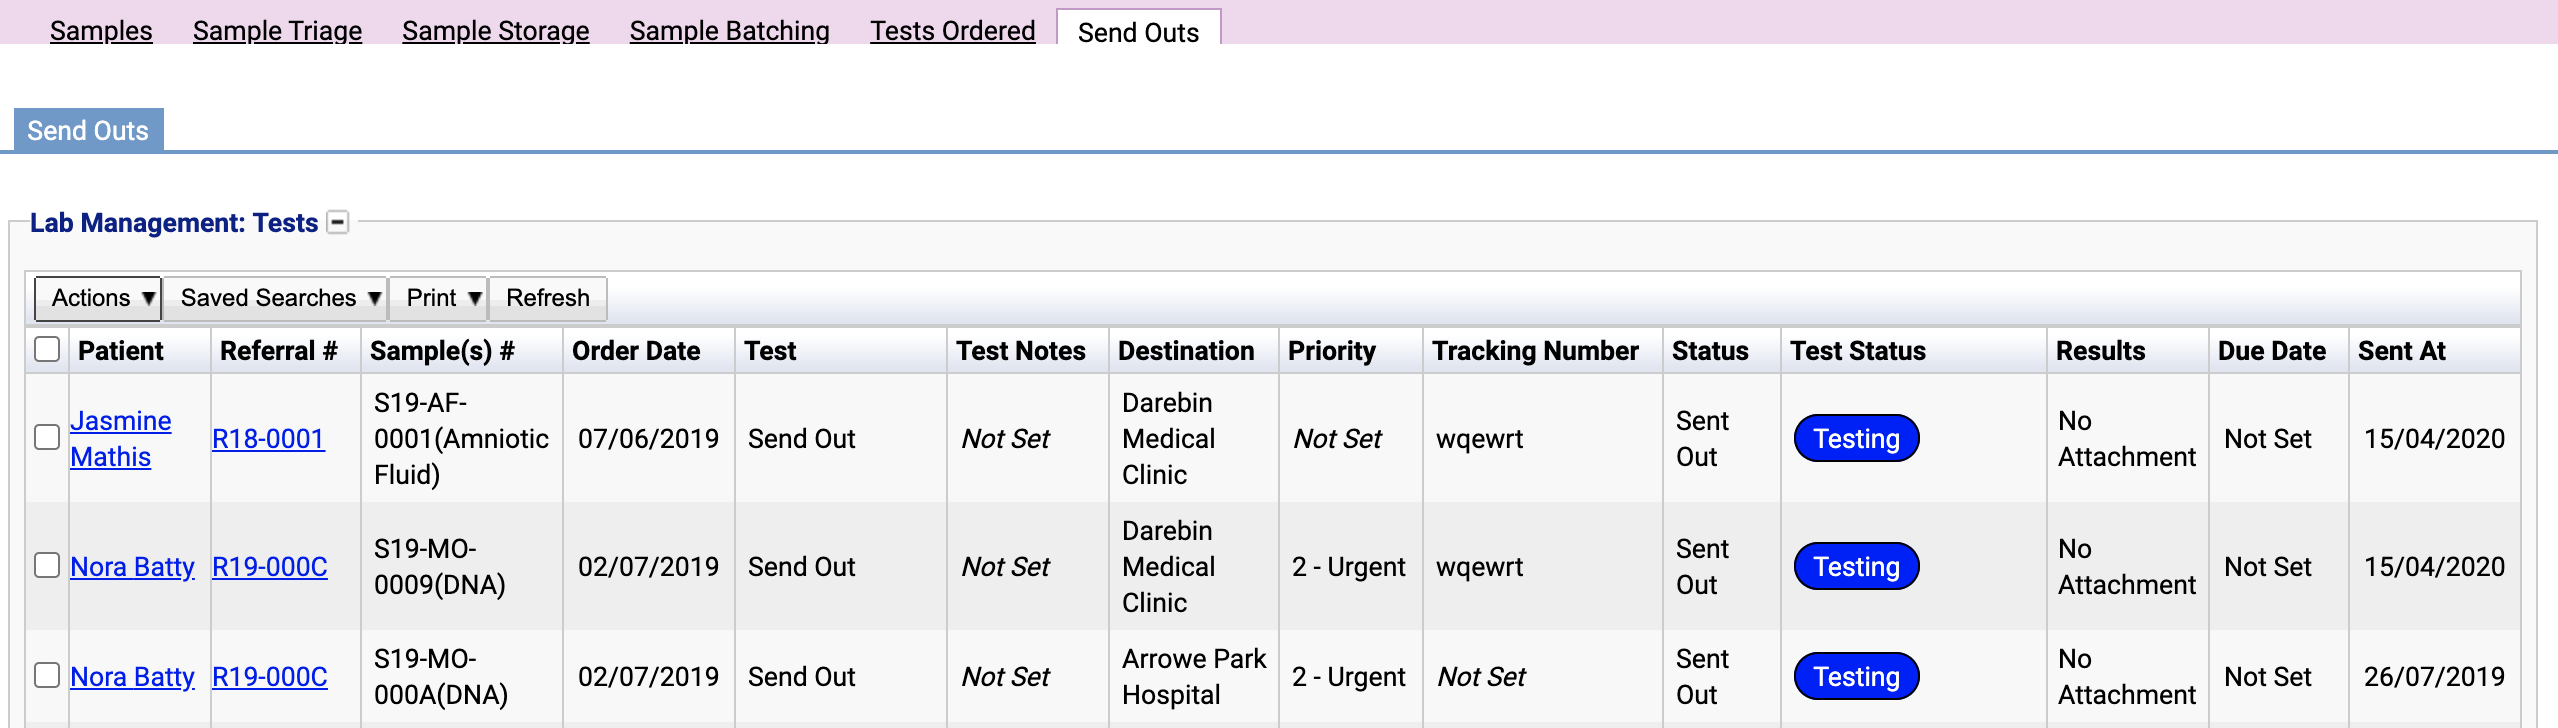
Table Columns
- Patient - Patient name connected to the sample.
- Referral - Referral number connected to the sample.
- Test # - The test number.
- Order Date - When the test was ordered.
- Test - The type of test.
- Destination - Facility the sample is sent to for testing.
- Priority - Priority of referral connected to the sample.
- Tracking Number - Tracking number added to the sample.
- Order Status - The Send Out status of the sample
- Test Status - The Test Status of the test.
- Results - Test results.
- Due Date - Date results due by.
- Details - Opens a popup with Send Out details.
Additional Actions
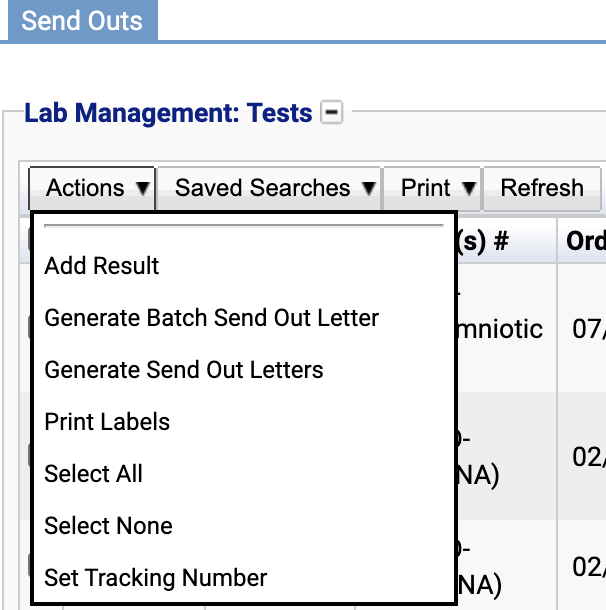
- Add Result - If a row is ticked, this opens a popup where a result can be uploaded and attached.
- Generate Batch Send Out Letter - Using this option will generate one letter containing details of all the samples selected.
- Generate Send Out Letters - Using this option will generate a separate letter for each sample selected. The selected samples will display in the table in the Generate Send Out Letters pop-up.
- Print Labels - This option will print labels for al the samples selected.
- Send To MAP - This is a customisable section which is dependant on installed plugins. Builds may have this option, or may not.
- Select All - Selects all rows on the current page.
- Select None - Unselects all rows on the current page.
- Set Tracking Number - Use this option to add sample courier details.