Preferences
Configuration in iGene is controlled mainly via the preferences area. There are over 200 individual preference areas available to configure iGene for a site’s requirements. The contents of the majority of dropdown and autocomplete fields are defined here as well as options such as which tests are available on the system and how they should function.
The preferences area is continually expanding to include new options as new installations and upgrades are completed.
Location
All preferences are located under the Administration > Preferences area of iGene.
There are 2 ways to access preferences within iGene, both of which are controlled via permissions.
Main method
- Navigate to Administration > Preferences.
- Either scroll down the list for the required preference or use the search function. (See Searching & Ordering for more information on how to perform searches within iGene.)
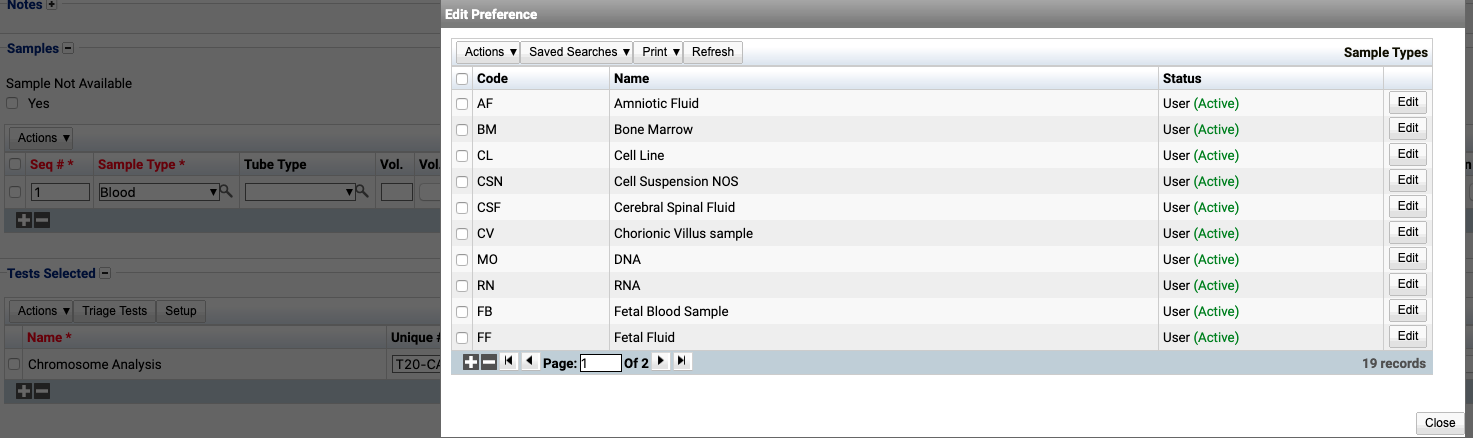
- Click on the View button.
- The preference will appear in a table called Preference on the right of the screen. This is often a list that can be added to, deleted from and edited. Sometimes there is just the one screen to amend. Always press Save when editing is completed.
Alternative method
Many preferences can be changed, added or deleted by clicking on the cog icon on certain fields within iGene. For example:
- Navigate to Laboratory.
- Click on Lab Referral.
- View any Referral.
- Go to a field where data can be input.
- To modify the contents of a dropdown or autocomplete field, hover over a field and depending on permissions, a small cog should appear next to the field’s label, i.e. Sample Type.
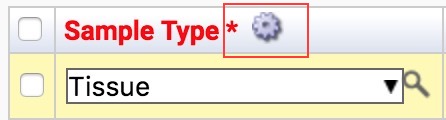
- Click the cog to jump straight to the relevant preference via a pop-up window.