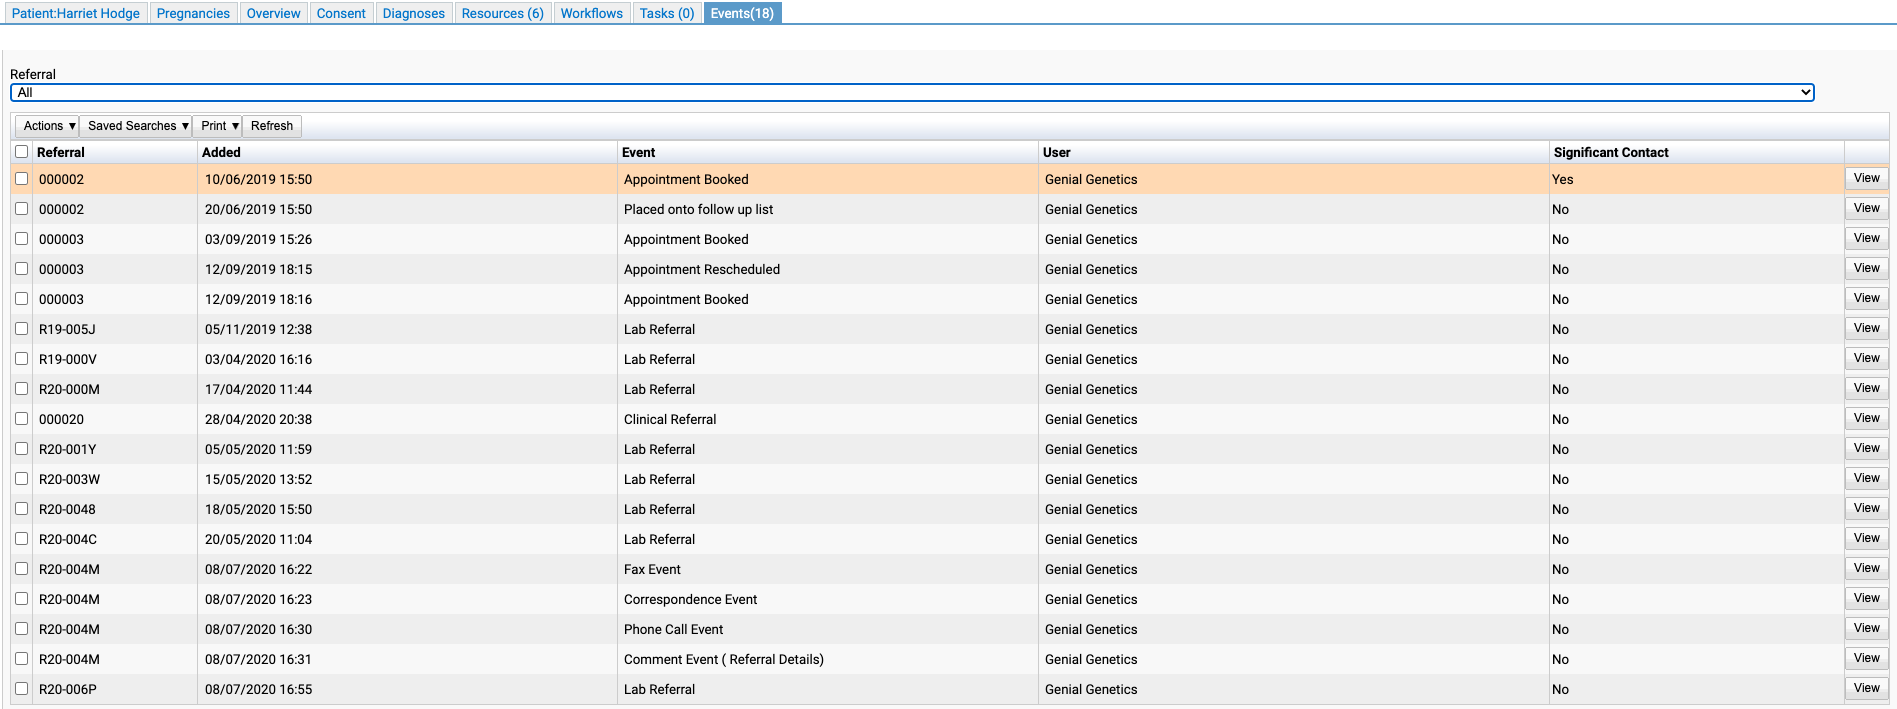
Patient Events
The Patient Events page can be used to view a list of events relating to the patient.
These include:
- Lab referrals.
- Clinical referrals.
- Clinical appointments.
- Adding the patient to the surveillance list.
- Adding the patient to a follow up list.
- Comment events.
- Correspondence events.
- Fax events.
- Phone events.
The Events table has 4 buttons common to many screens within iGene: Actions, Saved Searches, Print and Refresh. These act in the same manner as they do in other screens within iGene.
The Actions menu has a list of options including adding new events and highlighting records as a Significant Contact.
The Saved Searches function can be used to search for events in the table. See Searching for more informations on making searches.
The Print button will allow the user to run a report if any have been set up for this page.
The Refresh button will reload and update the table.
To view the event details by press View at the end of a record.
For details on how to lock an event so it is only visible for users with certain roles see Locking Events.
Actions menu
There are several options in the event Actions menu.
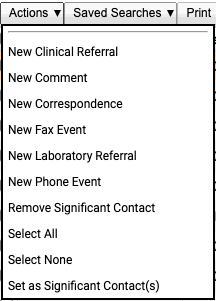
New Referrals
There are 2 new referral options in the action menu:
- New Clinical Referral and
- New Laboratory Referral.
As might be expected, both these options will open a brand new referral tab waiting to be filled in and saved.
Select options
Select All and Select None will either select all events in the table with a tick mark to be used with another action, or remove all ticks currently selected.
New Comment
Selecting New Comment will open the following pop-up window.
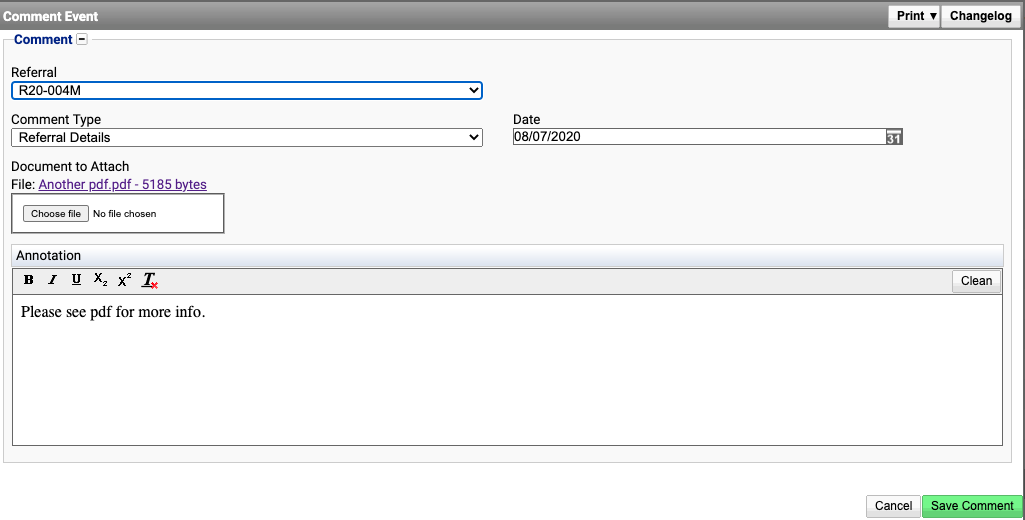
- Referral: Select the referral number this should be connected to.
- Comment Type: Options include Confirmation, Counselling, Directions to Clinic, Explanation of Testing, Follow Up, Other, Patient Details, Referral Details, Sample Details, Test Orders.
- Date: Select the date of the comment.
- Document to Attach: If there is a pdf record to attach press this button. It will show on the File line that appears underneath.
- Annotation: Extra notes as required for this Comment.
Always press Save Comment after entering or editing details. Then the record will be added to the Events table.
New Correspondence
Selecting New Correspondence will open the following pop-up window.
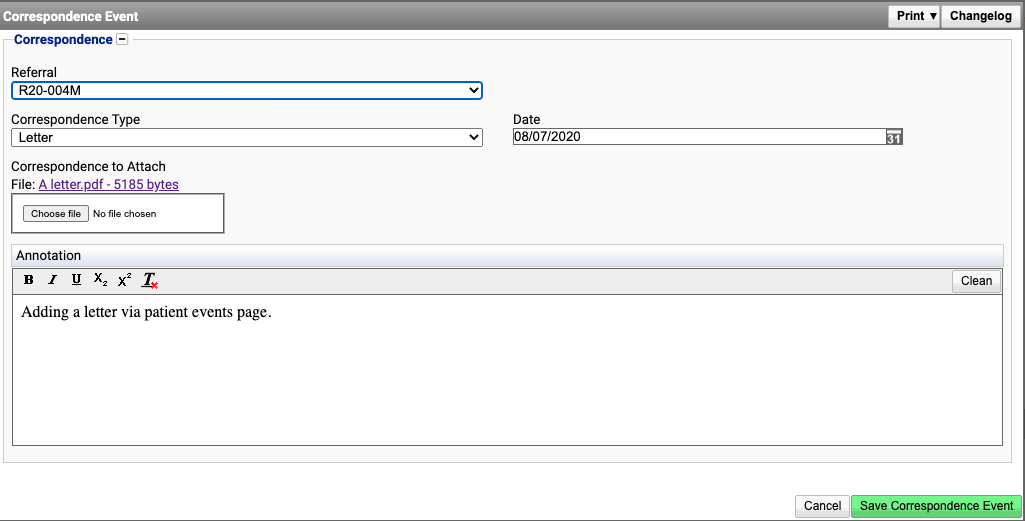
- Referral: Select the referral number this should be connected to.
- Correspondence Type: Select the Correspondence Type from the list added to the Correspondence Event Types preference.
- Date: Select the date of the correspondence.
- Correspondence to Attach: If there is a pdf record to attach press this button. It will show on the File line that appears underneath.
- Annotation: Extra notes as required for this event.
Always press Save Correspondence Event after entering or editing details. Then the record will be added to the Events table.
New Fax Event
Selecting New Fax Event will open the following pop-up window.

- Referral: Select the referral number this should be connected to.
- Fax Event Type: Options include Letter, Other, Referral and Test Request.
- Date: Select the date of the fax.
- Document to Attach: If there is a pdf record to attach press this button. It will show on the File line that appears underneath.
- Annotation: Extra notes as required for this Fax Event.
Always press Save Fax Event after entering or editing details. Then the record will be added to the Events table.
New Phone Event
Selecting New Phone Event will open the following pop-up window.
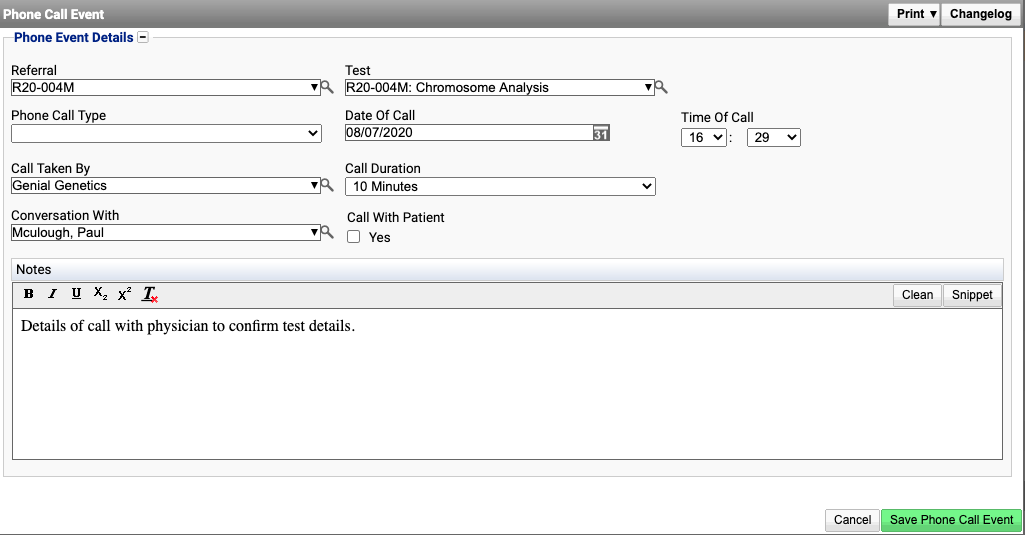
- Referral: Select the referral number this should be connected to.
- Test: When a referral number has been selected, the relevant test for that referral can be selected here.
- Phone Call Type: Select the Phone Call Type from the list added to the Phone Event Types preference.
- Date: Select the date of the phone call.
- Time Of Call: Select the time of the phone call.
- Call Taken By: The user who made the call.
- Call Duration: The length of the call.
- Conversation With: Select from contacts in the address book.
- Call With Patient: Tick this checkbox if the phone call involved the patient.
- Notes: Add notes as required for this Phone Call.
Always press Save Phone Call Event after entering or editing details. Then the record will be added to the Events table.
Significant contacts
Marking an event as a significant contact causes the event to be highlighted in orange making it easily viewable.
To mark an event as significant:
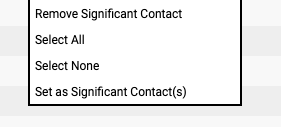
- Either right click on the event row
OR - Tick the required event(s) and press the Action button at the top of the events table.
- Select Set as Significant Contacts(s).
The selected event row(s) will turn orange and the Significant Contact field will update to say Yes.
To unmark a significant event so it appears as normal, follow the same steps as above but select Remove Significant Contact instead.
View
Each row also has a View button.
In the case of lab and clinical referrals the view button will open the referral.
For all other event types, the details appear in a box underneath the events table. See this phone event example.

To edit an event:
- View the event.
- Click Action in the event details.
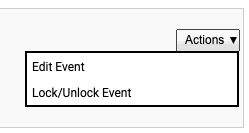
- Select Edit Event.
The original event details will open and can then be edited and saved.
Locking events
When an event is locked, only those users with roles that grant access to the event, will be able to see the event details under the table and also be able to edit the event details.
To lock an event:
- View the event.
- Click Action in the event details.
- Select Lock/Unlock Event. A new pop up will appear.
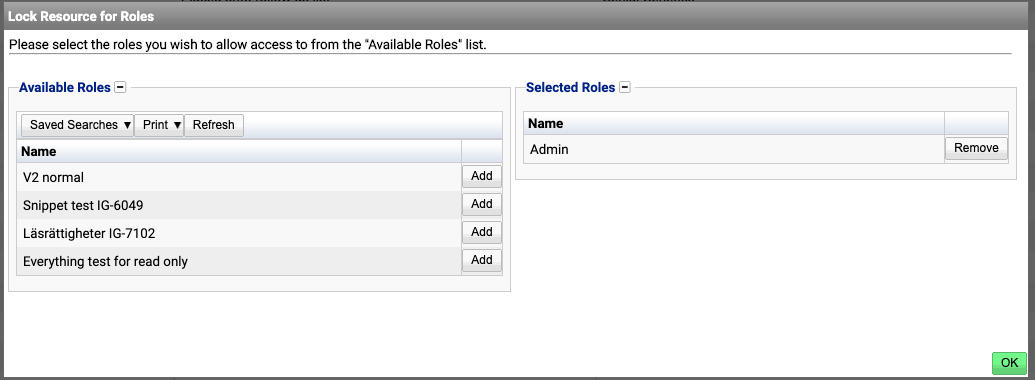
- Press Add on the Available Roles for users who should be able to view and edit the event.
As soon as one role is added to the Selected Roles table the event will be locked to users with this role. - Press OK.
To unlock the event and make it available to all users, Remove all roles from the Selected Roles table and press OK.