Sample Storage
This page of iGene shows a link to all samples currently stored within the system. Similarly to other pages, there is a colour-coded system based on the level of priority attached to each sample.
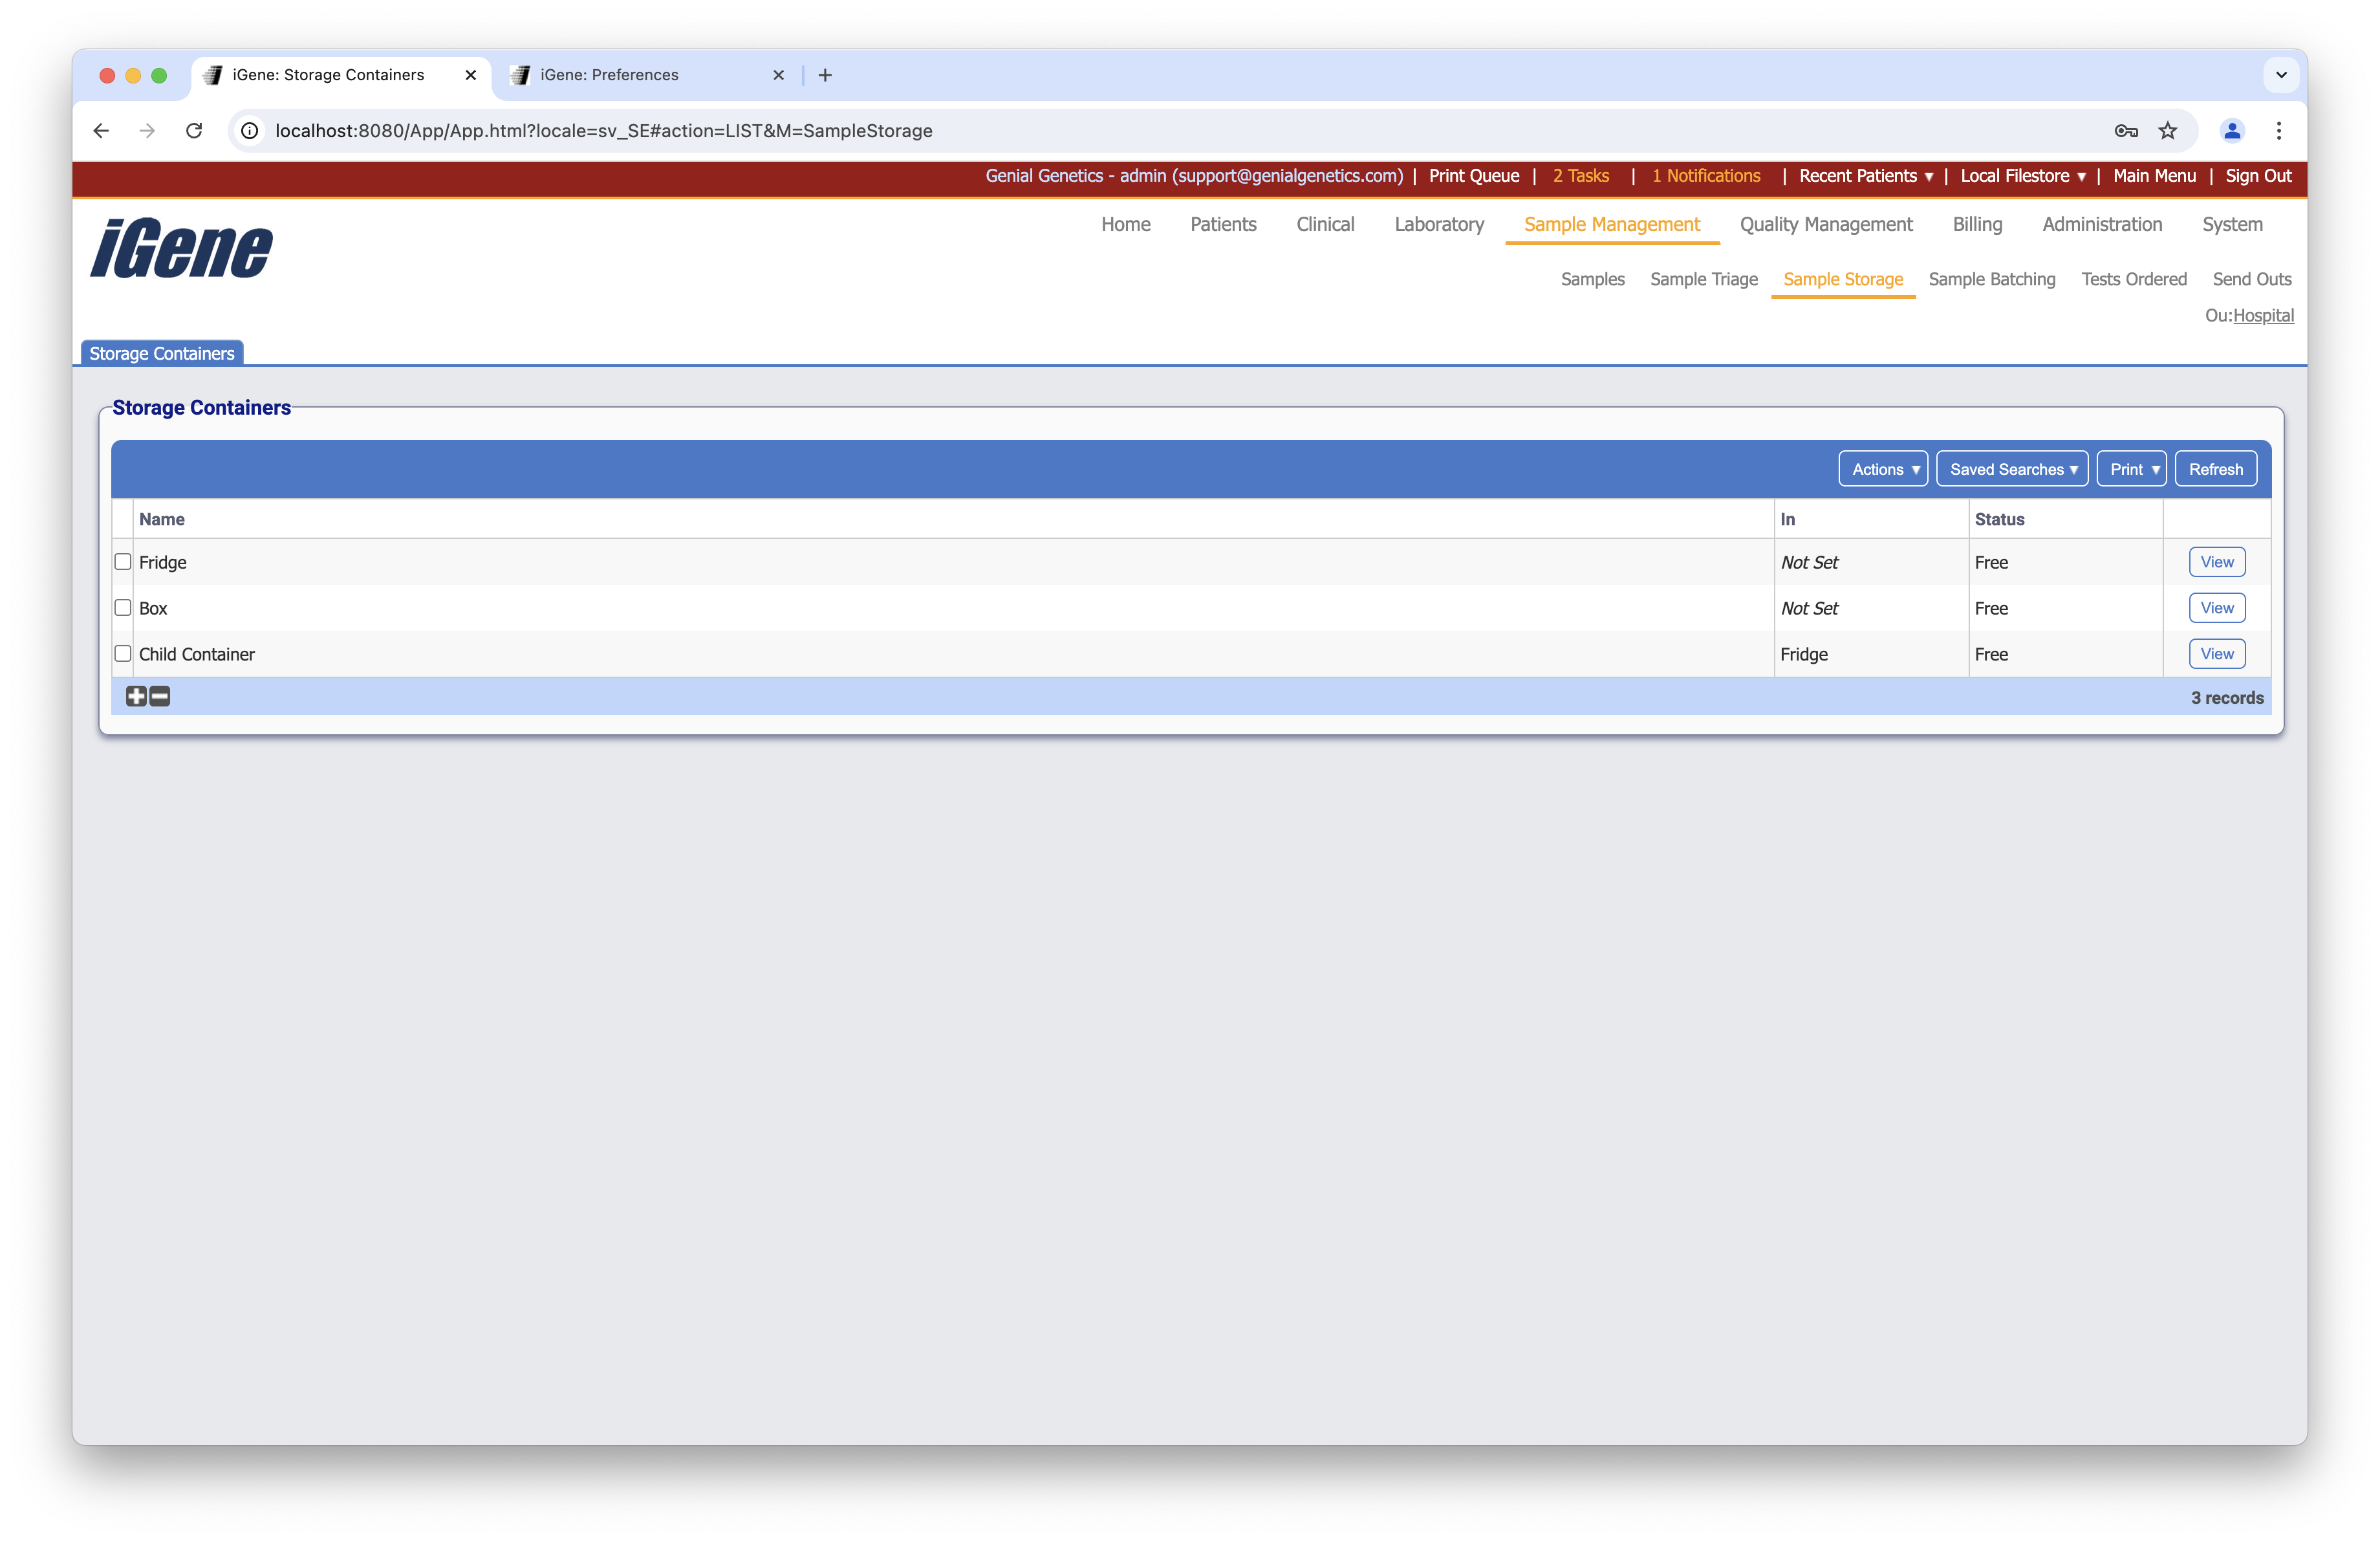
Table Columns
- Name - The name of the container.
- In - If the container is a child container (meaning it is in a bigger container), then the name of the parent container will be displayed here.
- Status - If there is room in the container, this will say Free. If it is full, then it will say Not Free and the row will be highlighted red.
- View - Opens the container page for the clicked container.
Additional Actions
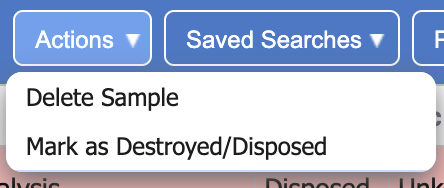
- Delete Sample - Deletes the selected samples.
- Mark as Destroyed/Disposed - Opens a popup where comments can be left with an explanation, before then marking the sample as disposed.