Patient Search
The Patient Search/Add screen allows the users to search for a patient within the application and, if they are allowed, create a new patient if they did not locate one.
To get to the screen, navigate to Patients > Patients Search/Add.

The table on this screen lists some basic patient information.
Surname
The last name of the patientFirst Name
The first name of the patientDOB
The patient’s date of birthMedical #
Typically, this is the unique medical number for the country that iGene is installed at. This value is stored in the medicareNumber field in the database.Sex / Gender
The sex / gender of the patient.
Clicking the View button will show the patient demographics screen.
Searching
Searching on this form is performed in the standard way. For information on how to perform searches on this form, please see the searching & ordering guide.
It is advisable to have a default search setup on this form for all users. It is also advisable to have this search set to be non-eager so it doesn’t try to load everything when the form is opened.
Adding Patients
Patients can be added from this form by:
- At the bottom of the table, clicking the + button.
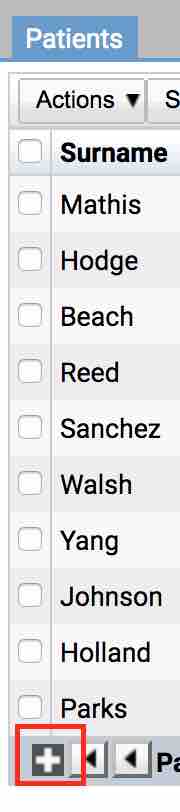
- OR by Clicking Actions and selecting New Patient.

Other Actions
On the Patient Search/Add screen, it is possible to perform other actions on the patients. Select the patient by using the checkboxes to the left of the screen and then using the Actions button. Right clicking on the patient will also reveal a similar actions menu.
New Clinical Referral
Selecting this option will begin the creation of a new clinical referral on the selected patient.New Lab Referral
Selecting this option will begin the creation of a new laboratory referral on the selected patient.New Patient
This option will begin the creation of a new patient within iGene.New Phone Event
Select All
This option will select all the items in the table currently visible.Select None
This option will disable any patients which have been selected in the currently visible table.