Sub Sample Type
Sub Sample Types allow a parent sample to be broken down into sub items e.g. a parent sample of Tissue could be associated with the sub sample type of Lung or Tumour.
The sub sample type depends on the sample type. If the user selects a sample type which does not have any sub sample types associated with it then nothing will be available for selection. Only if sub sample types are associated with a parent sample type will the options be available.
Location
The Sub Sample Type preference is located under the Administration > Preferences area of iGene.
In order to access the preferences area, a user must be a member of a role that has the Administration: Preferences and Administration menu permissions assigned.
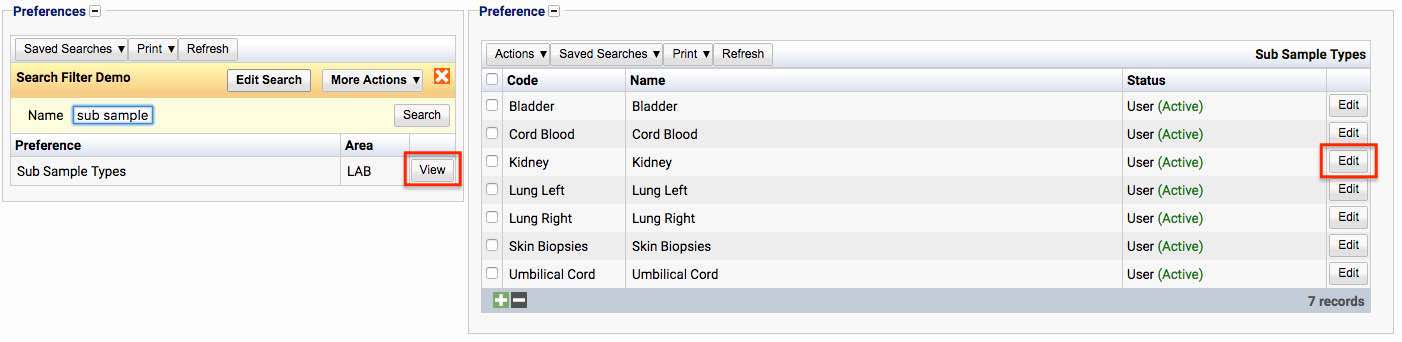
- Navigate to Administration > Preferences.
- Find Sub Sample Type in the table and click View by either:
- Navigating through the Preferences table until the Sub Sample Type preference is found.
- Performing a search using an existing saved search for Name = Sub Sample Types.
- Performing a search using a newly created search. See the searching guide for information on how to create searches.
 3. To create a new sub sample type, click the + button at the bottom of the table, or select New Item from the Actions menu.
4. To edit an existing sub sample type, click the Edit button.
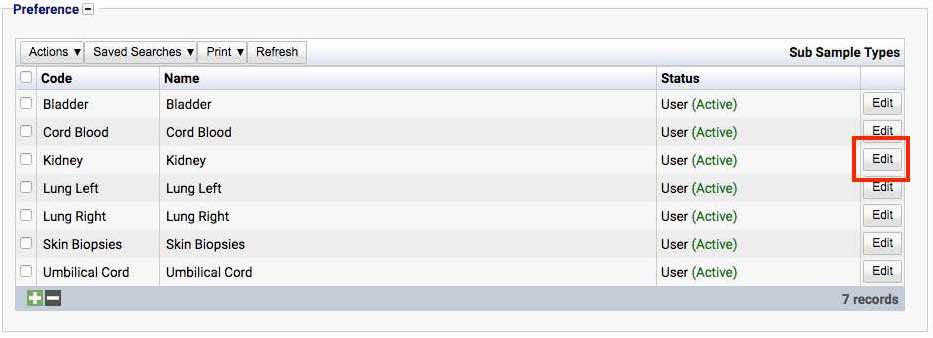
The table of sub sample types will display the code, name and status for the sub sample type.
The Status field indicates two pieces of information:
User / System: User records have been added by users manually and are fully editable. System records are generally added via a data import or provided by default. Only the name can be edited on a system record.
Active / Inactive: Shows whether the record is currently active or inactive. Inactive items will not show up for selection for new records but will continue to show on entries that are using them.
Configuration
When adding or editing a sub sample type, users are presented with the following form to complete.
Always press Save in the bottom right hand corner of the browser after adding or editing a Sub Sample Type.
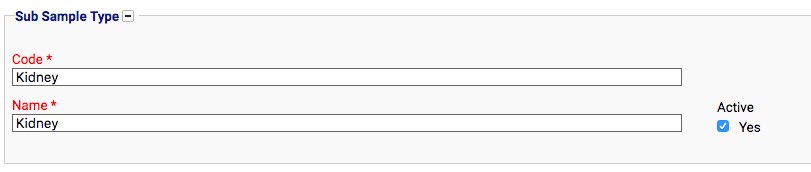
Code
(Required, Unique)
A unique code for the sub sample type. This can be the same as the name but must be unique throughout the entire system.
Name
(Required)
A name for the preference. It is advisable to keep this unique.
Active
A checkbox to activate/deactivate a sub sample type. If the preference is not active, it will not be able to be selected for future samples but it will show for existing samples.
Deactivating/Activating
Each sub sample type has an active status that specifies whether the sub sample type is available for selection. When deactivating a sub sample type, it will no longer appear in dropdown lists for selection, but will still be displayed on any records that continue to use it.
To deactivate (or reactivate) a Sun Sample Type, either:
- Untick the Active checkbox inside the preference and Save.
Or
- Right-click on the required entry in the table and select Toggle Active Status. Click Yes when prompted.
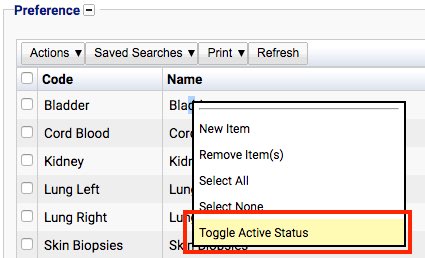
The state of the patient will then be changed to either Active or Inactive.

Assigning Sub Sample Types
In order to use the Sub Sample types on a Sample type, the sub sample types need to be created first. Once that is completed, the following actions will assign the sub sample types to a sample:
This section referrers to the Sample Type preference. For more information on this preference see the sample type guide.
- Navigate to Administration > Preferences.
- Find Sample Type in the table and click View by either:
- Navigating through the Preferences table until the Sample Type preference is found.
- Performing a search using an existing saved search for Name = Sample Type.
- Performing a search using a newly created search. See the searching guide for information on how to create searches.
- Locate the Sample Type the association needs to be made with.
- Press the Edit button.
- The edit screen which appears has the sub sample type information at the bottom of this screen.
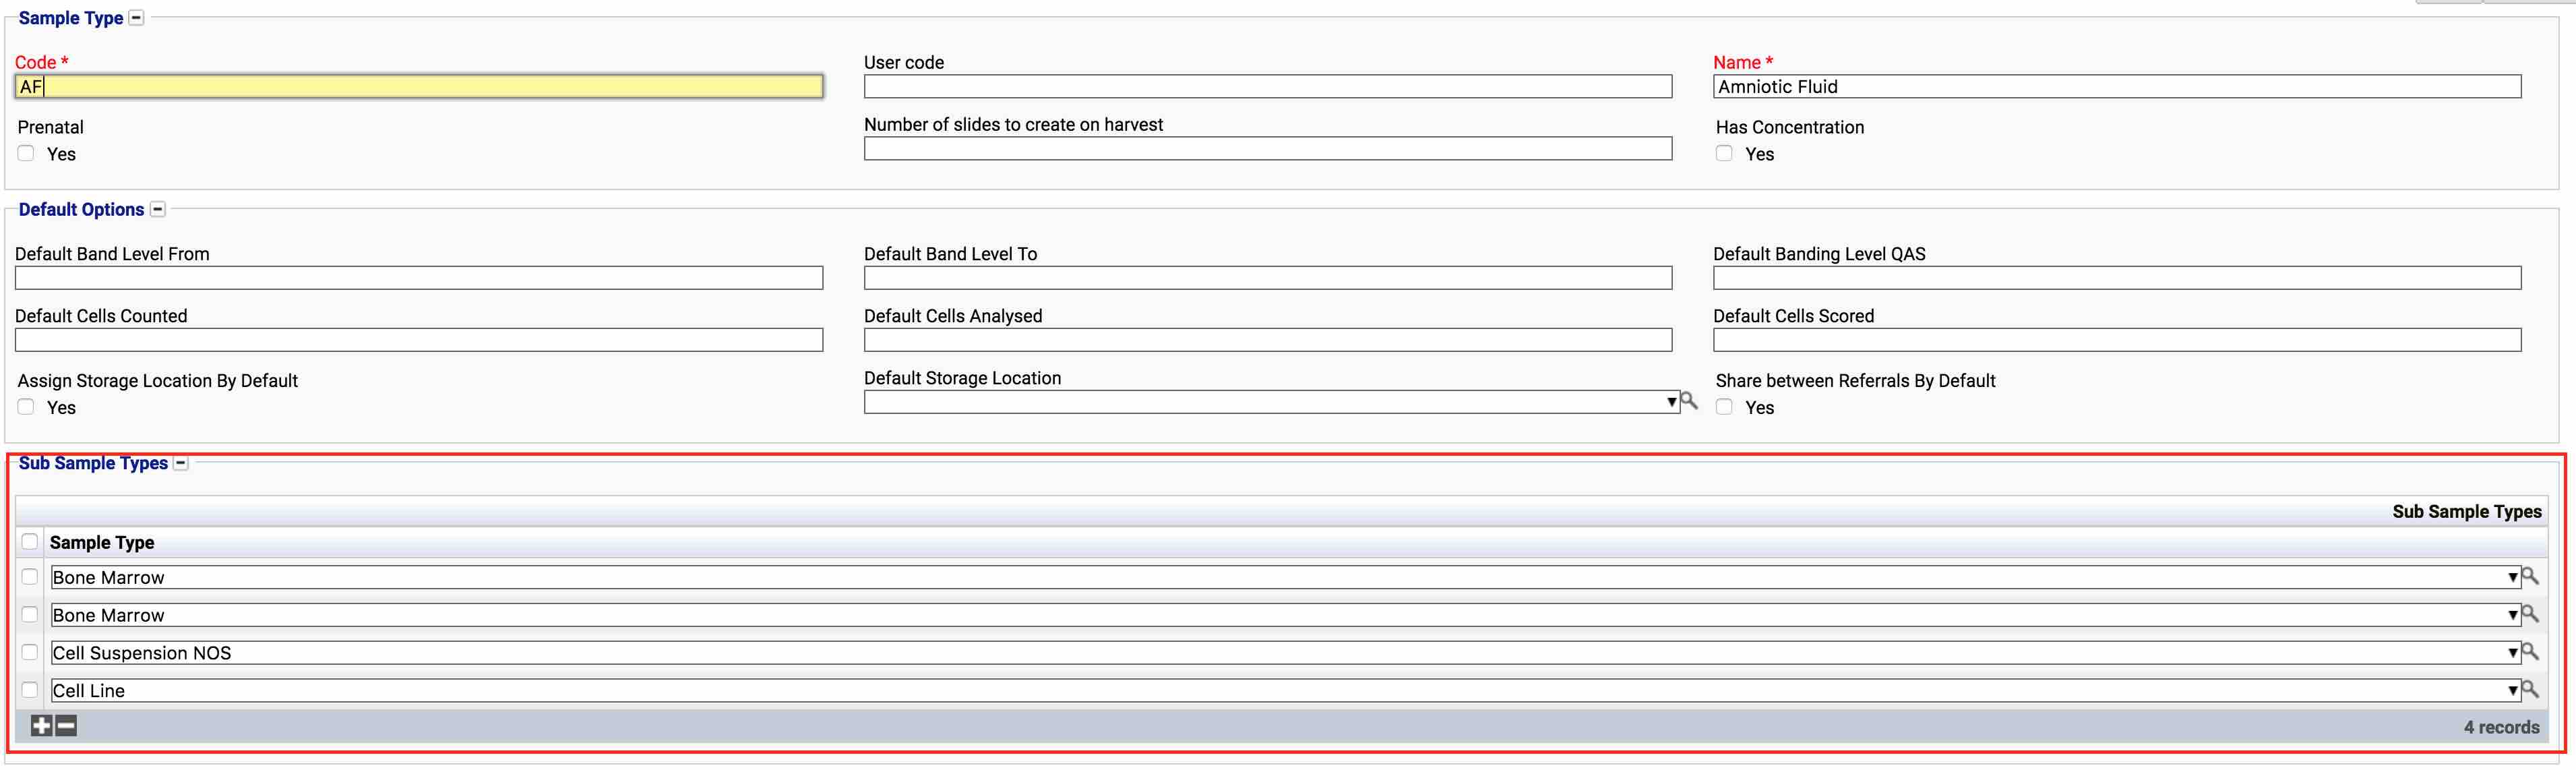
- Using the + button on the table, add a new line.

- In the autocomplete which has appeared, select the Sub Sample Type from the list.
- To add more sub sample types, repeat steps 6 and 7.
- Once completed, press the green Save Sample Type button in the bottom right corner.
Usage
The Sub Sample Type preference is used with the following items:
- Sample - This field is the ethnicity of the patient.