Referral
The referral is a container for any tests, results and samples related to a particular case for a patient. For example, a patient is referred with a suspected family history of BRCA1 and a new referral is created with the reason for referral as BRCA1 suspected and a sample of blood is added to the referral. Tests are ordered on the blood sample (DNA extraction then a BRCA1 test) and eventually the result and final report are all stored with the referral.
The referral screens are customised per site. Some fields shown may not be visible, and other fields may be present depending upon screen customisations. For full details, please refer to the SOPs at the specific location.
Referral Process
The standard process for entering a referral so it is ready to be worked on is:
Creating A New Lab Referral
In order to create a lab referral, start by loading the relevant patient. Navigate to Patients > Patients Search/Add and either:
- Create a new patient.
- Search for an existing patient. For details on how to perform a search, see the searching guide.
Once the patient has been located there are three ways to create a new referral:
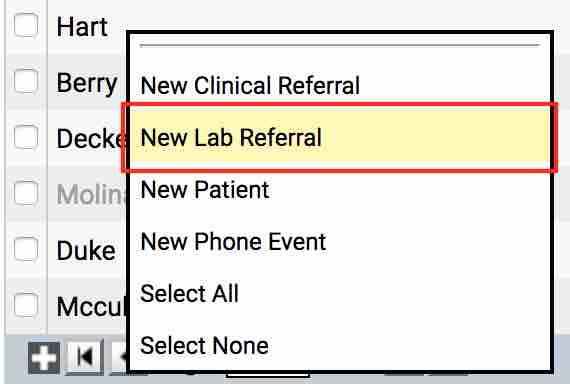
- From the search screen, right click the patient and select New Lab Referral.
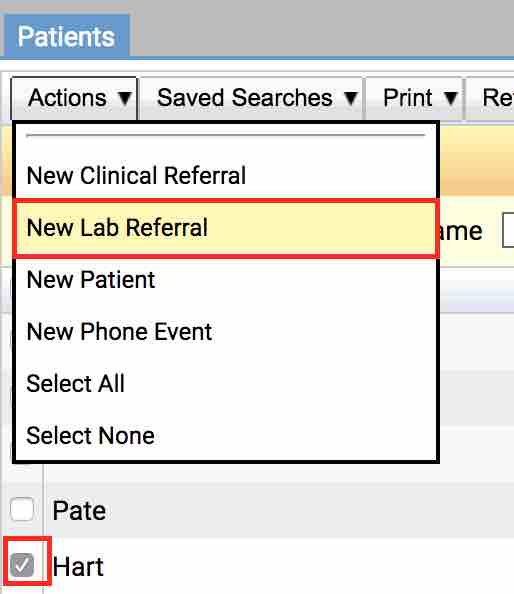
- Tick the box next to the patient name and select Actions then New Lab Referral.
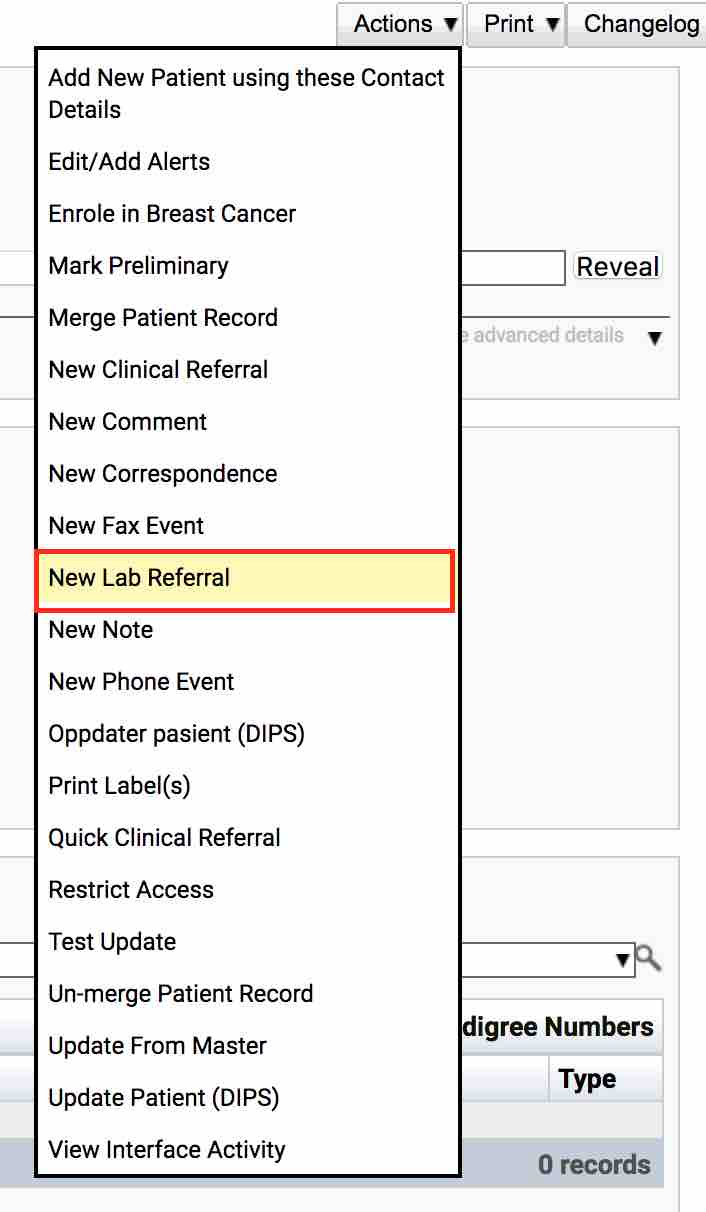
- From within a patient (click View on a patient row, make sure Patient: [Patient name] tab is highlighted blue), click the Actions button from the top right corner of the screen and select New Lab Referral.
Entering a New Referral
Once the steps in creating a new lab referral are completed, a blank referral screen appears which is divided up into different sections.
Patient Details

The top of each referral contains some patient details such as first name, last name, date of birth, etc. Below there are typically some fields relating to the referral such as:
- Referral Dates
Received date and ordered date. Typically, these are completed by the system but can be changed if required. - Referral Type
Depending on which option is selected from the list will show options further down the form e.g. selecting cancer will ask for details about cancer name, stage, status and blood count. - Priority
The priority of the referral. - Ext Ref#
An external reference number. This could also be the order number from another system. - Triage Stage
The status of a referral if it has been accepted into service or not. - Department
Which department does the referral relate to e.g. adult cancers.
Referring Physicians

The referring physician’s area is where information regarding who requested the test and if any other physicians need to be notified is entered. A primary referrer might have a consultant who is interested in the result. It might also be the case that a family doctor would need to be listed here but they might not need to receive a copy of the report.
Fields within this section are:
- Primary
Denotes if the individual is the primary referrer. - Name
The name of the referrer. This is an autocomplete based on the address book within iGene. - Facility
Depending on which referrer is selected will show different facilities. One referring physician might send referrals from different facilities. - Involvement
How the individual is associated with the referral. e.g. primary referrer or consultant. - Receive Report
Should this individual receive a final report? Tick to confirm.
Multiple referring physicians can be added by clicking the + button or whilst in a textbox on the same row pressing the Shift + Enter keys at the same time.
Reason For Referral

The Reason for Referral is a specified list of diseases and reasons which is setup via preferences. It aims to convert the details provided by the referring providers into a coded reason list which can be searched on.
The items within the list can be imported from other sources such as ICD10 lists, SNOMED, OMIM etc. If a site wishes to have a list imported, please contact Genial Genetics in order to discuss further. Items can also be entered manually into the preference, by a user with permission to do this.
By selecting the Reason from the drop down list, the coded reason and ICD-Code will be completed if the data is present. For example the investigation type can be if the patient is at risk, or if the diagnosis is confirmed.
Using the coded list will allow data mining to occur in the future to find out how many patients have been referred for reason x.
There is also a text area where other reasons can be entered. This is free text and although it can be searched, it is open to spelling errors.
Multiple reasons for referral can be added by clicking the + button or whilst in a textbox on the same row pressing the Shift + Enter keys at the same time.
Oncology Details

If ‘Cancer’ has been selected from the Referral Type drop down in the patient details section then this Oncology Details table will appear. It has fields for extra information such as:
- Cancer Name
- Stage
- Status
- Blood Count
Sample Details

The Sample Details area allows the samples which have arrived to be entered into the referral. The fields shown vary a lot from location to location and there is no such thing as a standard setup for this item. Normally, the Sample Type is required and other information is optional.
Multiple samples can be added by clicking the + button or whilst in a textbox on the same row pressing the Shift + Enter keys at the same time.
Since not everything can be displayed in a single table row, the tables have the option to click a view button to add additional information. Pressing this button will reveal a pop-up.
This is the pop-up produced by clicking View in the above Sample table:

This pop-up window contains the main sample details and further down is another table containing any child (or secondary) samples. These child samples are derived from the parent sample, such as DNA extractions or aliquots taken from other samples. These cannot be edited as they are system generated.
Tests Selected

The Tests Selected area is where orderables need to be specified on the referral. Orderables are actions to perform on a sample as well as the genetic tests. DNA extractions and chromosome analysis tests are both orderable items.
Entering orderables is performed by selecting from the list in the Name column. This is an autocomplete so start to type the name of an orderable into this text box and it will find it from the list.
Multiple orderables can be added by clicking the + button or whilst in a text box on the same row pressing the Shift + Enter keys at the same time.
Further test details can be accessed by clicking View at the end of the row. This will show a pop-up window similar to:
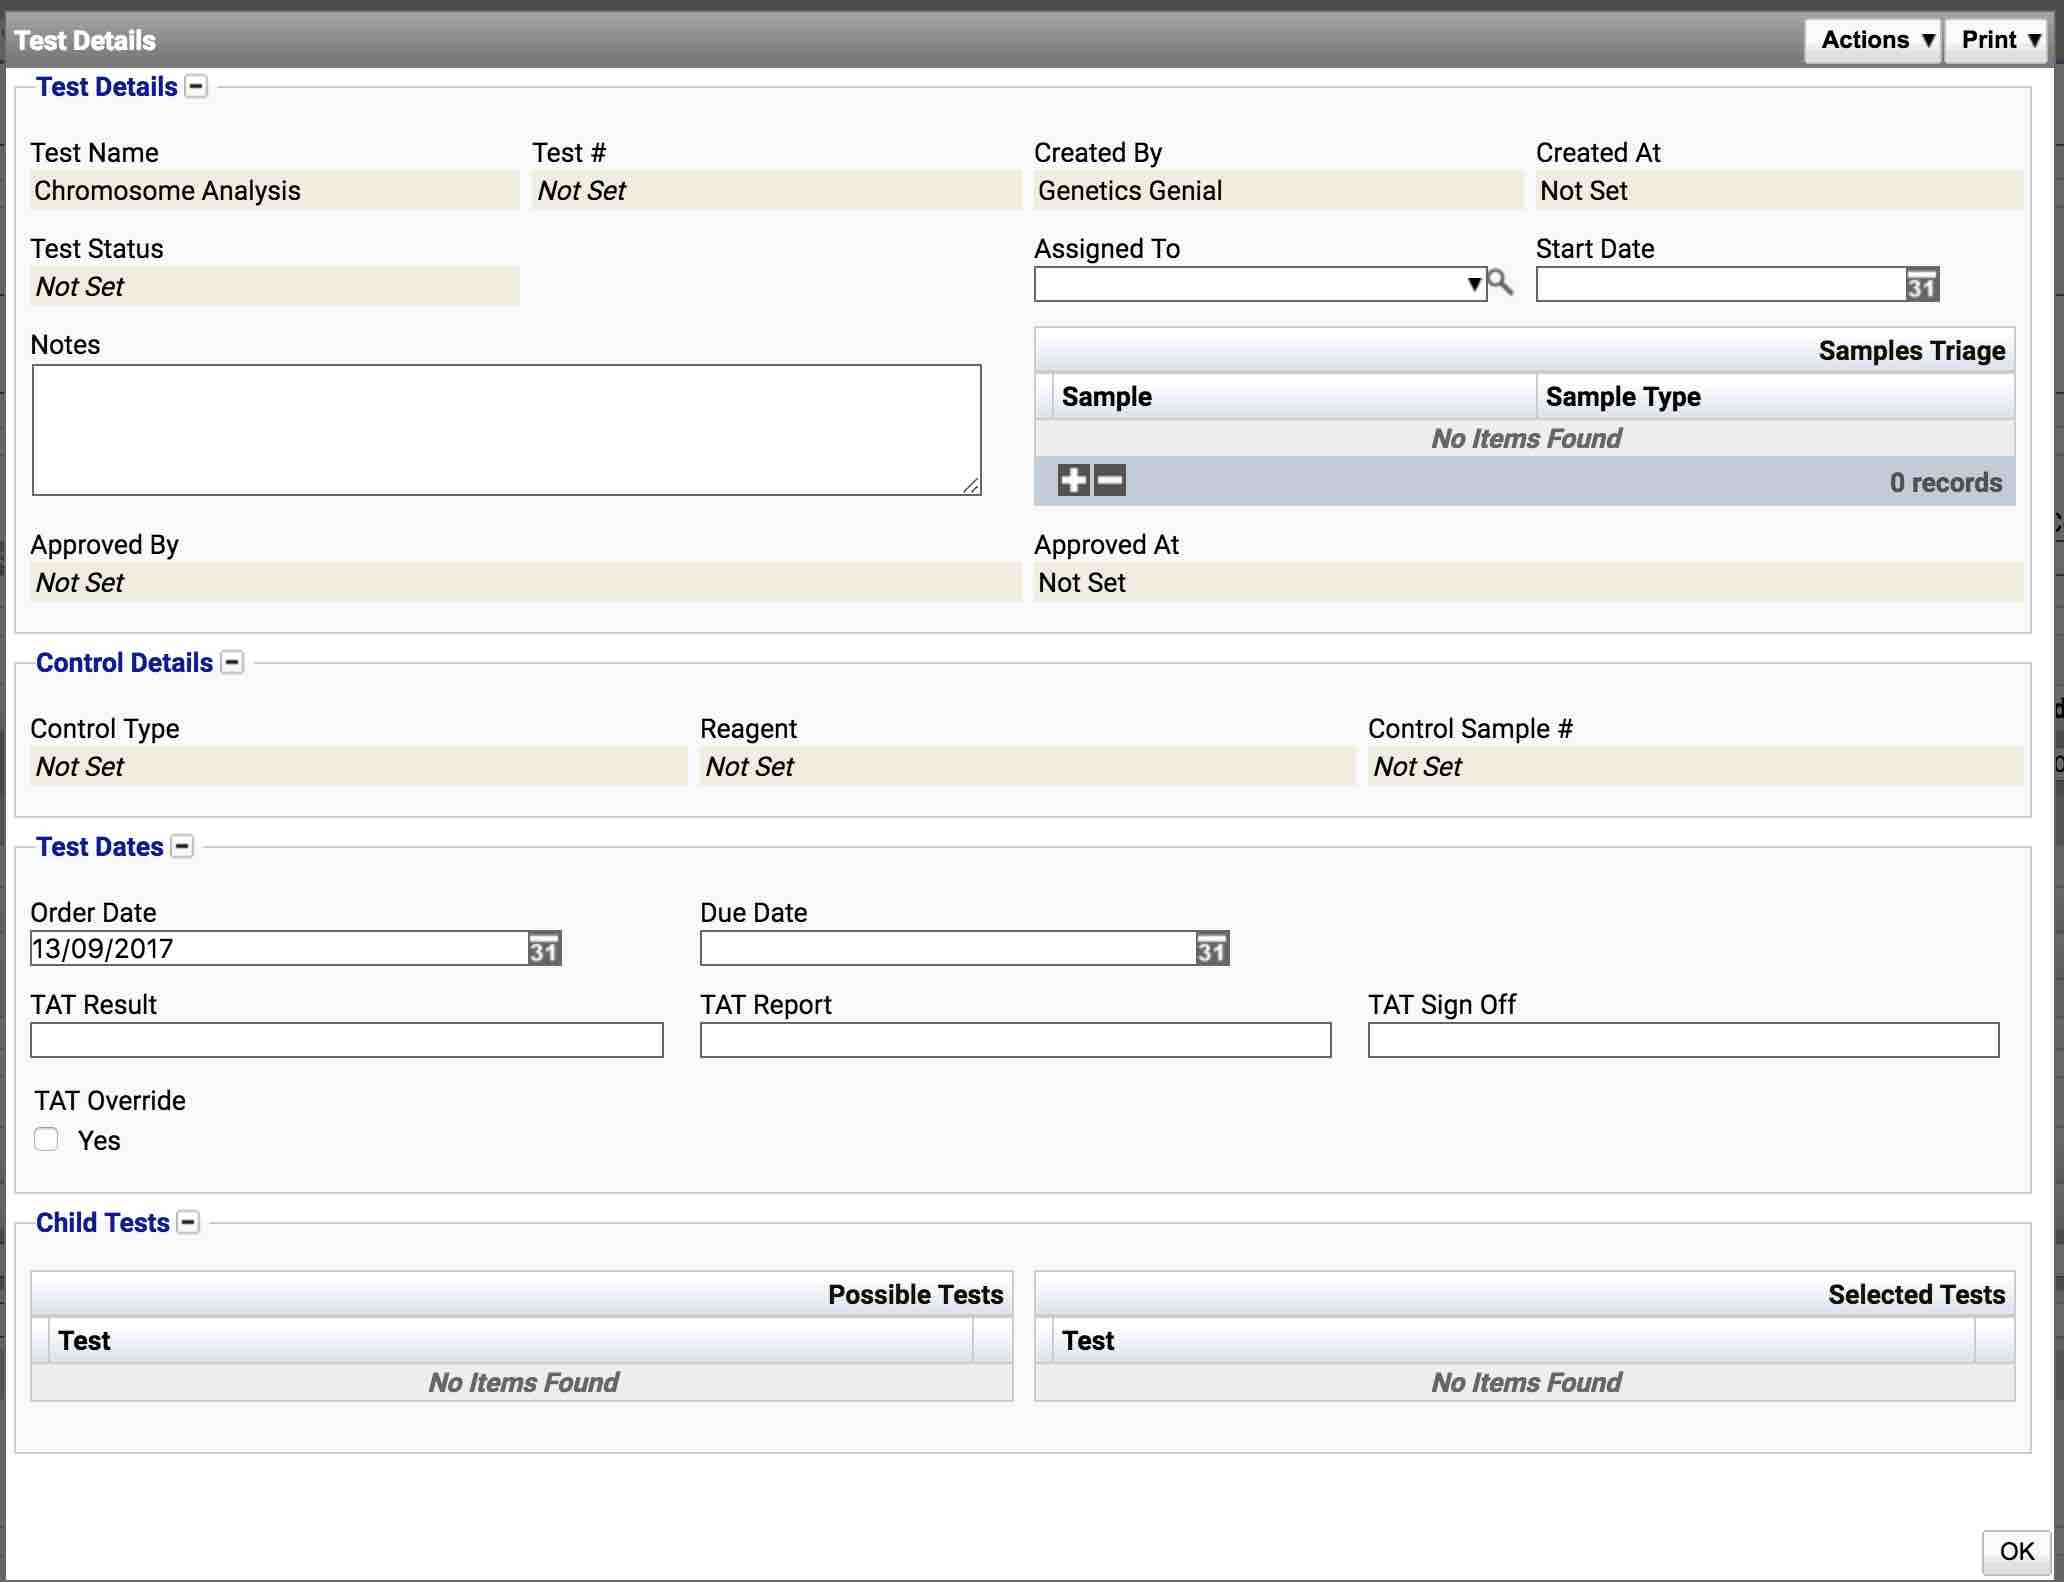
In addition to the fields above, if the test is a parent test, then this is the area where child tests can be added to or removed from the orderable (assuming they are not mandatory tests).
It is also the area where FISH probes can be added to tests:

Probes can be added using the + button and removed by using the - button.
Billing Details

The billing details are completed after a referral is saved. This area allows the costs and codes to be assigned to the work to be completed. With the majority of lab work, billing is approved and released before the work takes place hence this section is on the first form.
The fields to enter are:
- Bill To
The person or institution who is to receive the bill. - Billing Documentation
Any documentation which needs to go with the billing. - Billing Details
Any notes which are needed for the billing.
The Billing Details table above has the orderables listed in it. If billing codes are setup on the orderable then the details and costs are automatically completed. If not, pressing View at the end of each row will allow costs to be added to each orderable. Alternatively, clicking View Billing at the top of the table, will show all the billable items in a single screen to add costs to.
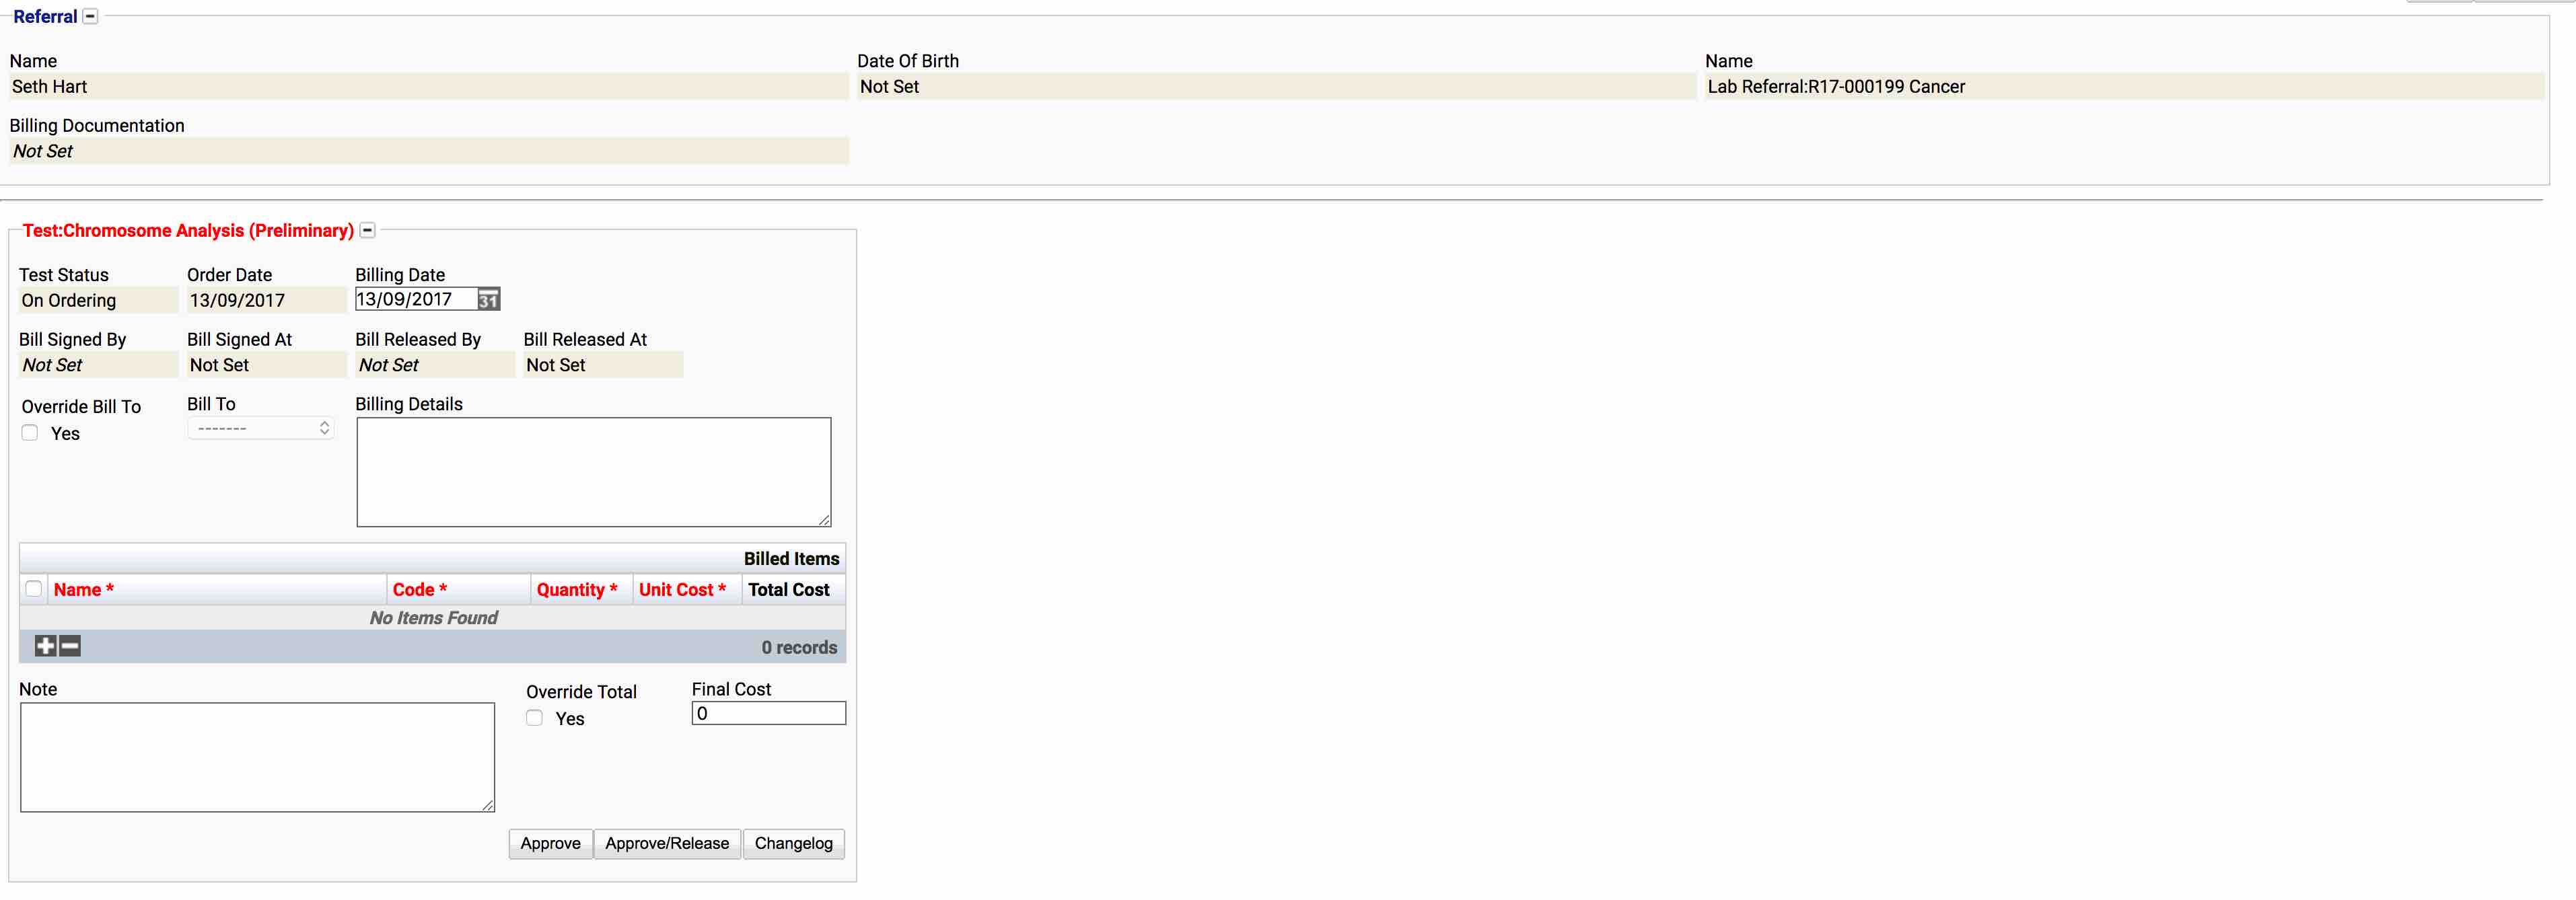
The main area of focus for this is the Billed Items table. Clicking the + button will allow the billing code, quantity and unit cost to be entered before clicking the Approve or Approve/Release button.
To exit out of this window, click the x button on the Billing tab.

Once all the billing items are setup, it is then possible to either Approve the billing or Approve /Release the billing. The difference between these items are:
- Approve
Marks the billing items as approved but they will not cross over any interfaces. It signals work can begin on a referral. - Approve/Release
Marks the billing items as approved and releases them to cross over the interface or to appear on an invoice.
It is possible to approve and release one or more orderables whilst waiting for another one to complete. In this case, right click the orderable which needs to be approved or approved/released and select the correct option. This is useful when waiting for insurance confirmation.
Typically, the billing area is linked to an interface. Billed items will only cross to other systems when they have been released.
Hold Reasons

Hold Reasons are ways to put an entire referral on hold. For example, this could be when a referral is awaiting approval from an insurance company or for internal reasons such as waiting for everything to be checked. Hold reasons are set up in the preferences area.
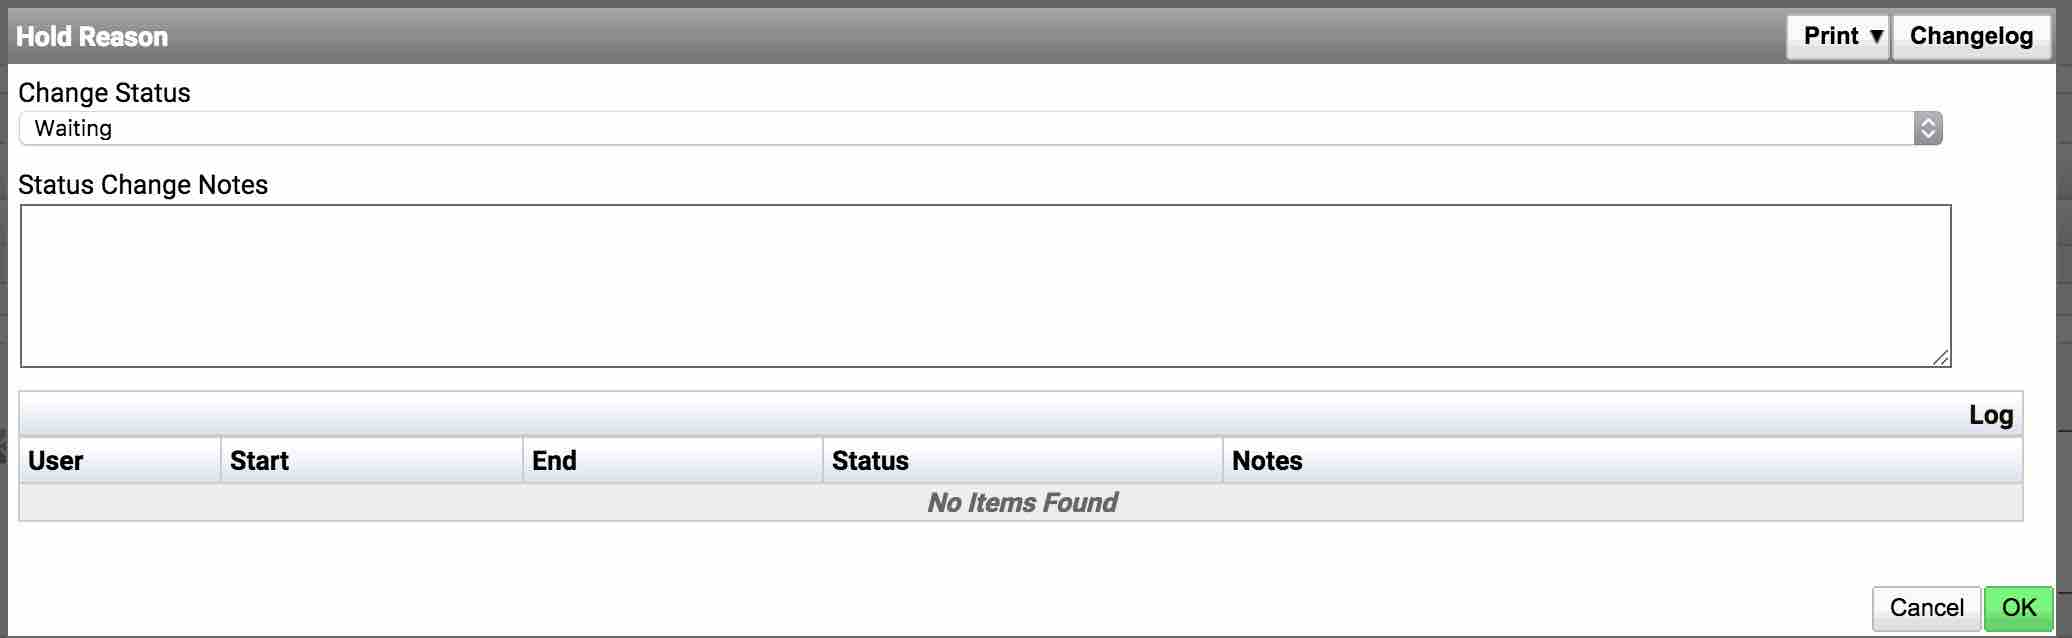
Clicking View at the end of the hold reason row will bring up a pop-up window where the status of the hold reason can be changed.
Hold reasons may have been automatically added as part of the test template but can also be added manually by pressing + at the bottom of the table.
Always save the referral after any changes have been made.