Installing iGene
This section assumes that you’ve followed the other guides and now have a functioning installation of Karaf running as a service. It covers installing iGene from a server with internet access and one without.
Online install
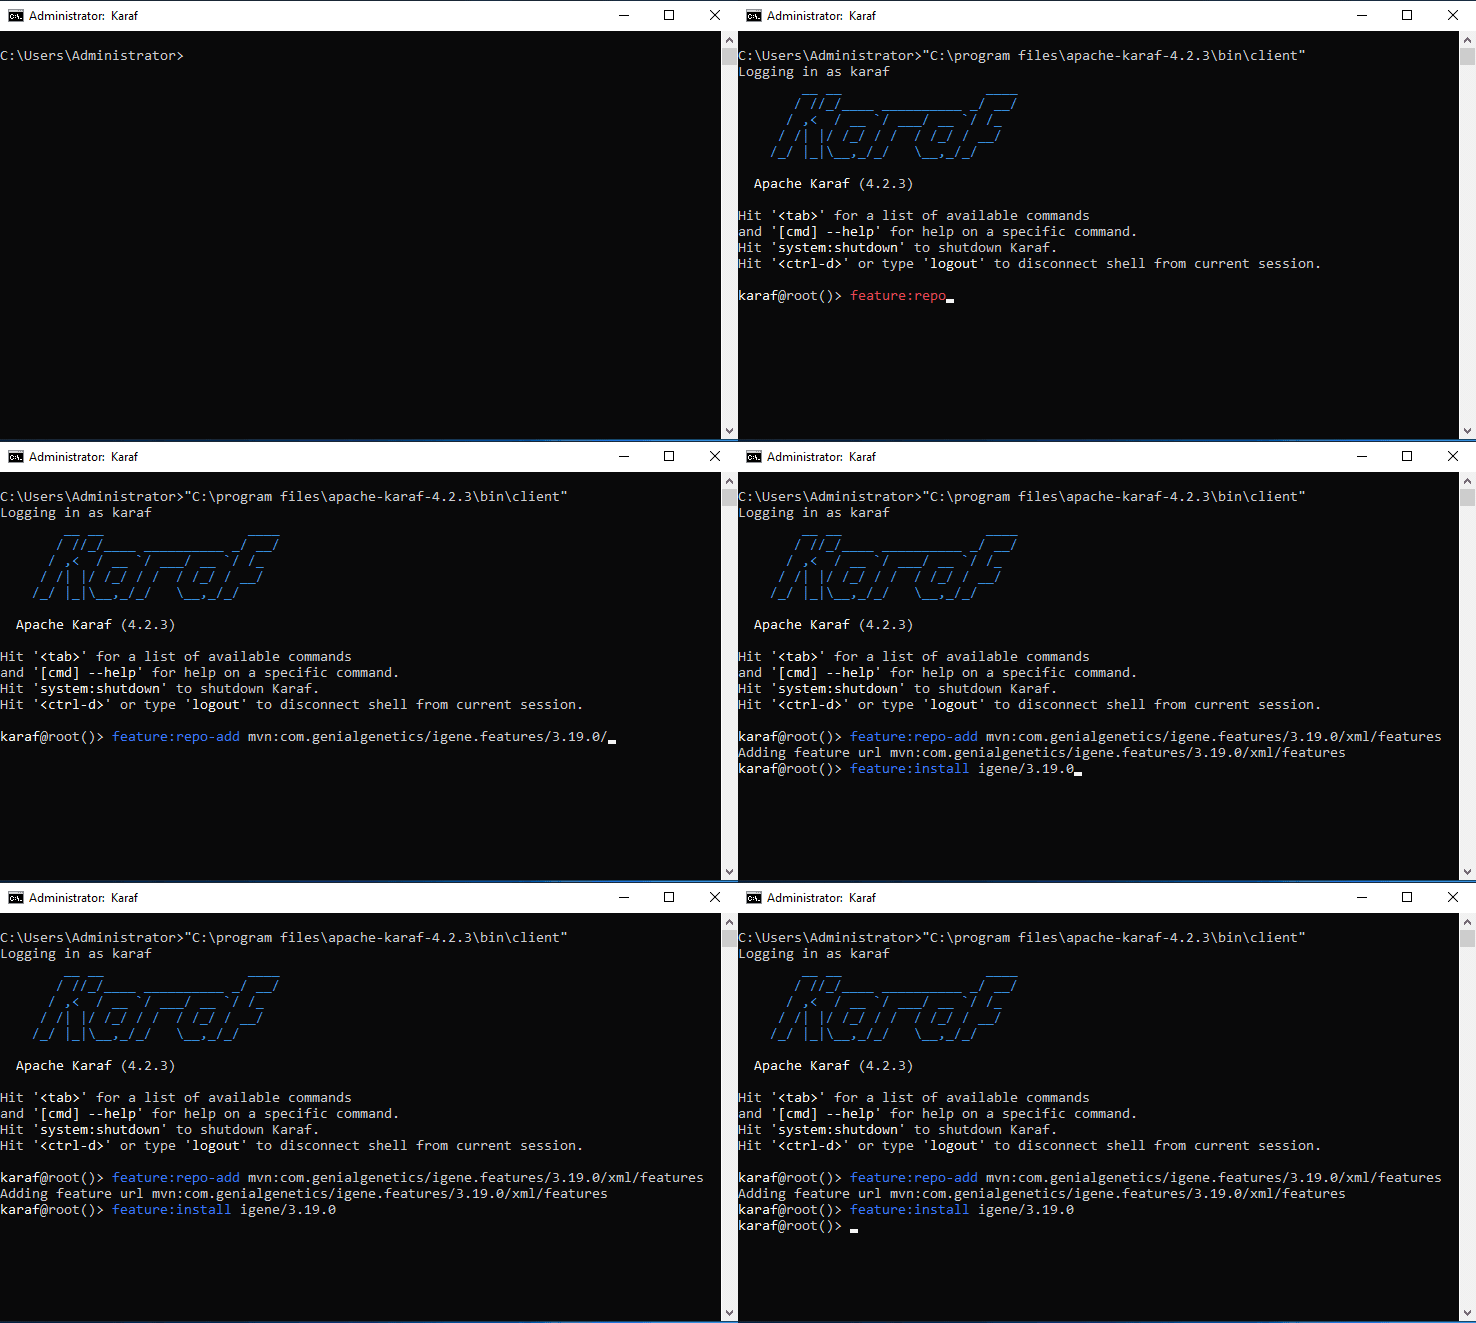
Now you have Karaf setup, it’s time to install iGene. To do this we’ll do the following.
"C:\program files\apache-karaf-4.2.3\bin\client"

feature:repo-add mvn:com.genialgenetics/igene.features/3.19.0/xml/features
feature:install igene/3.19.0
This may take a little time to download the files, be patient.
Now open up a web browser and type http://<server ip or name>:8080 for example http://127.0.0.1:8080 and enter the
home directory for iGene. If this is an existing server use the current home location.
There you’ll need to enter the location for iGene to install into, normally this will be d:\igene but if your system only has one drive you can use c:\igene.
Once the iGene home location has been set, you’ll need to enter in the correct database details.
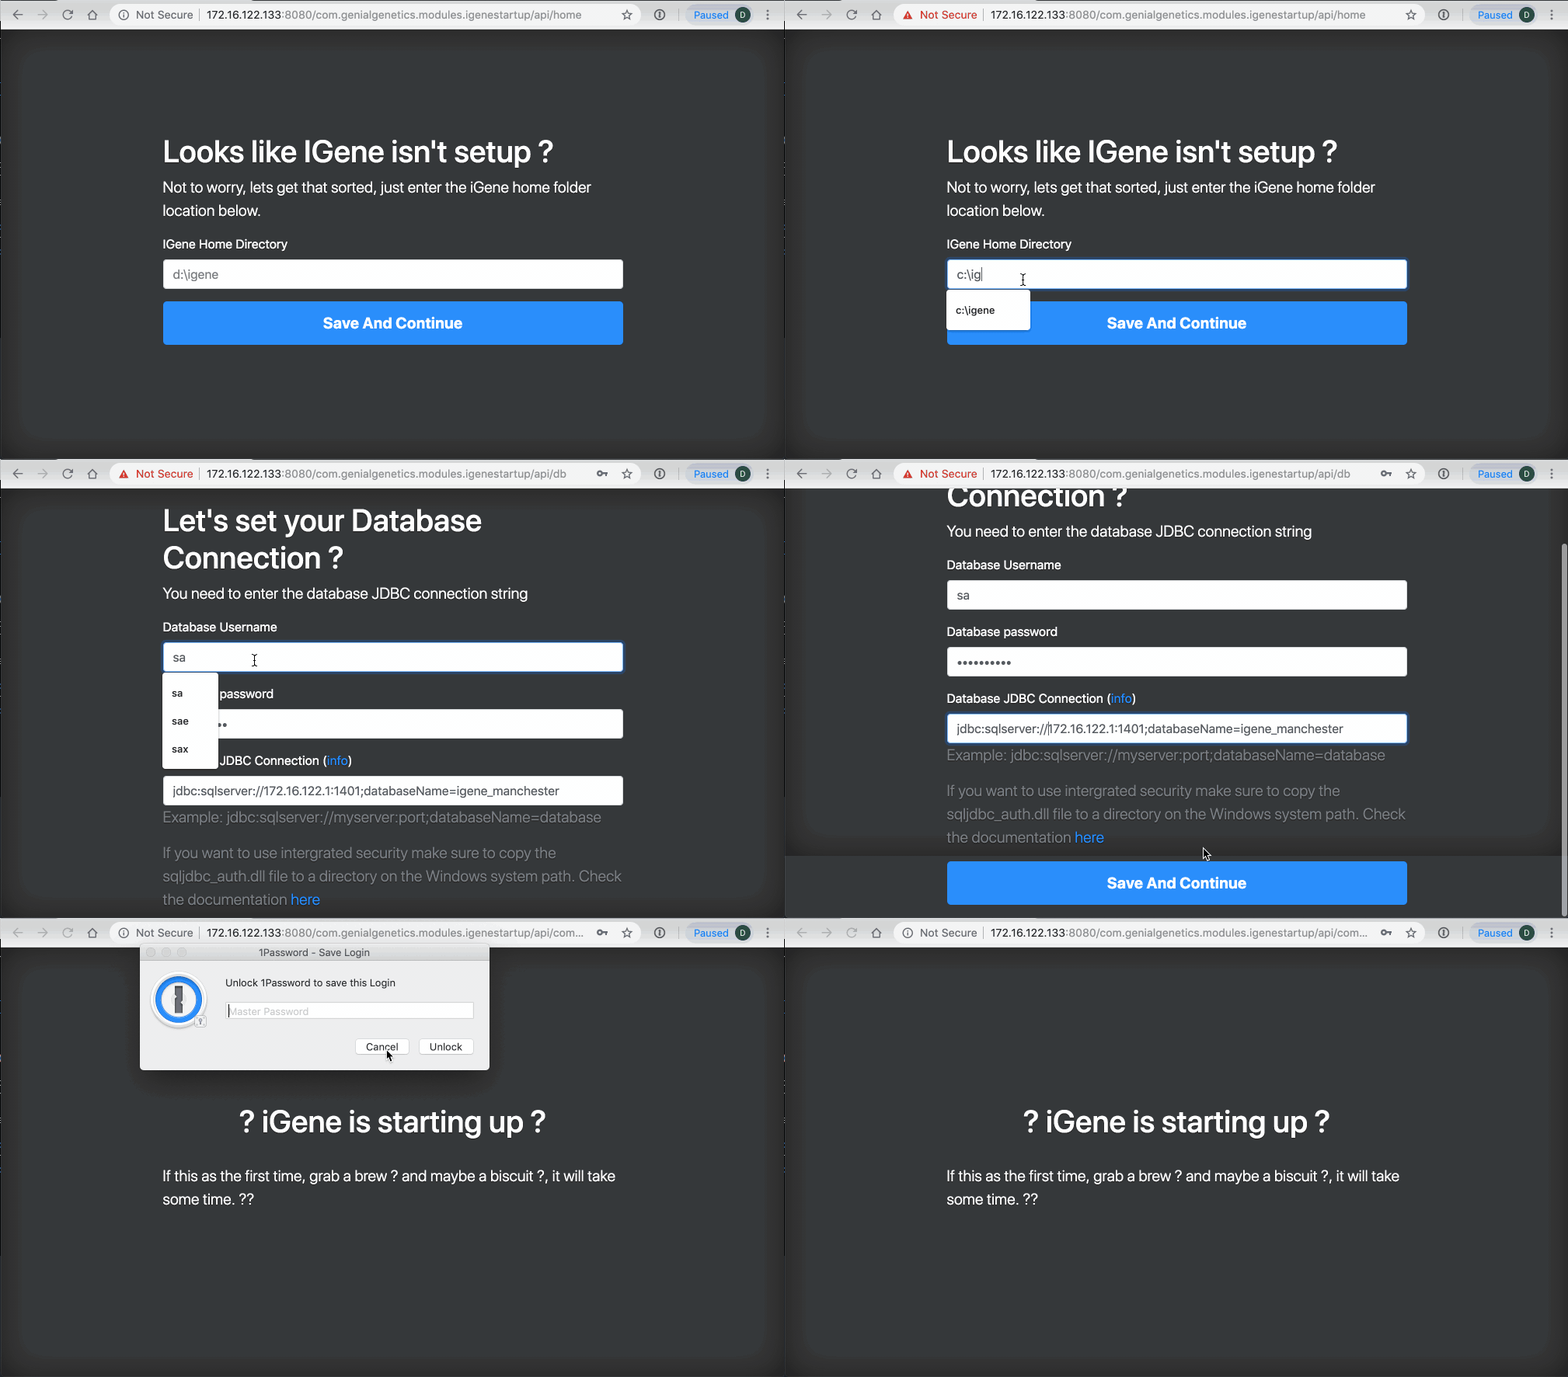
About about 30 seconds you should see a screen like this to show that iGene is starting.
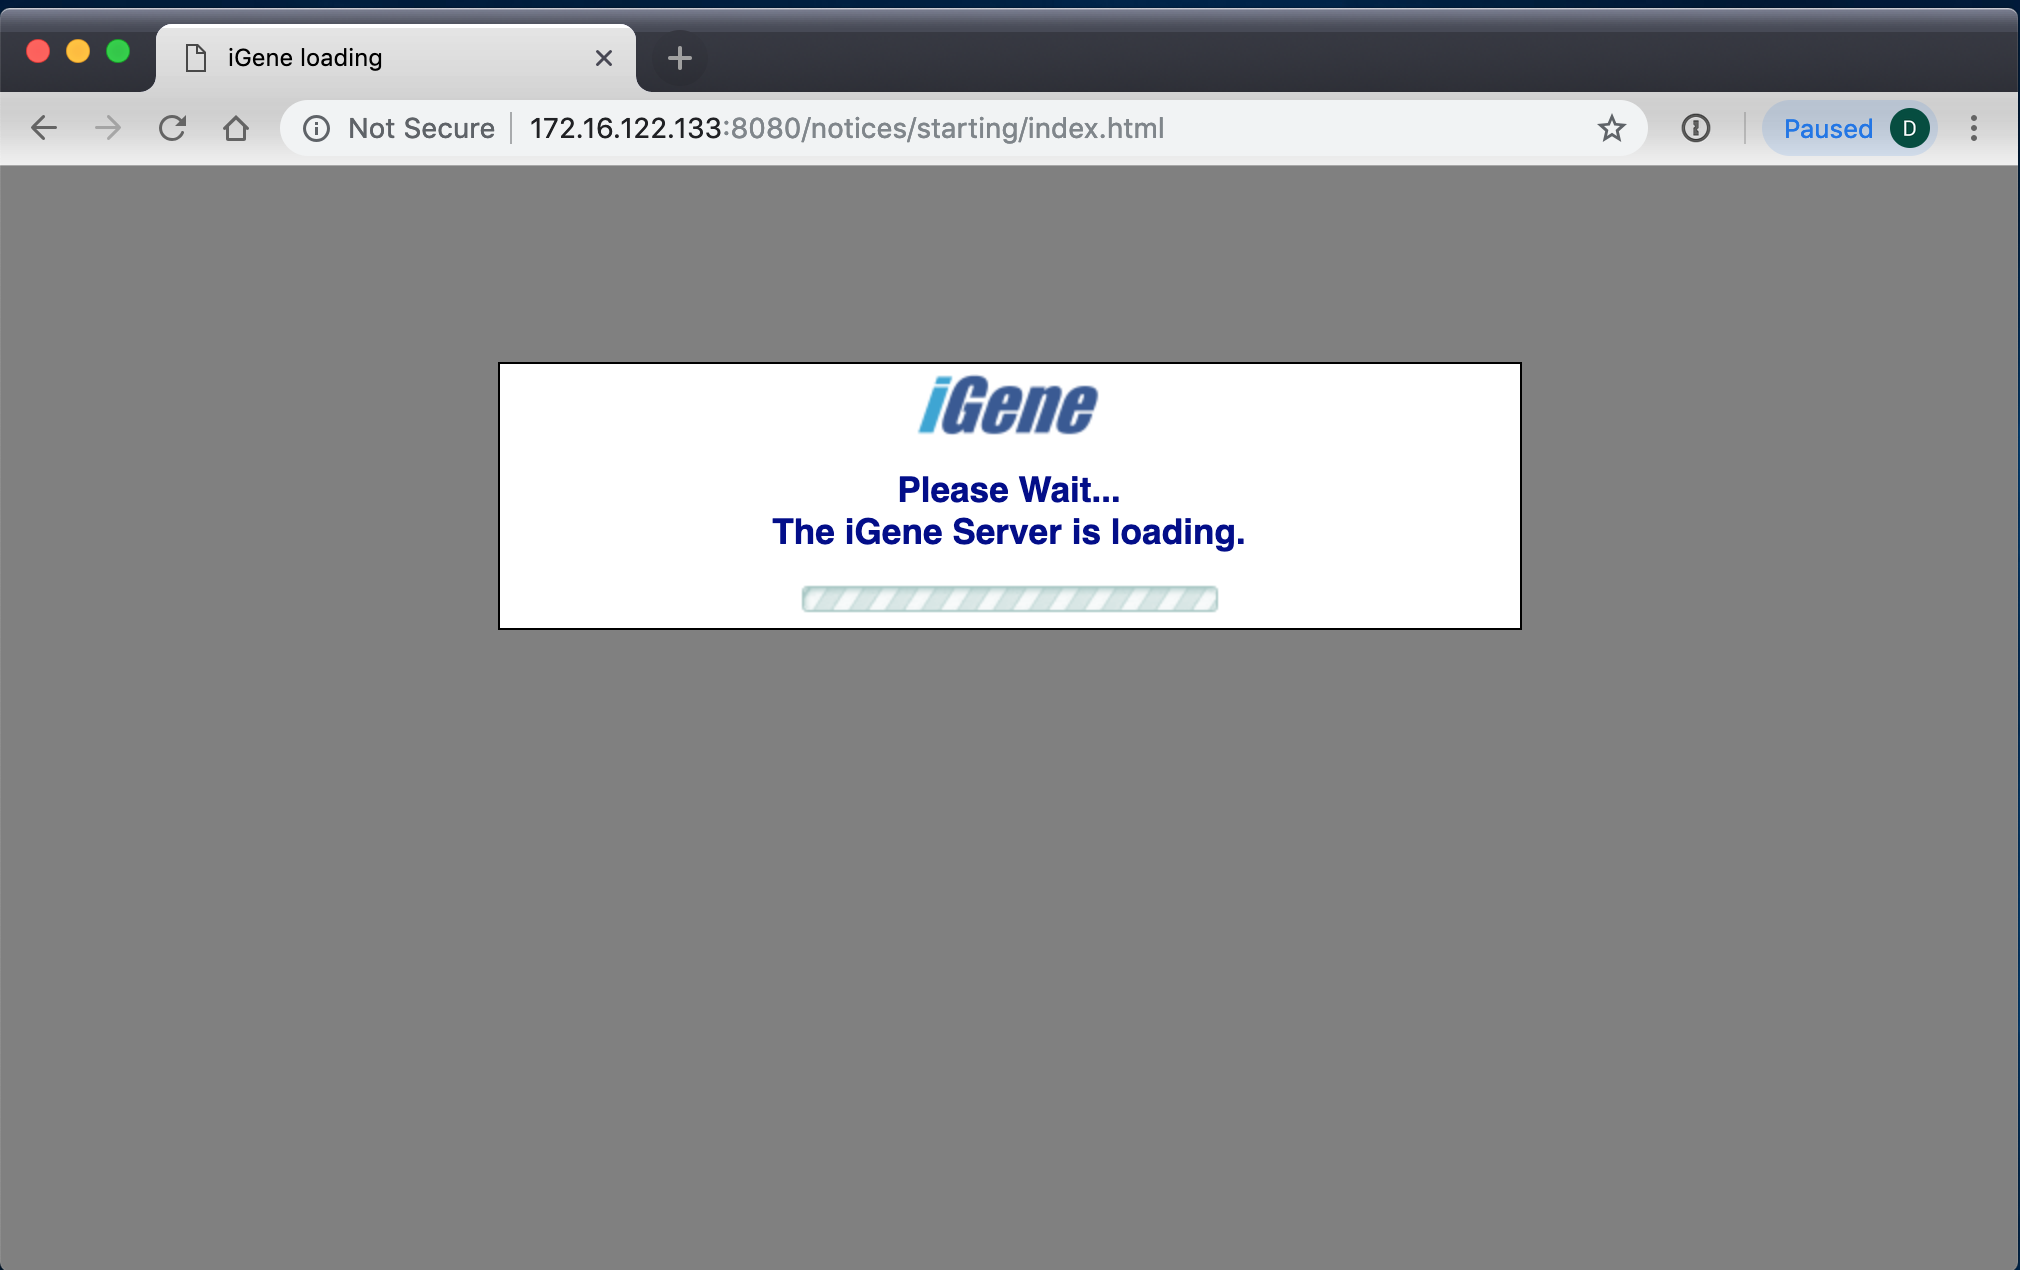
Note: You’ll need to open up tcp port 8080 on the local firewall to be able to access this URL from another machine.
Installing on a machine without internet access.
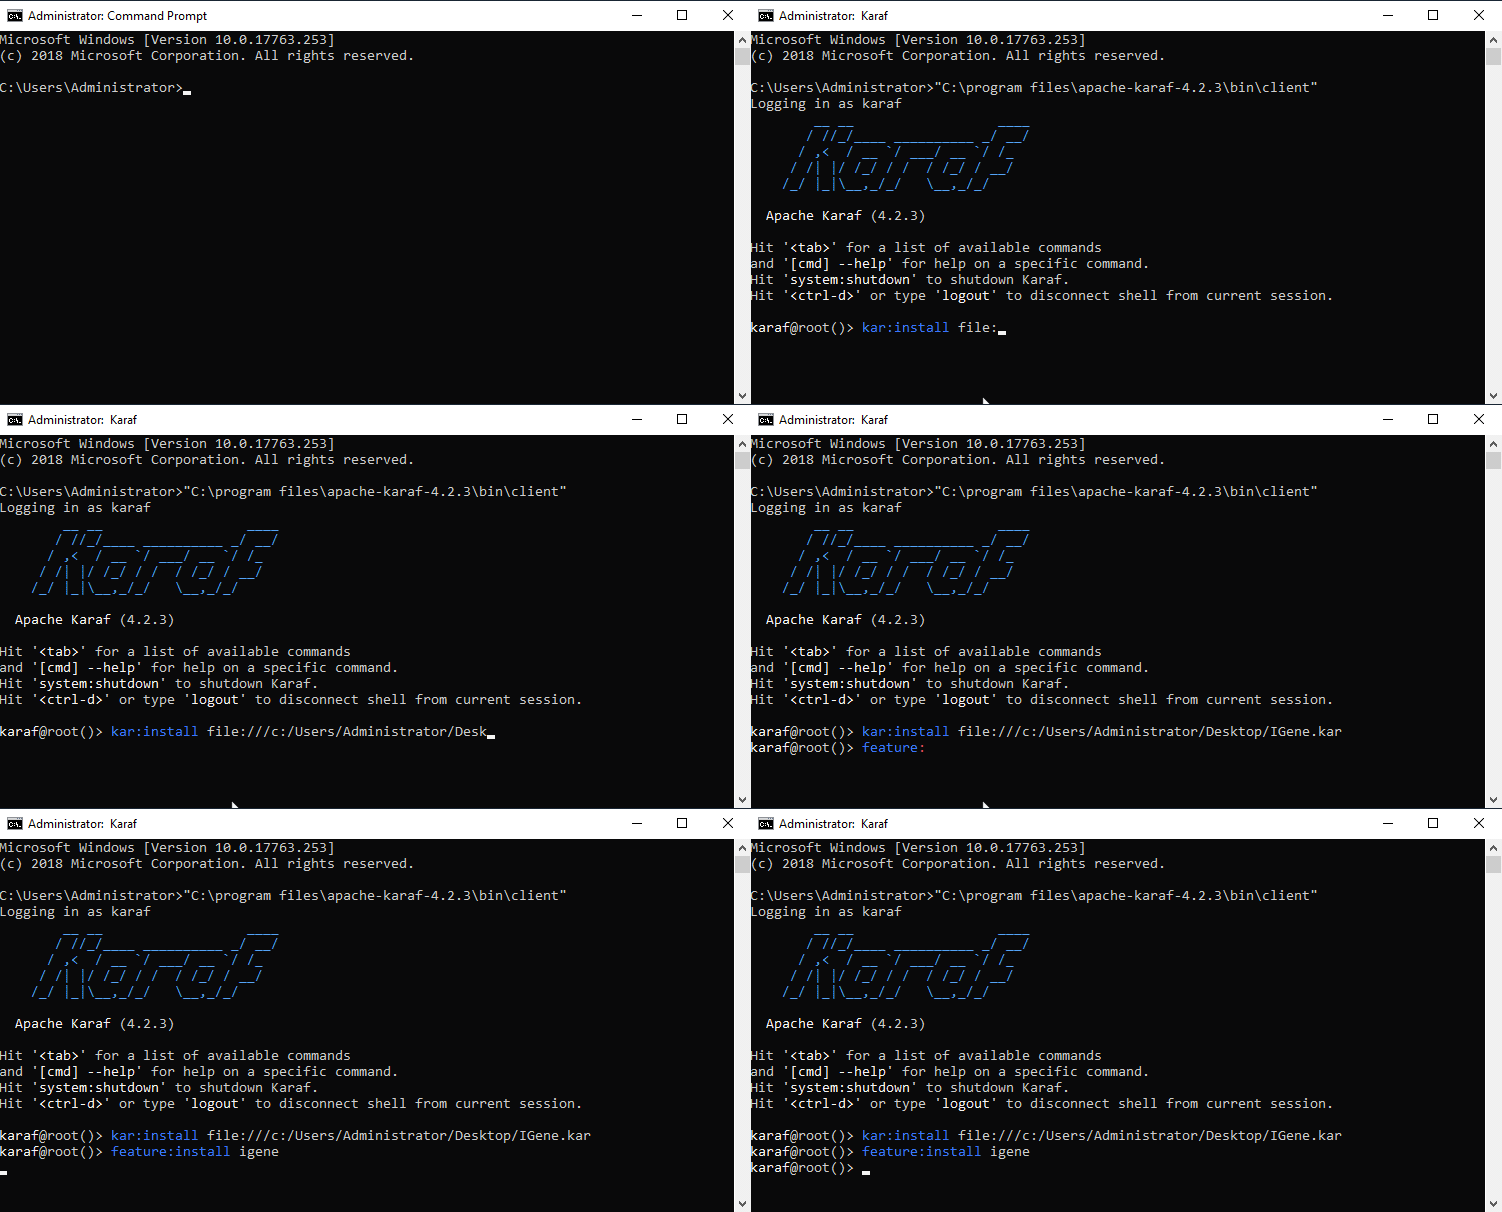
It’s possible to install iGene on a server without direct internet access, but there is an extra step. First on a machine with internet access run the following commands to create a kar archive.
"C:\program files\apache-karaf-4.2.3\bin\client"
feature:repo-add mvn:com.genialgenetics/igene.features/3.19.0/xml/features
kar:create IGene
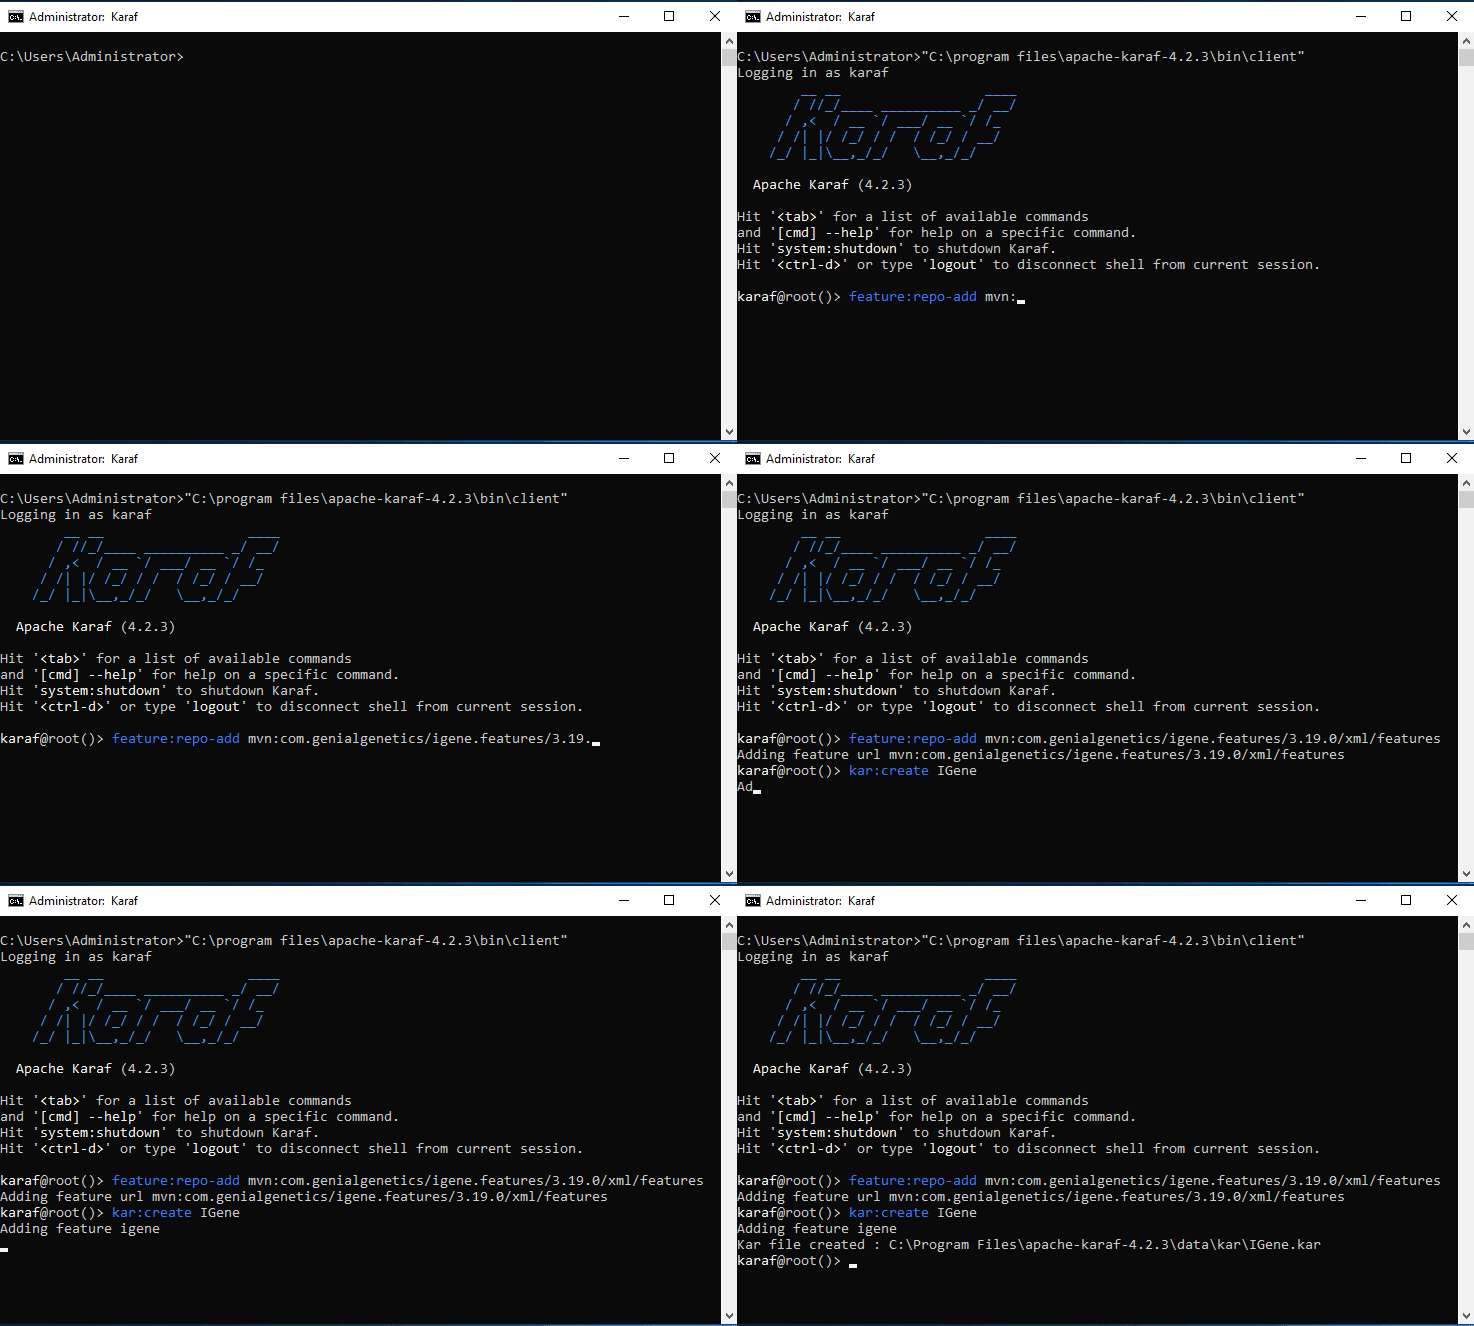
This will create a file in C:\program files\apache-karaf-4.2.3\bin\data\kar\IGene.kar copy over onto the destination
server and run the following.
kar:install file:/location/to the file/igene.kar
feature:install igene
