Creating Reports
iGene allows users to create reports which collect and display information from the system. These reports can be used to display information in a variety of ways, such as tables, graphs, and charts.
It is highly advisable to download Jaspersoft Community Edition in order to create the reports. This is a free software, and this guide will relate to creating reports this way. It will be assumed for the rest of this guide that Jaspersoft is downloaded.
Setup
Suppose a user wants to create a report that will be printable from the patient list. First, navigate to this area where the report will be created.
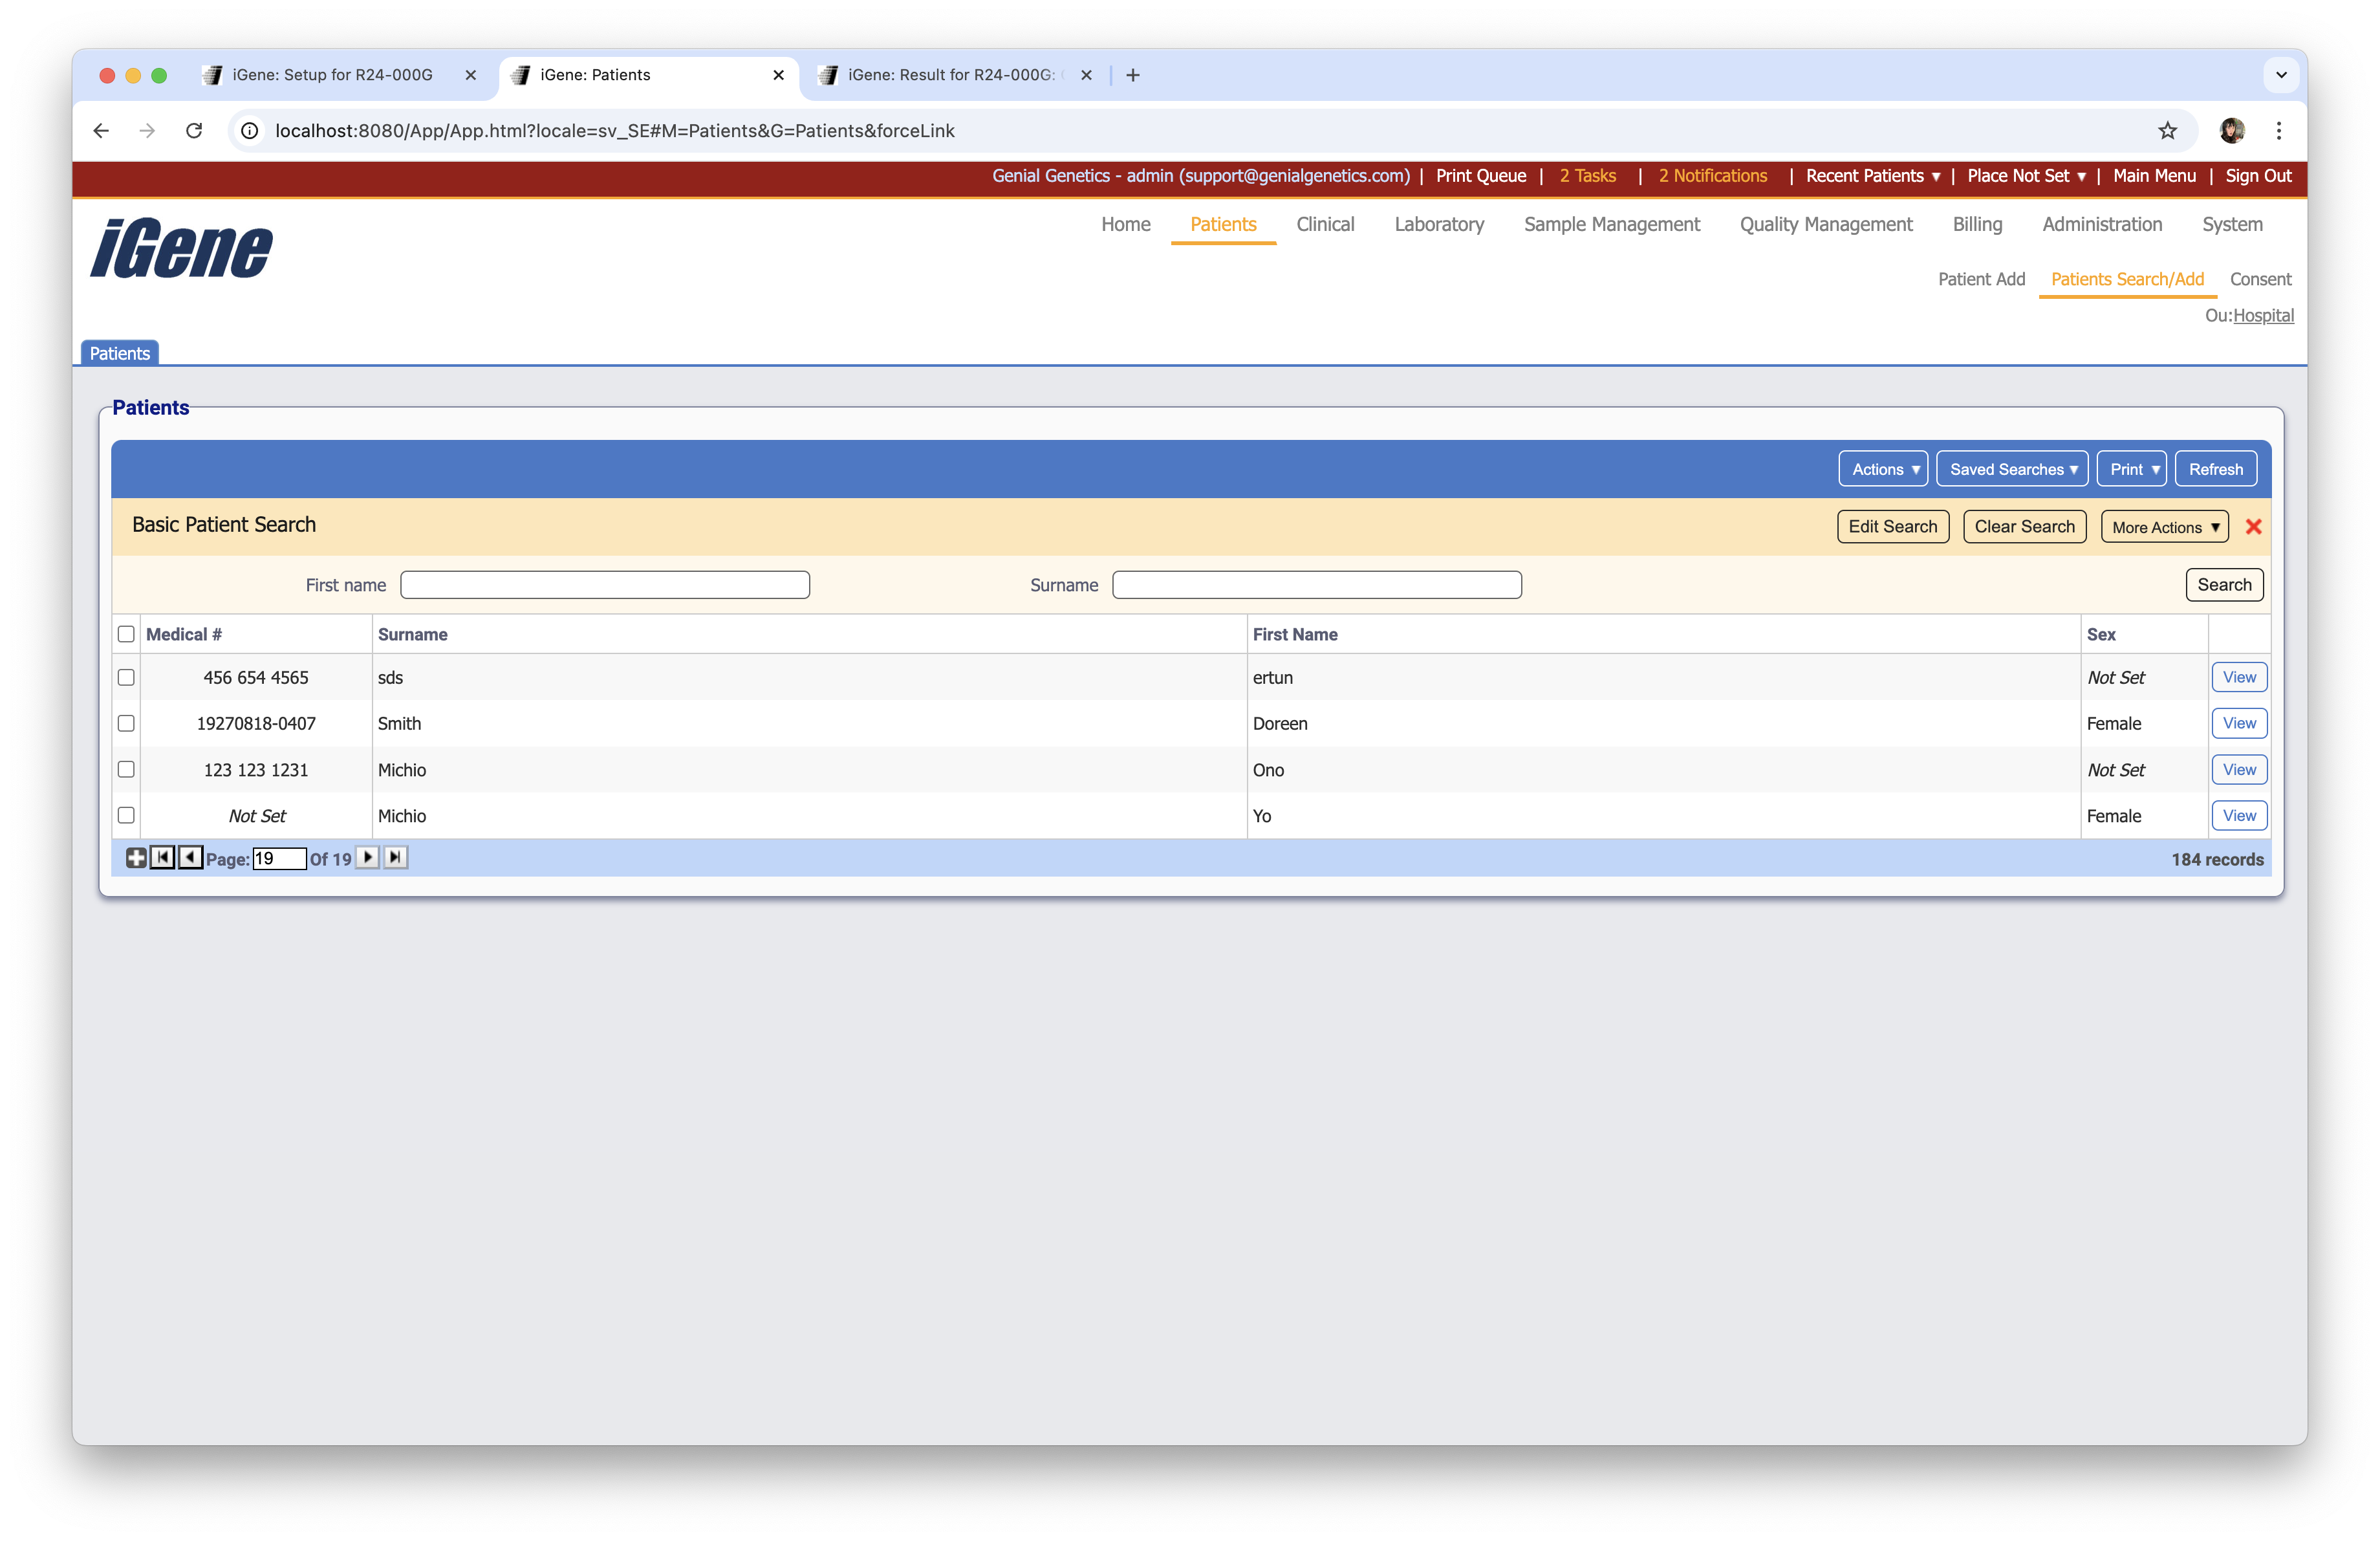
Hold shift and click one of the headers of the table. For this example, the user will click on Surname. This causes the following popup:
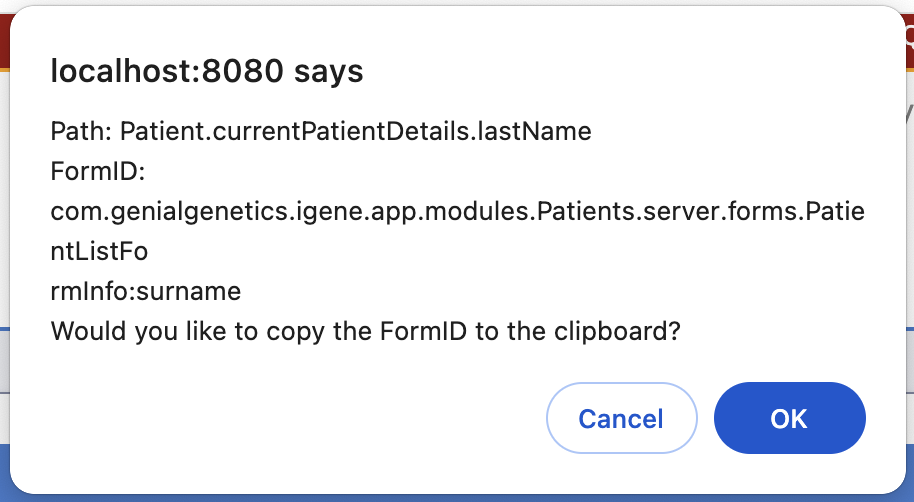
The important part of this popup is the beginning of the path. In this case, the path is Patient.currentPatientDetails.lastName, so the part that the user will need to note is that it says Patient. This will be the Report type for the new report.
Creating a Report
Navigate to Administration > Reports. Click the plus button at the bottom of the table, which will result in the following popup:
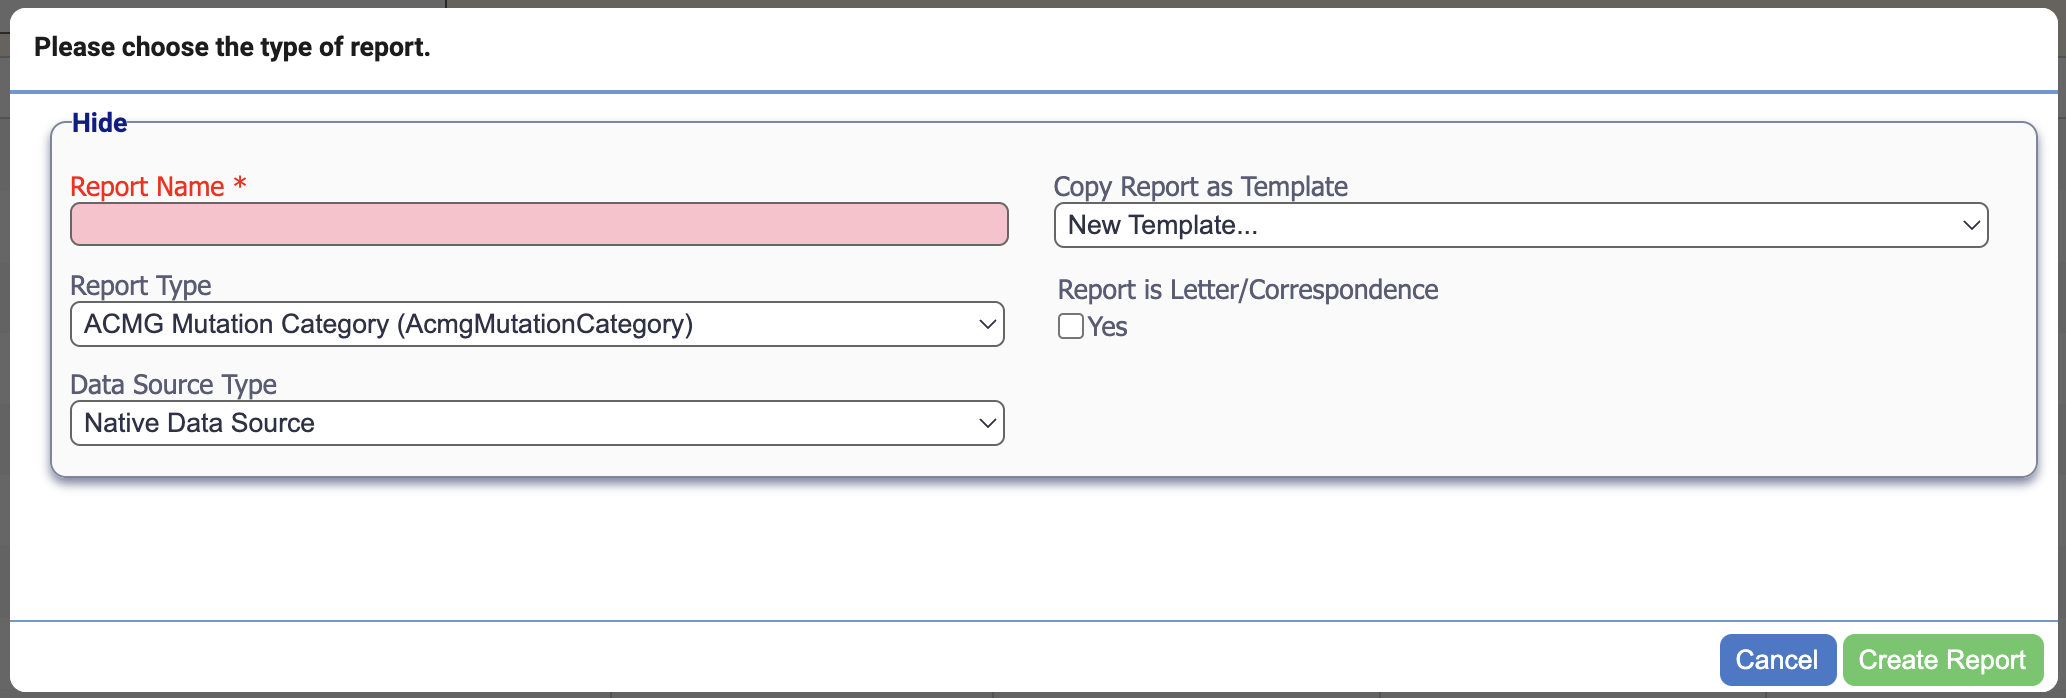
The report name can be whatever the user desires. Leave Copy Report as Template as New Template as the aim is to create a brand new report. The Report Type was found earlier, so in this case it will be Patient. Click the green Create Report button.
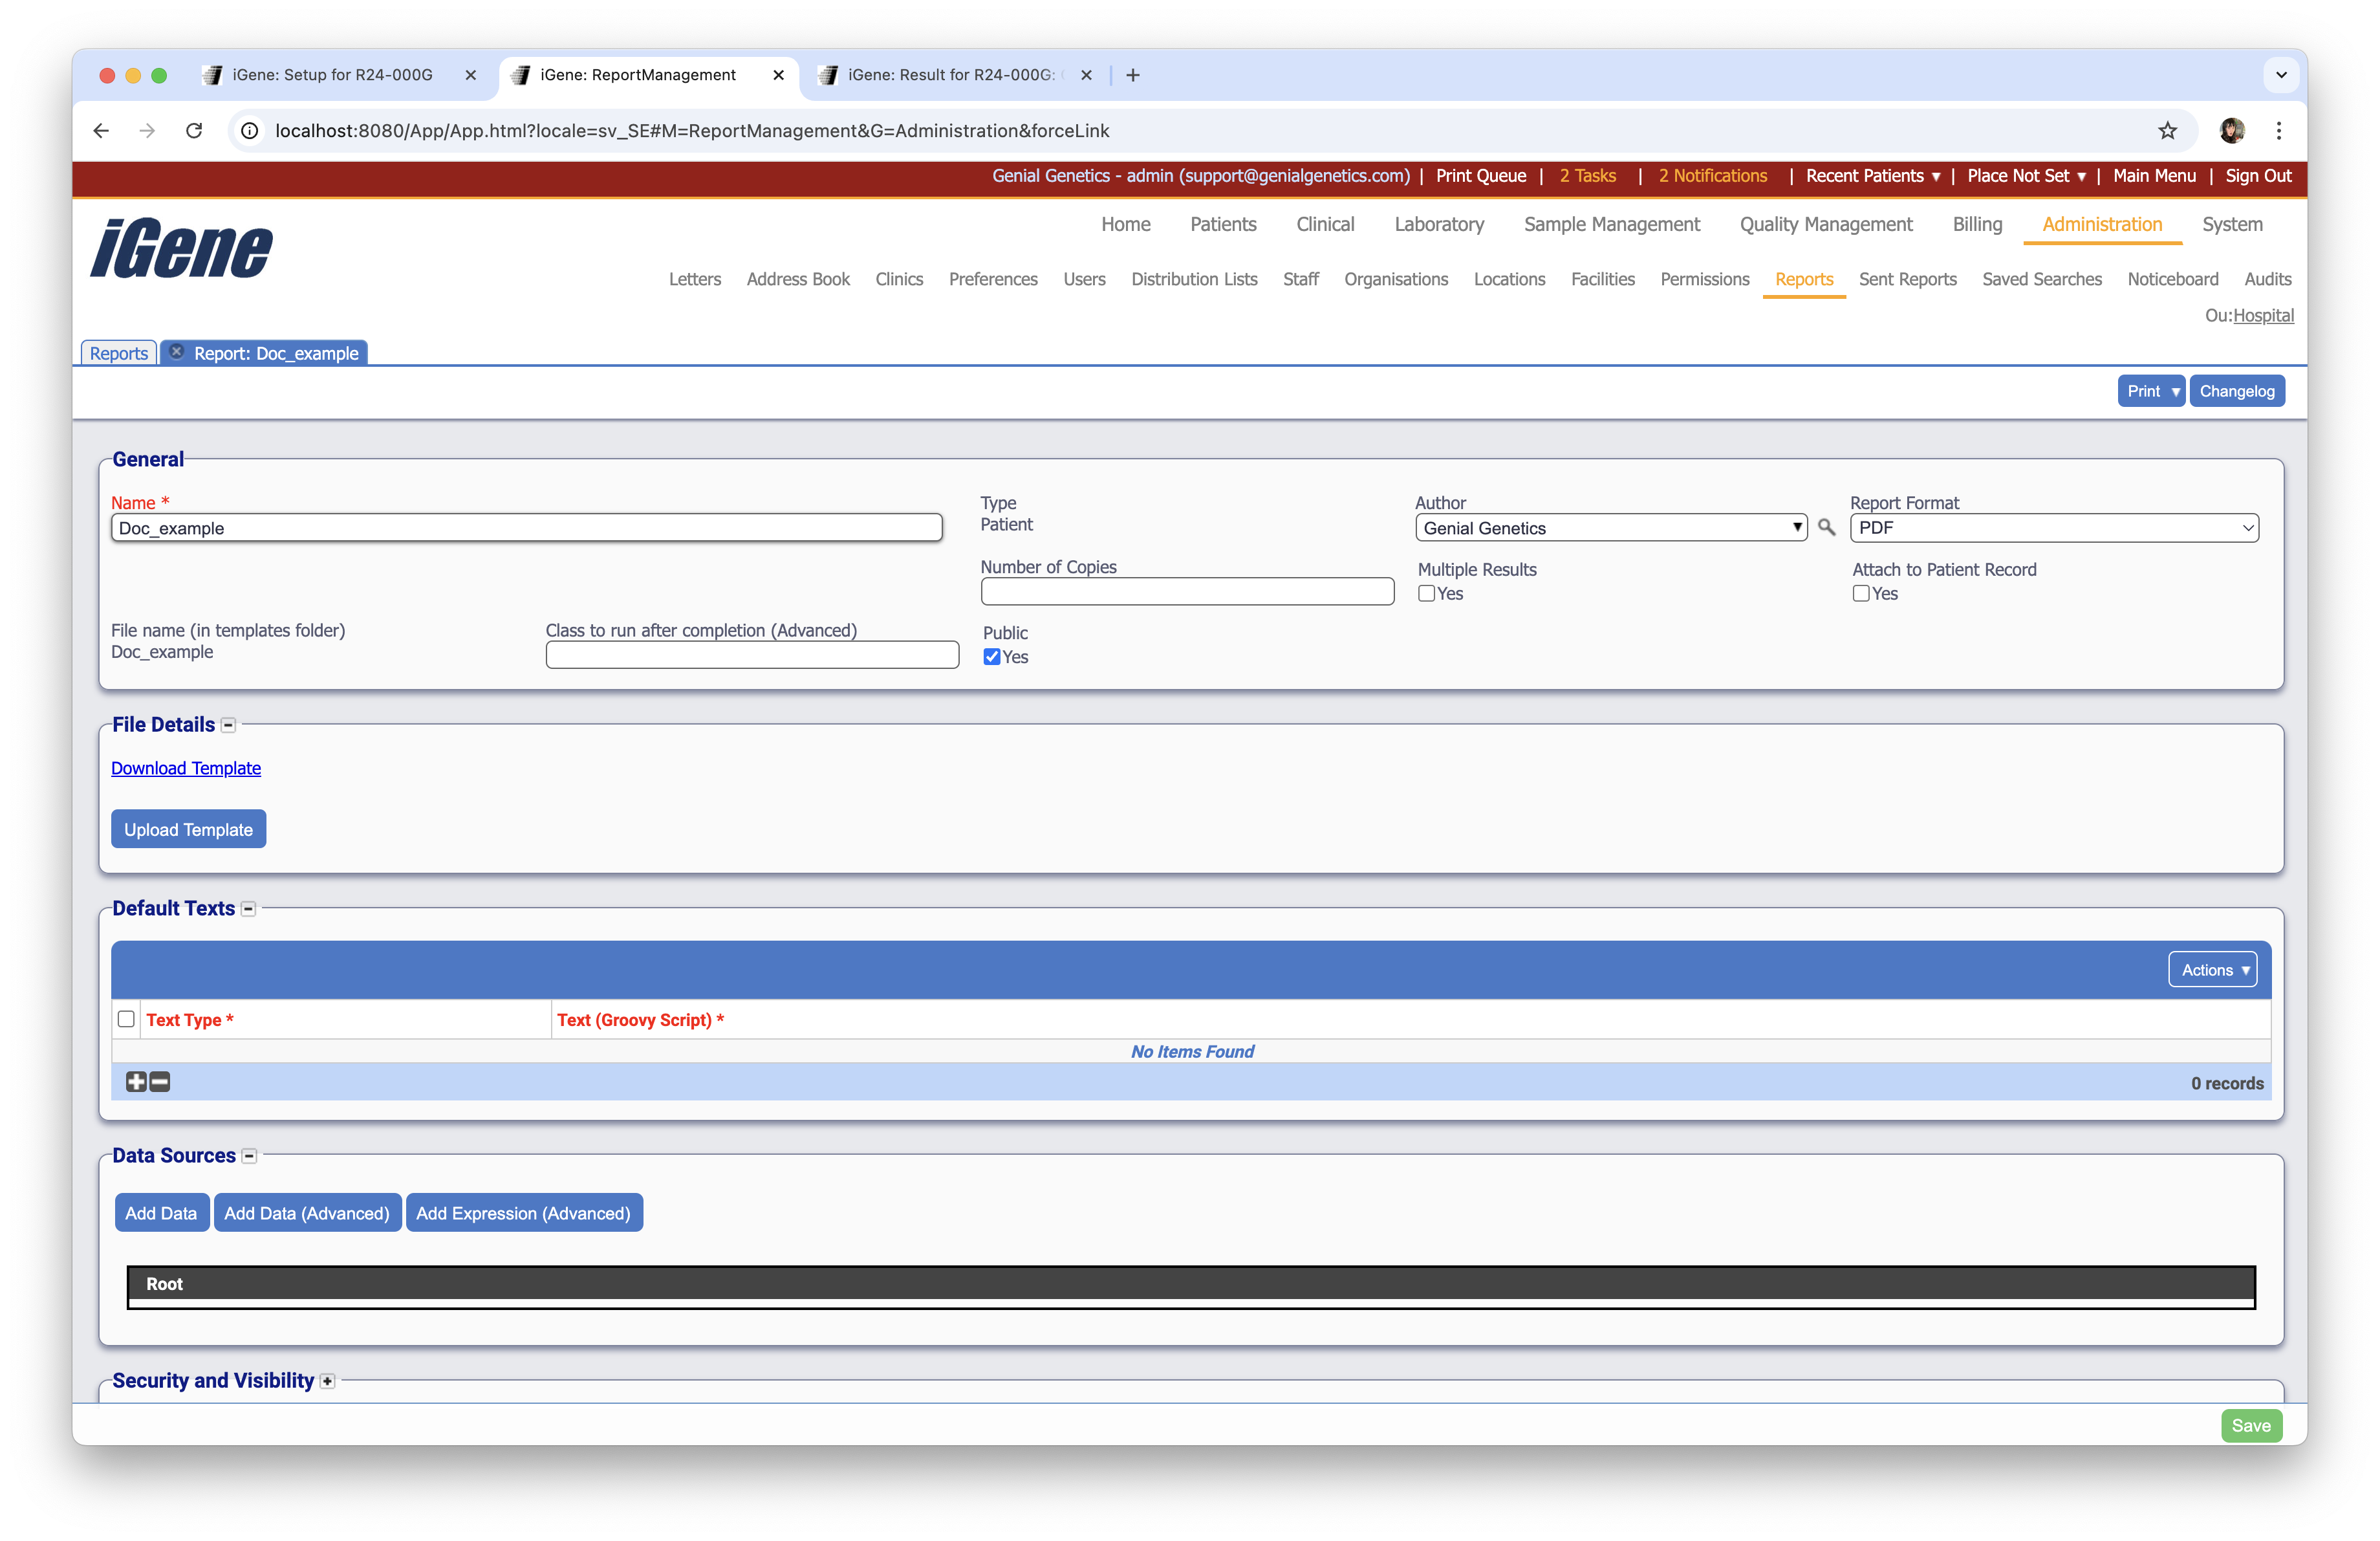
An important part of this page is the Multiple Results checkbox towards the top of the page. If this is checked, it means the option to print will be from the table (i.e. it will print for multiple patients). If it is unchecked, it will print from the patient page for one specific patient. For our example, we wish to print from the patient table so we should ensure that this box is checked.
The Data Sources area is where we can add the data that we want to display in the report. Click Add Data to add a new data source. This causes a popup where the user can find the required information. In this case, we will add First name, Surname, and Current Address.
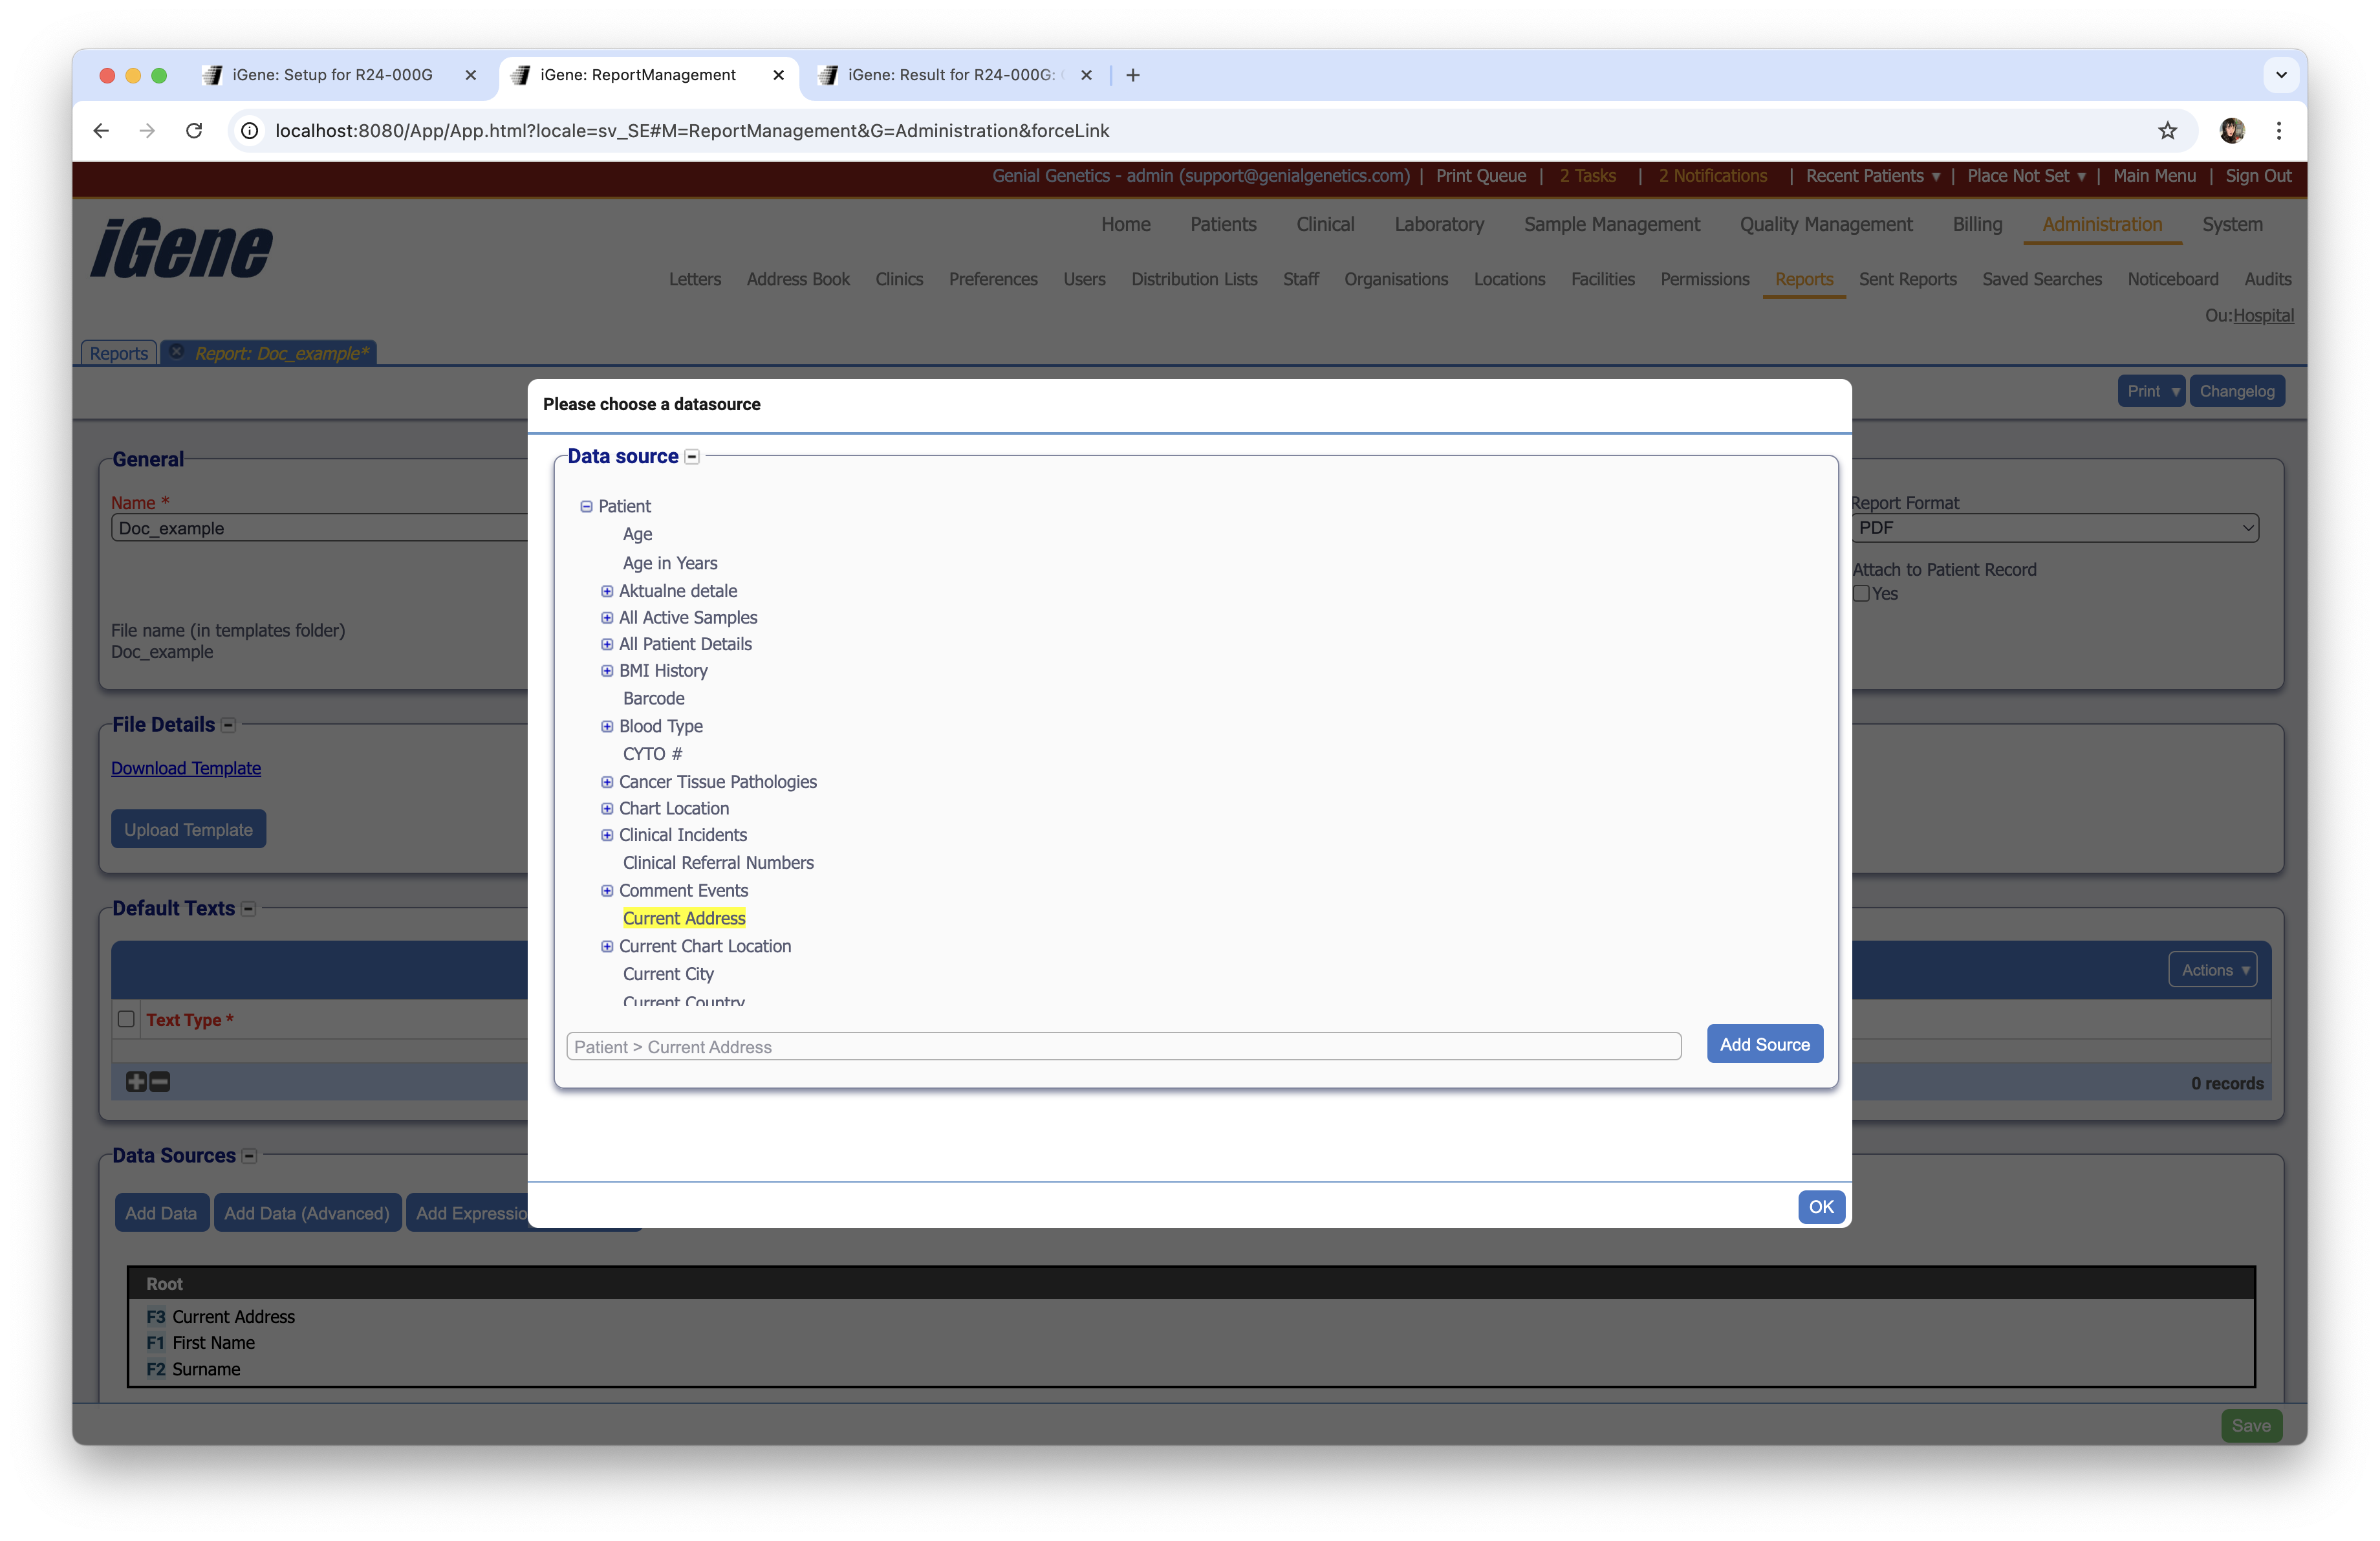
After clicking OK to close the popup, click the green Save button at the bottom right of the page. This is all of the iGene side done, so now we will move on to customising is in Jaspersoft.
Customising the Report
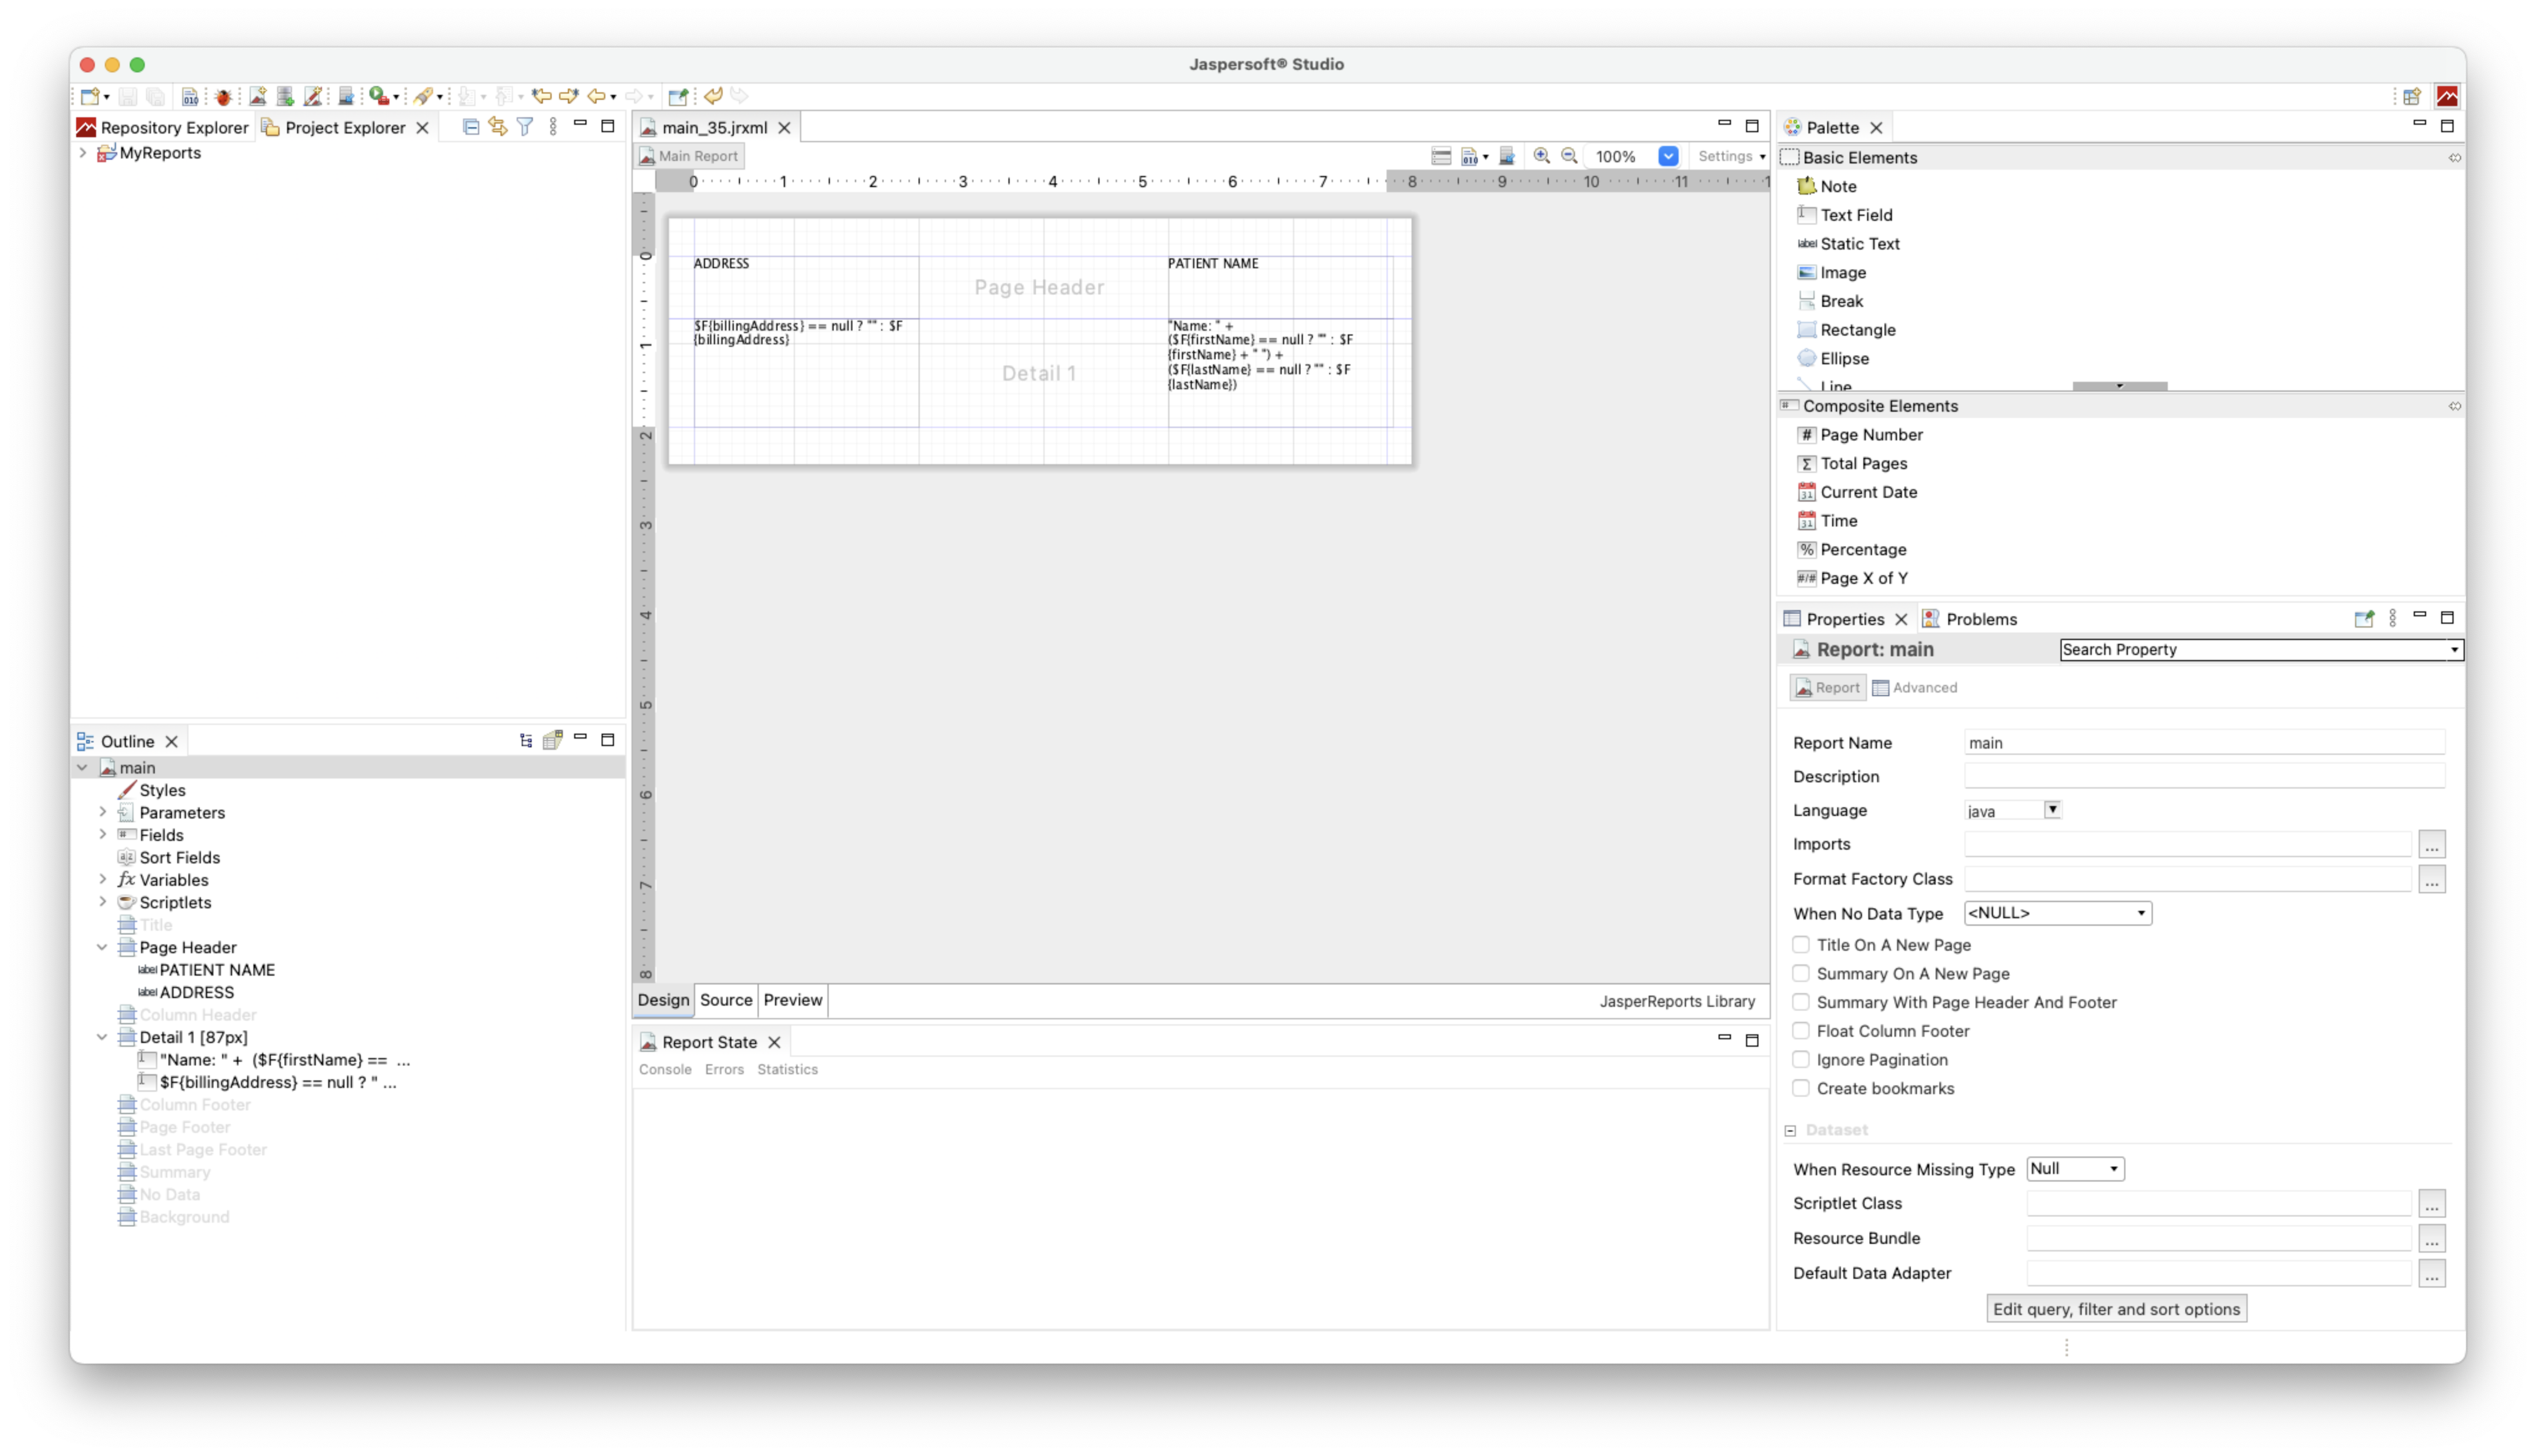
Open Jaspersoft and click File > Open File. Navigate to the iGene folder. From here, navigate to templates > name of the report > templates. Double click main.jrxml to open the report. It will be blank at this point, but if you click the Fields dropdown in the lower right, you will be able to see the fields brought in by iGene (billingAddress, firstName, and lastName).
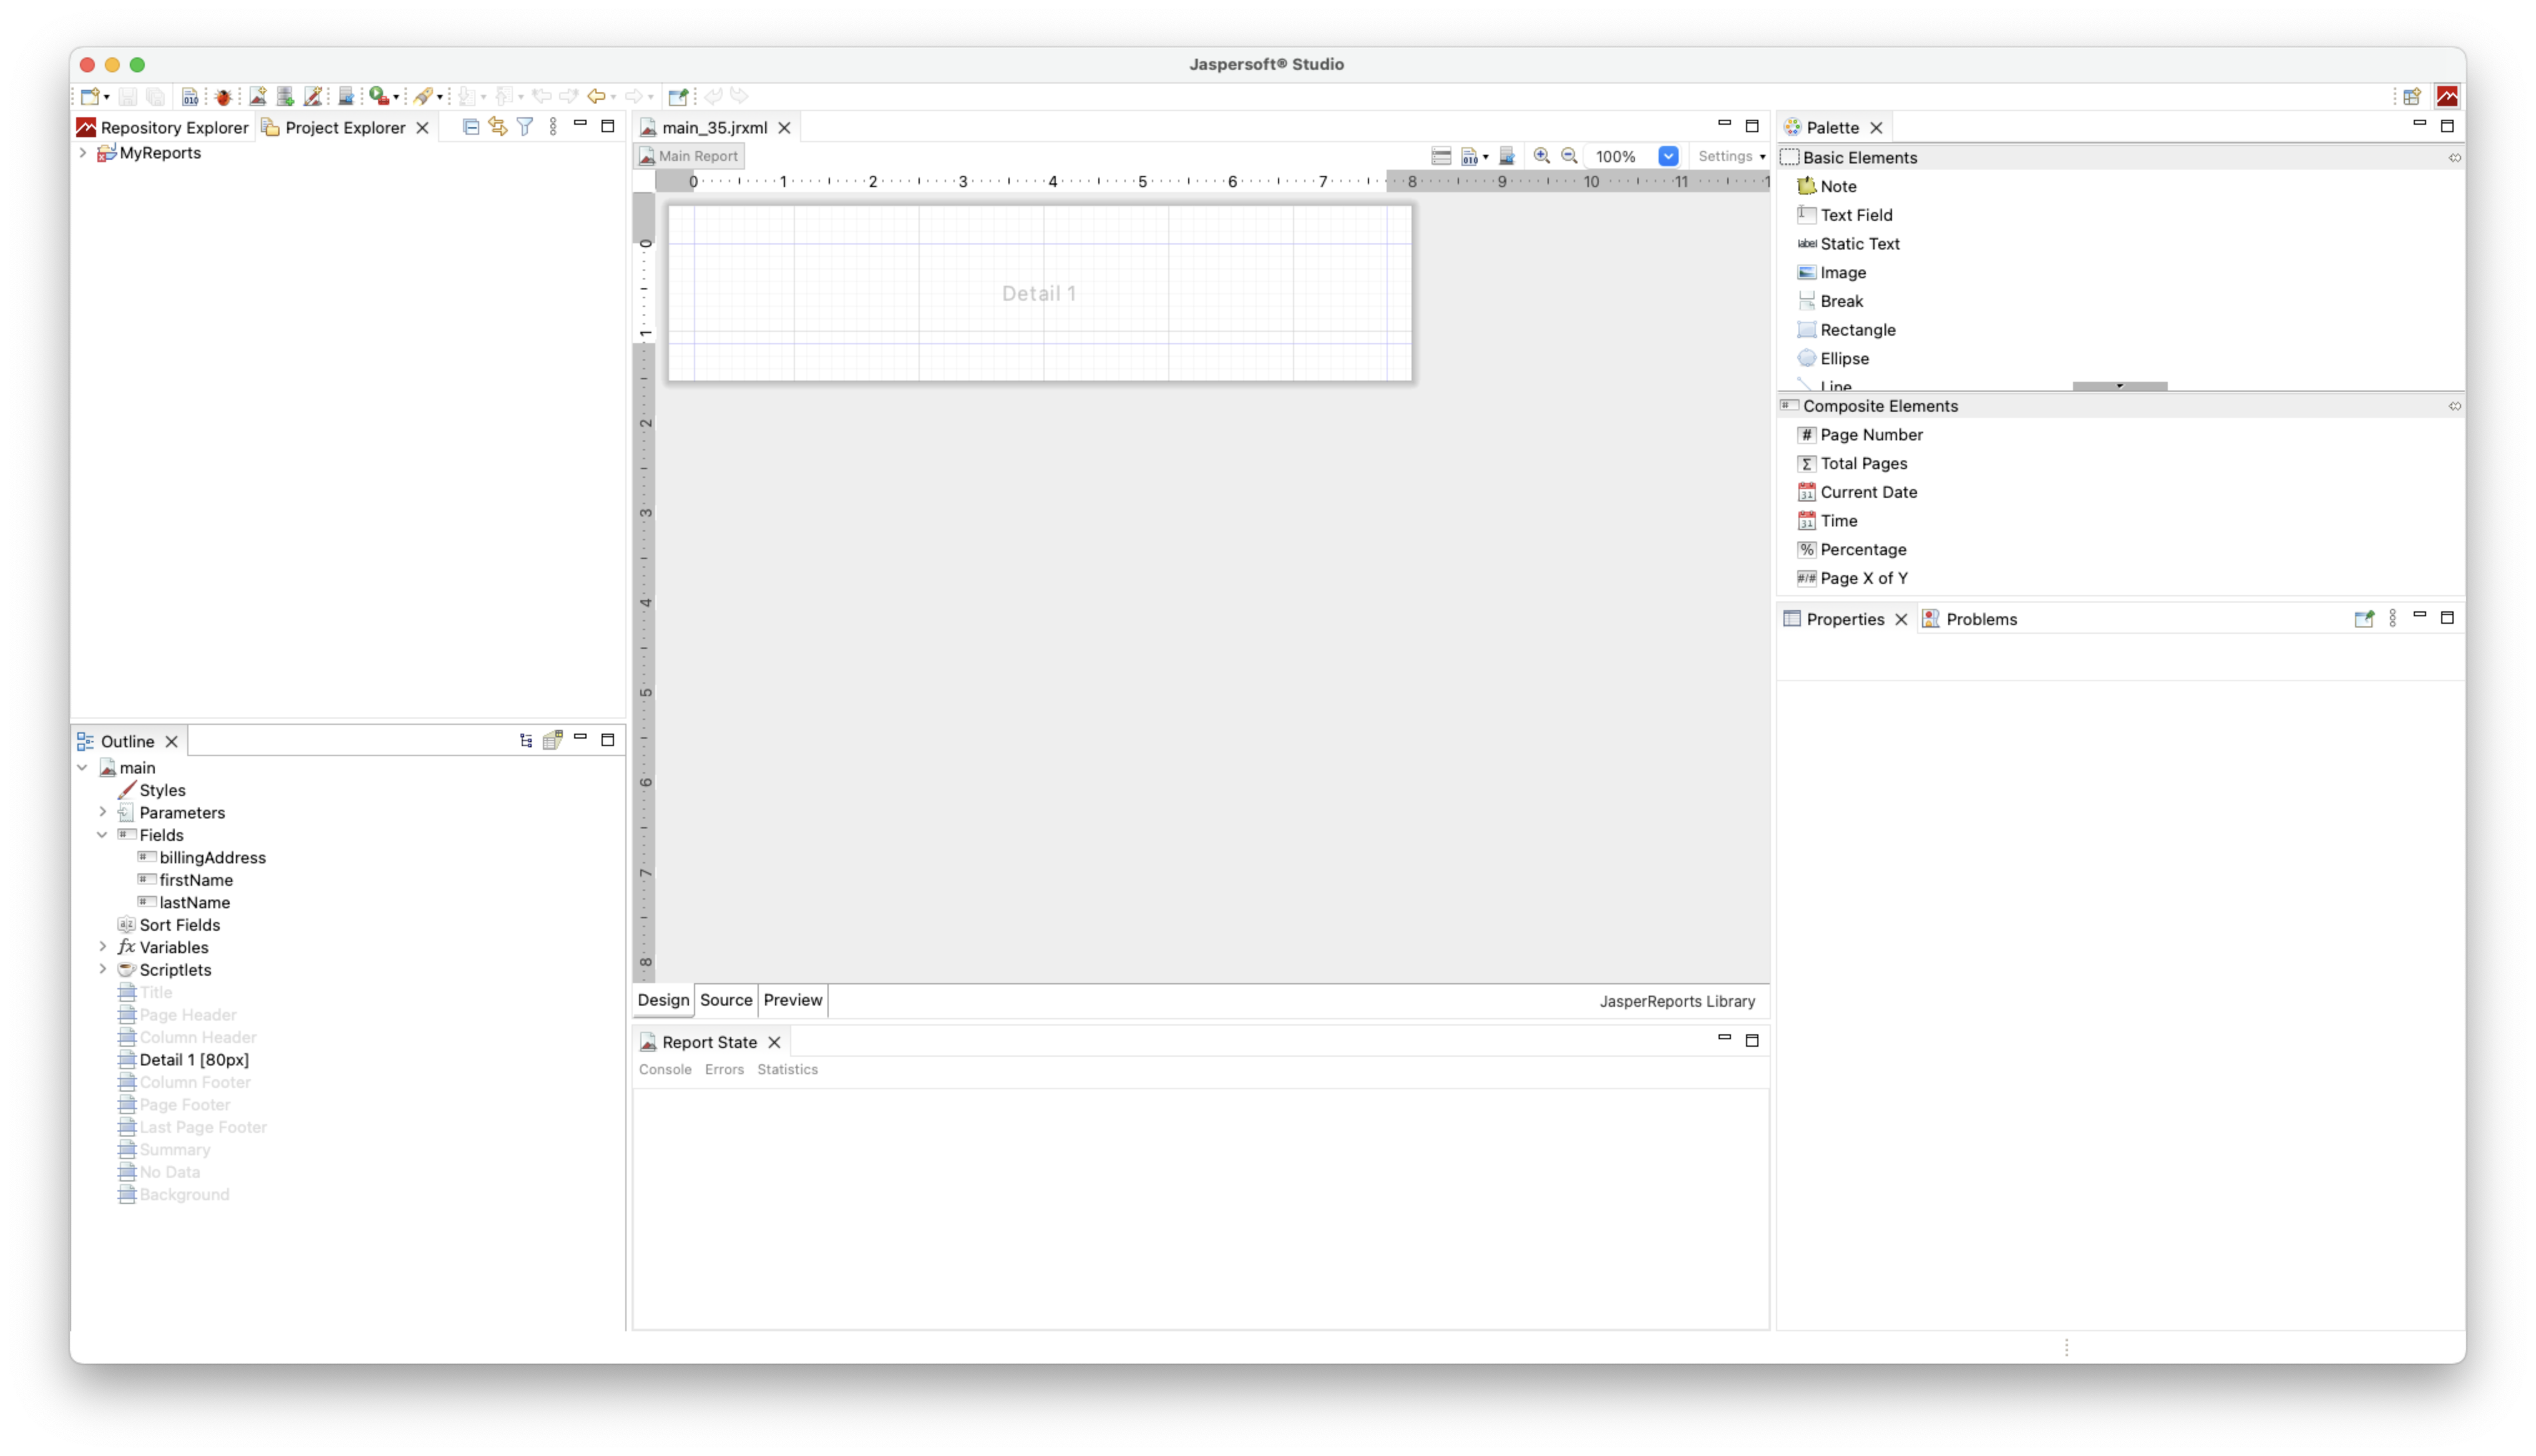
The most common elements likely to be used for most reports are the Text Field, and that Static text. Both of these can be seen in the upper right area of the above screenshots. Static Text will always display the same text, whereas Text Fields can be used to display data from the system. Extra detail bands can also be added in the outline area where the fields are visible. It is not mandatory to add extra bands, but it can make it easier to customise the more complex reports.
Drag and drop a Text Field onto the report. The size can be adjusted by dragging the edges. Double click it to edit what the text will say.
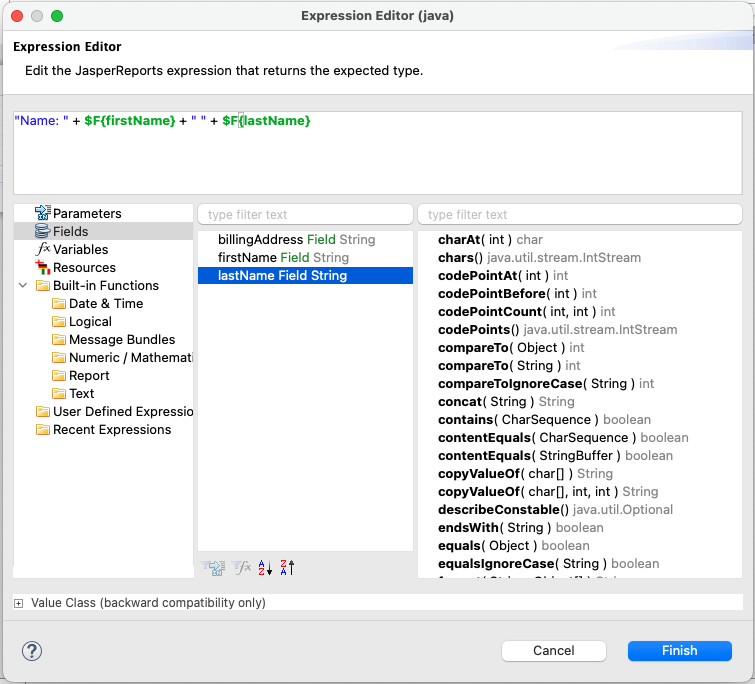
Note that the above shows an example of how text can be put together as a simple expression. It shows that is will always print out “Name: “ followed by the patient’s first name, a space, then the last name. However, this can cause errors if either of the fields are null, so it is usually best to use expressions to check this.
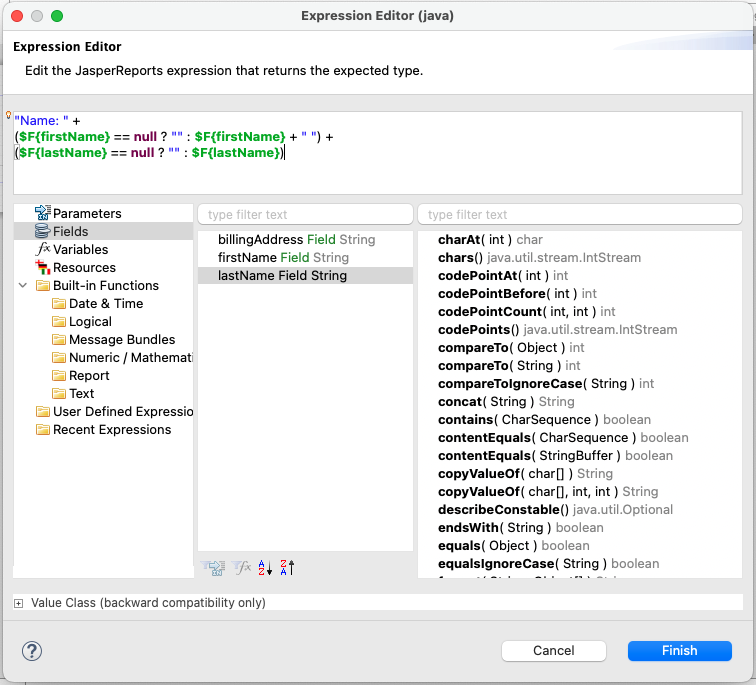
This may feel a little more advanced, but it is a good way to avoid what is known as a Null Pointer Exception (trying to get some information, but finding it to be null). We can use the following format to check this:
$F{firstName} == null ? "" : $F{firstName}
To explain what is happening here, the first part of the expression checks if the first name is null. If it is, it will do what is says after the question mark (print nothing). If it is not null, it will do what it says after the colon (print the first name). This can be used for any field that may be null.
The improved expression will look like so:
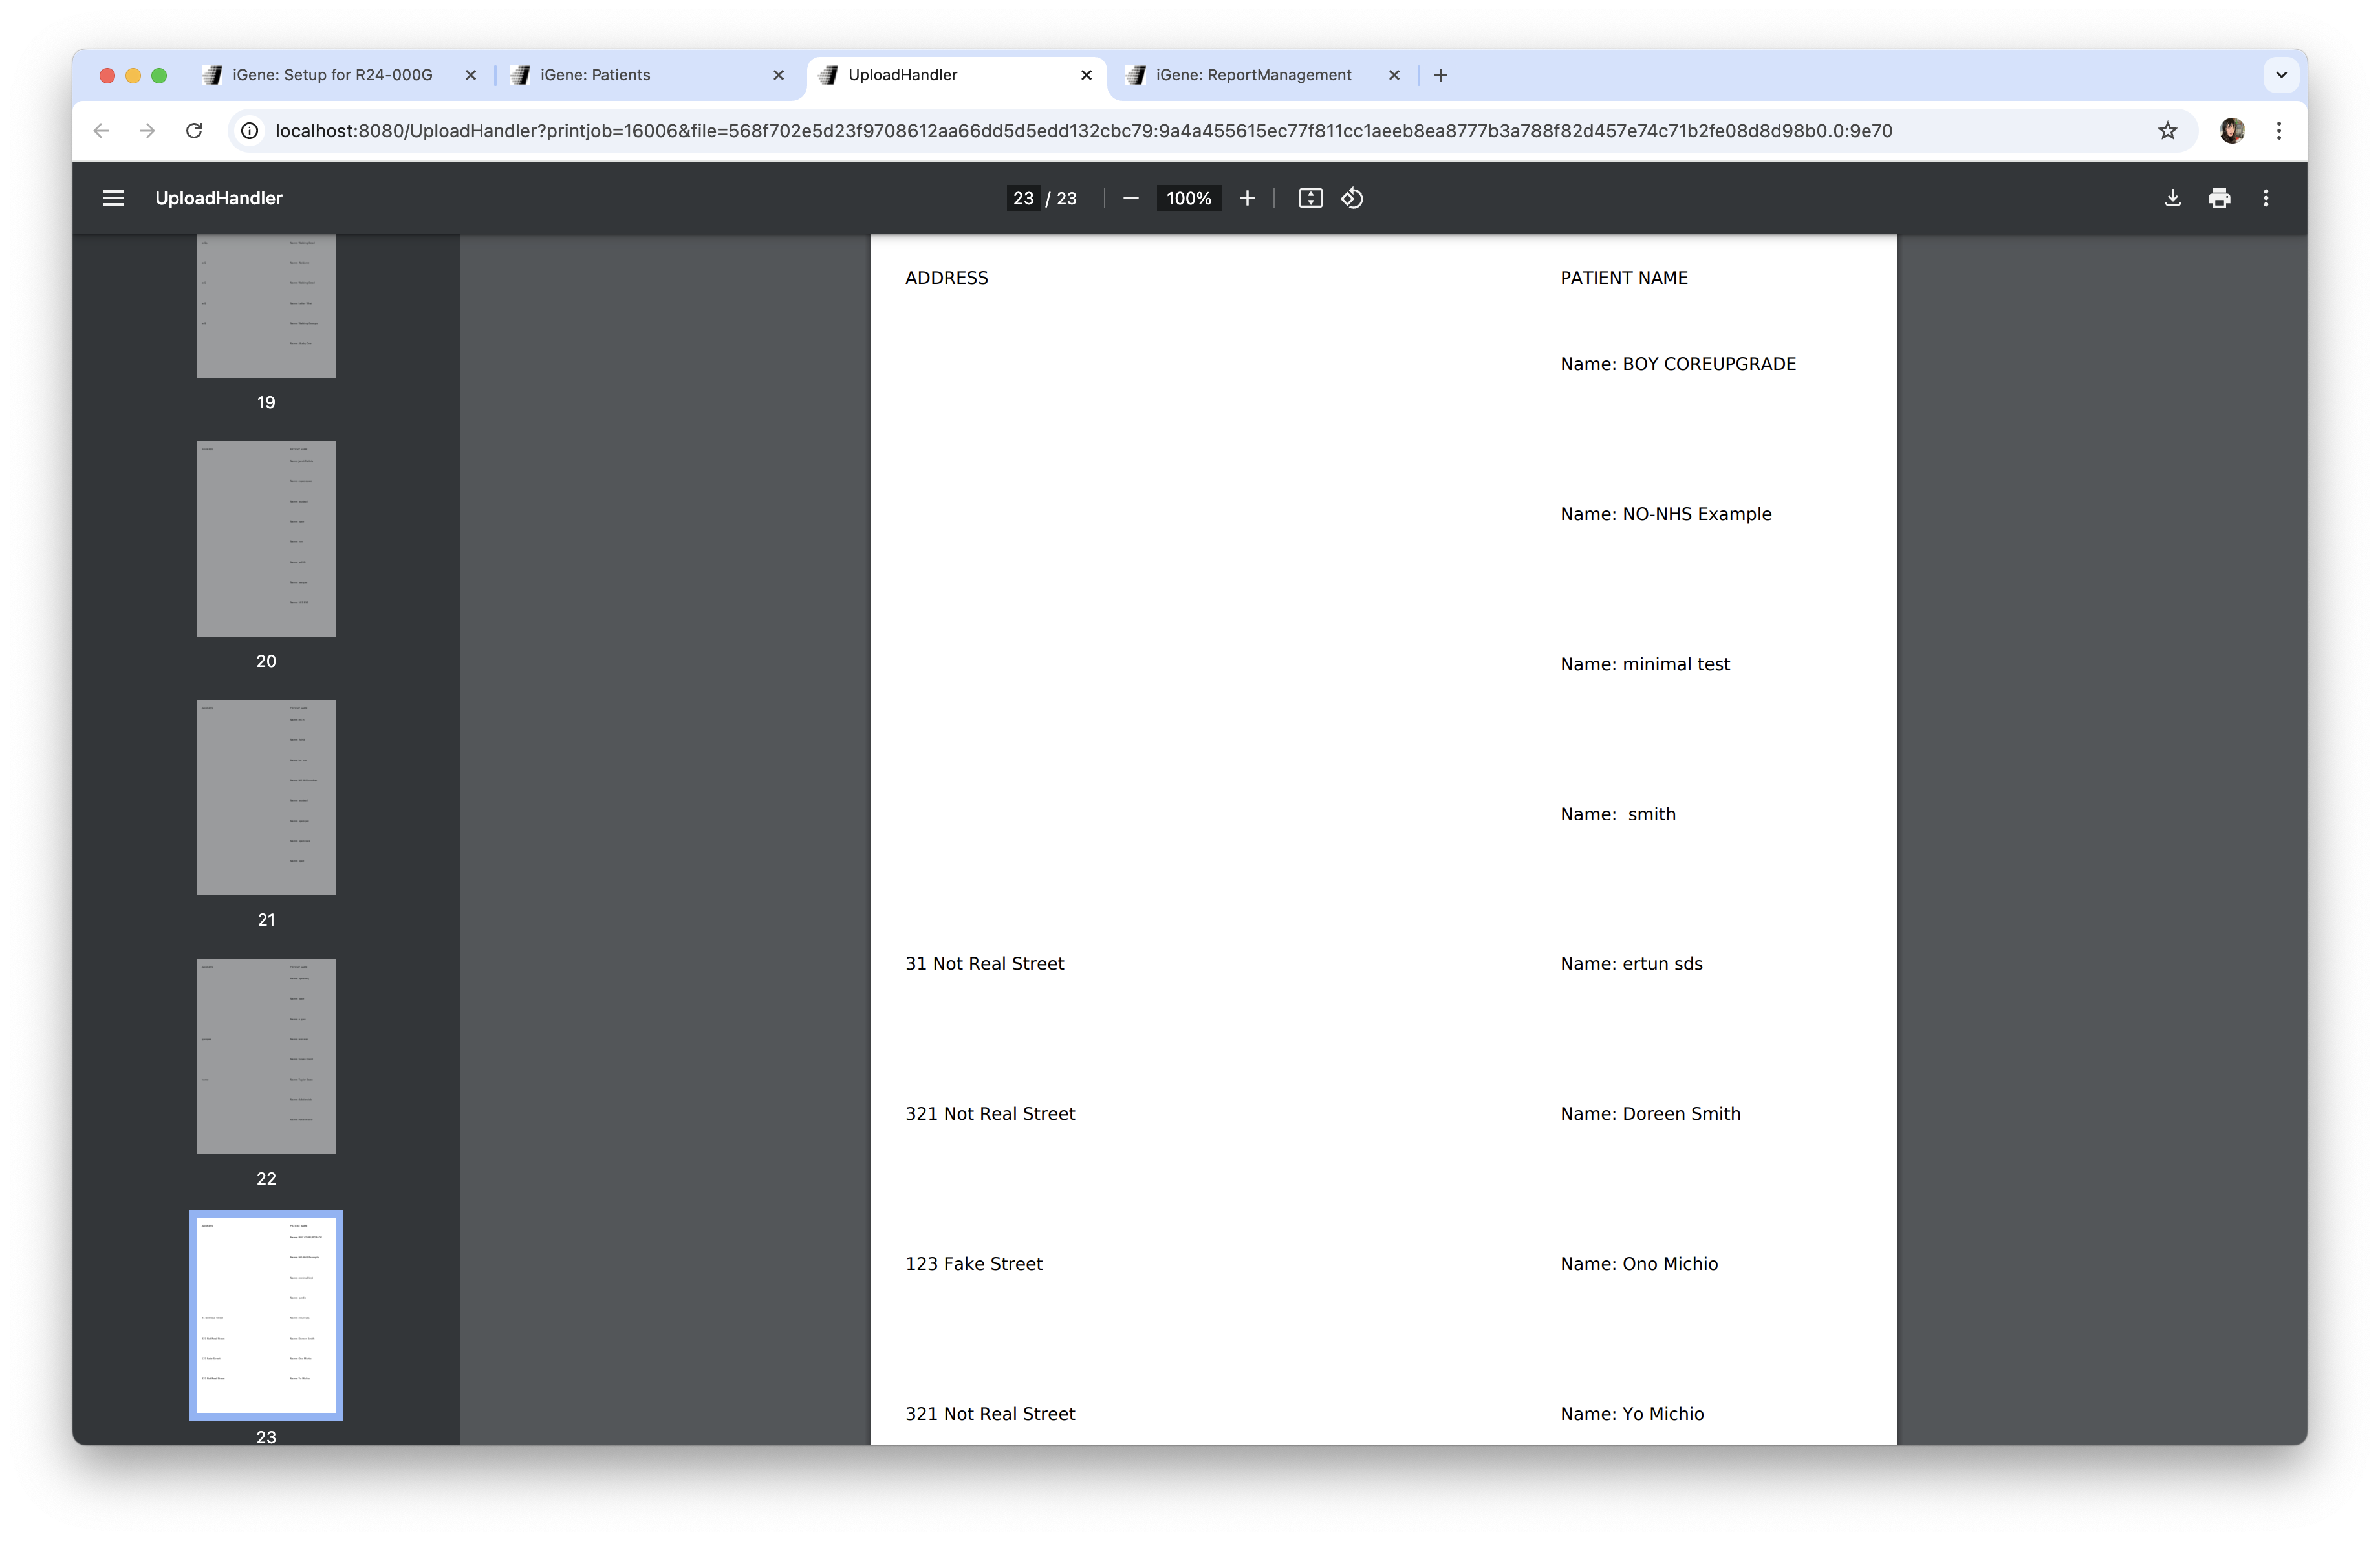
The final basic report will look like this:
This uses Static Text to dislay the text “ADDRESS” and “PATIENT NAME” in the header, and Text Fields to get the address and names of the patient. Once this is saved, we can test this by going to the patient list, clicking Print, then selecting our new report from the dropdown.
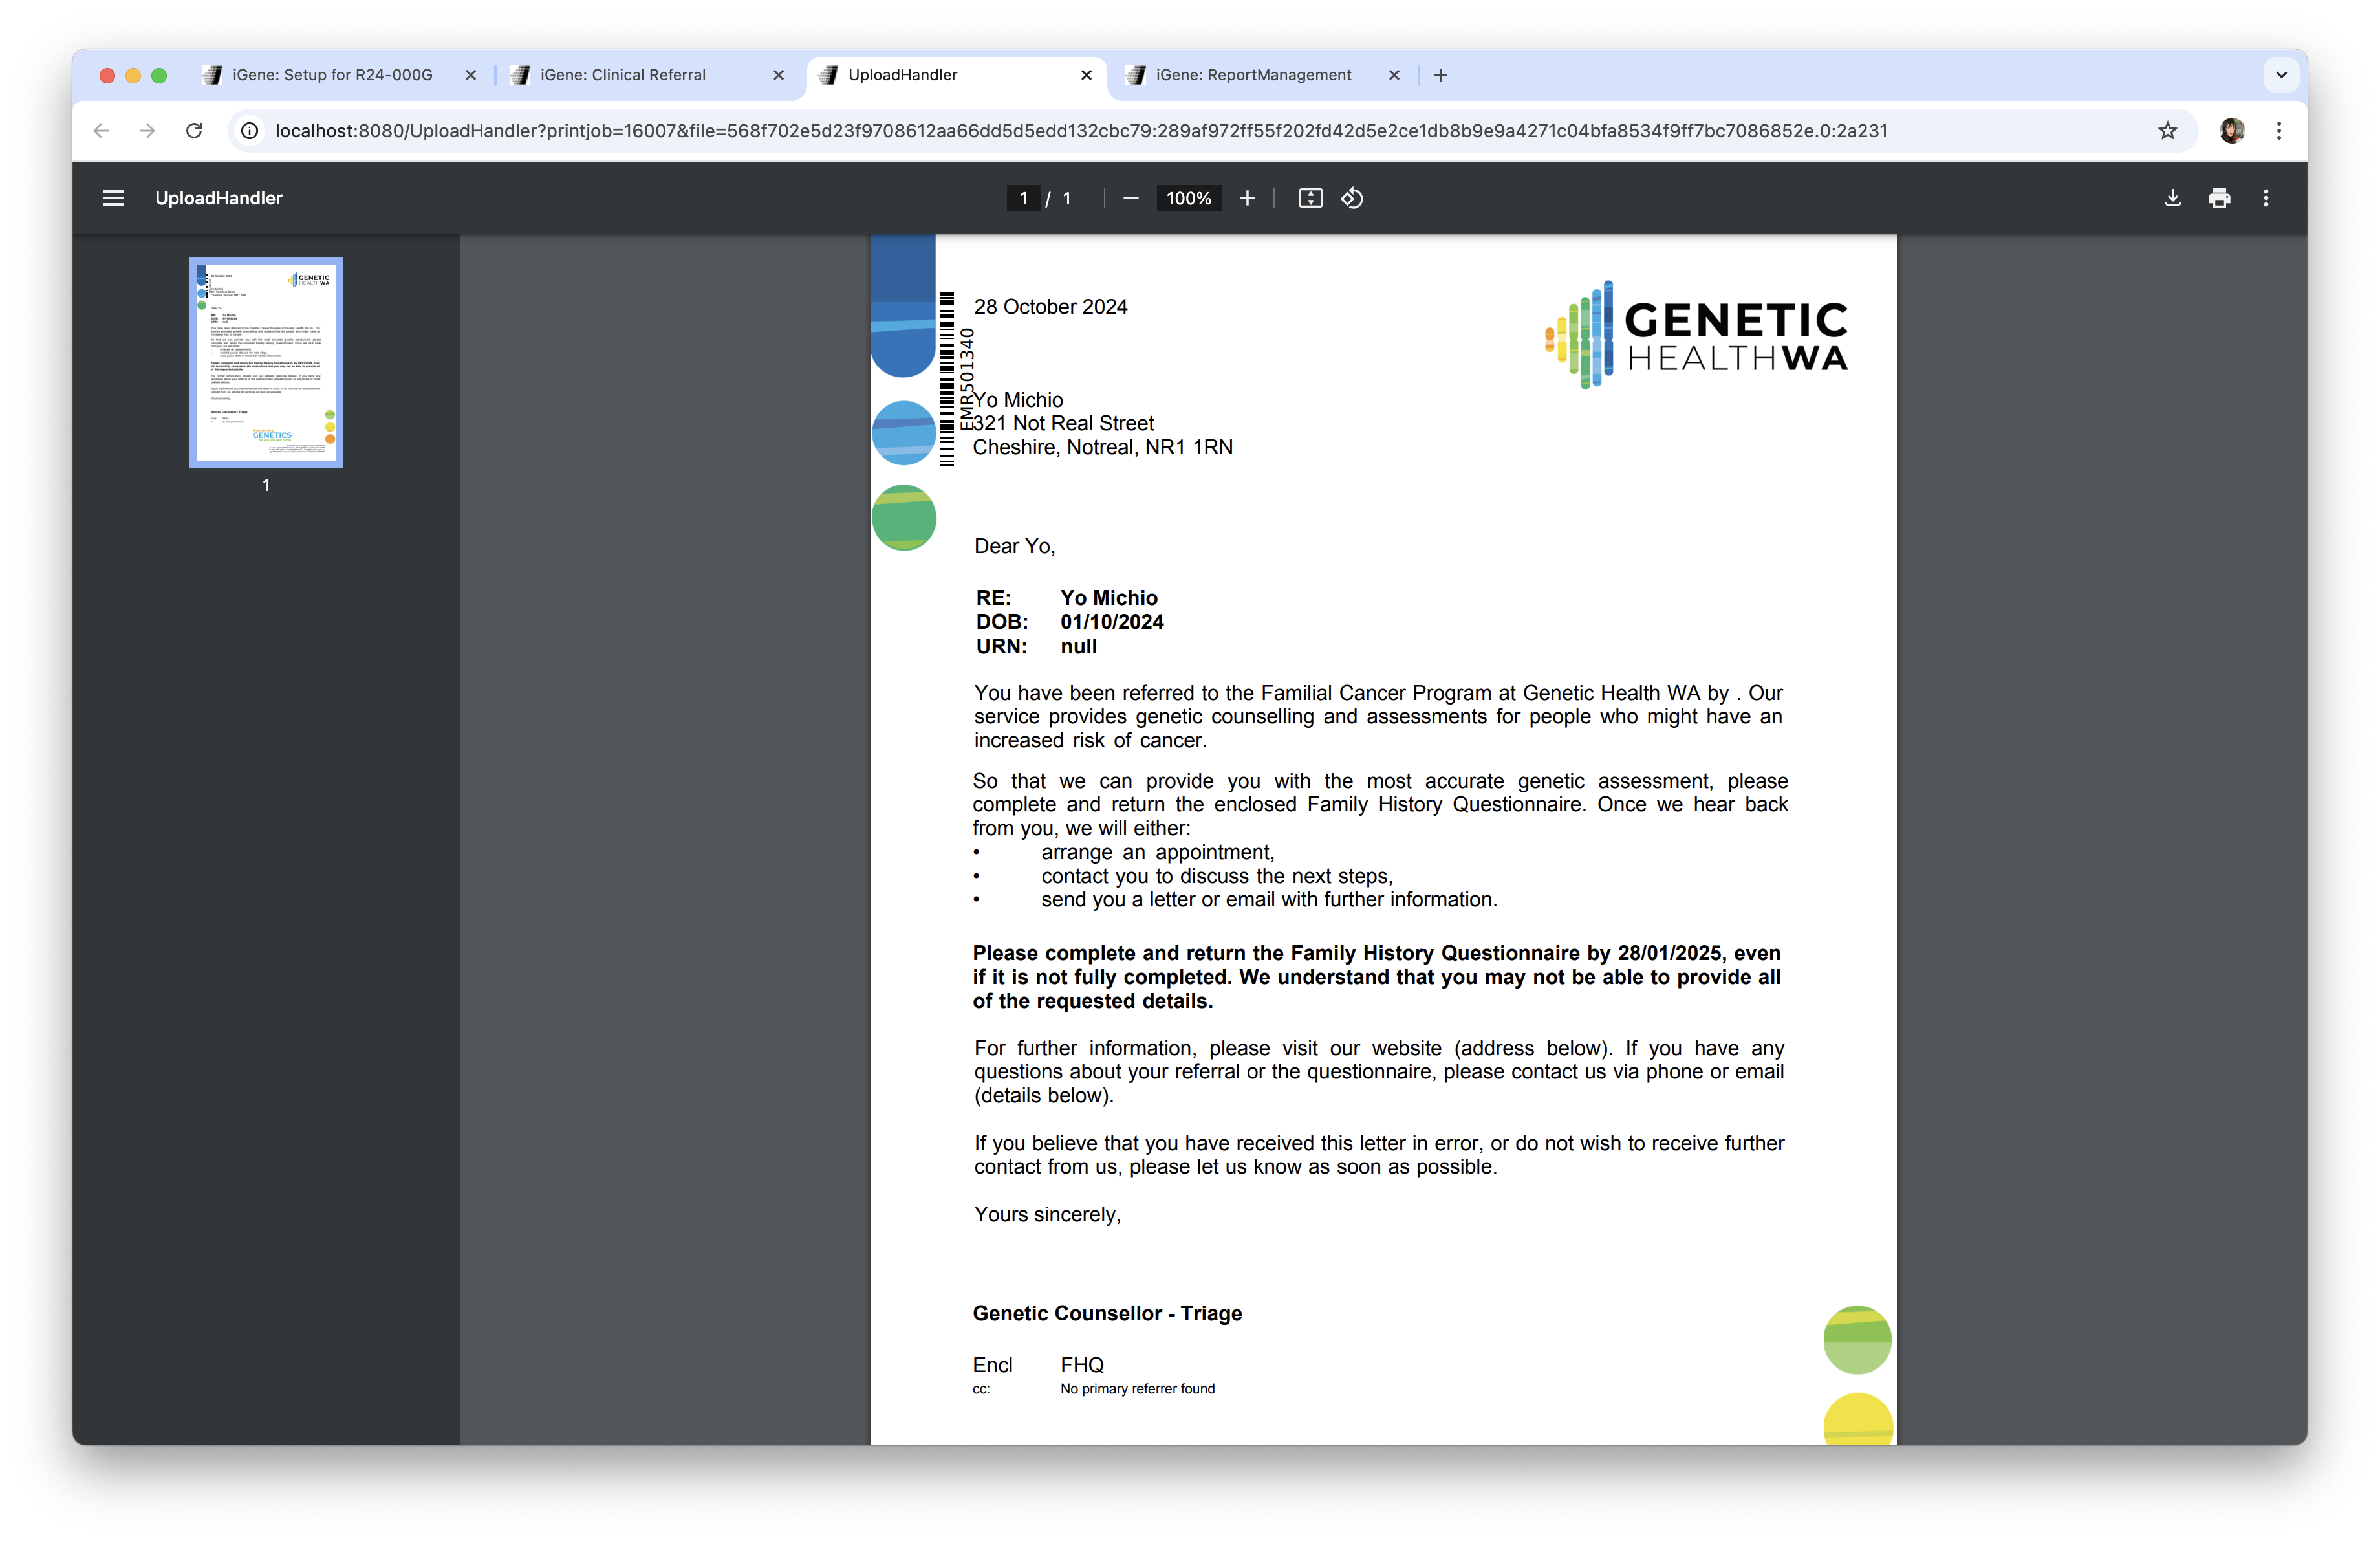
Finally, in order to demonstrate how powerful this software can be, the following is an example of a more complex report:
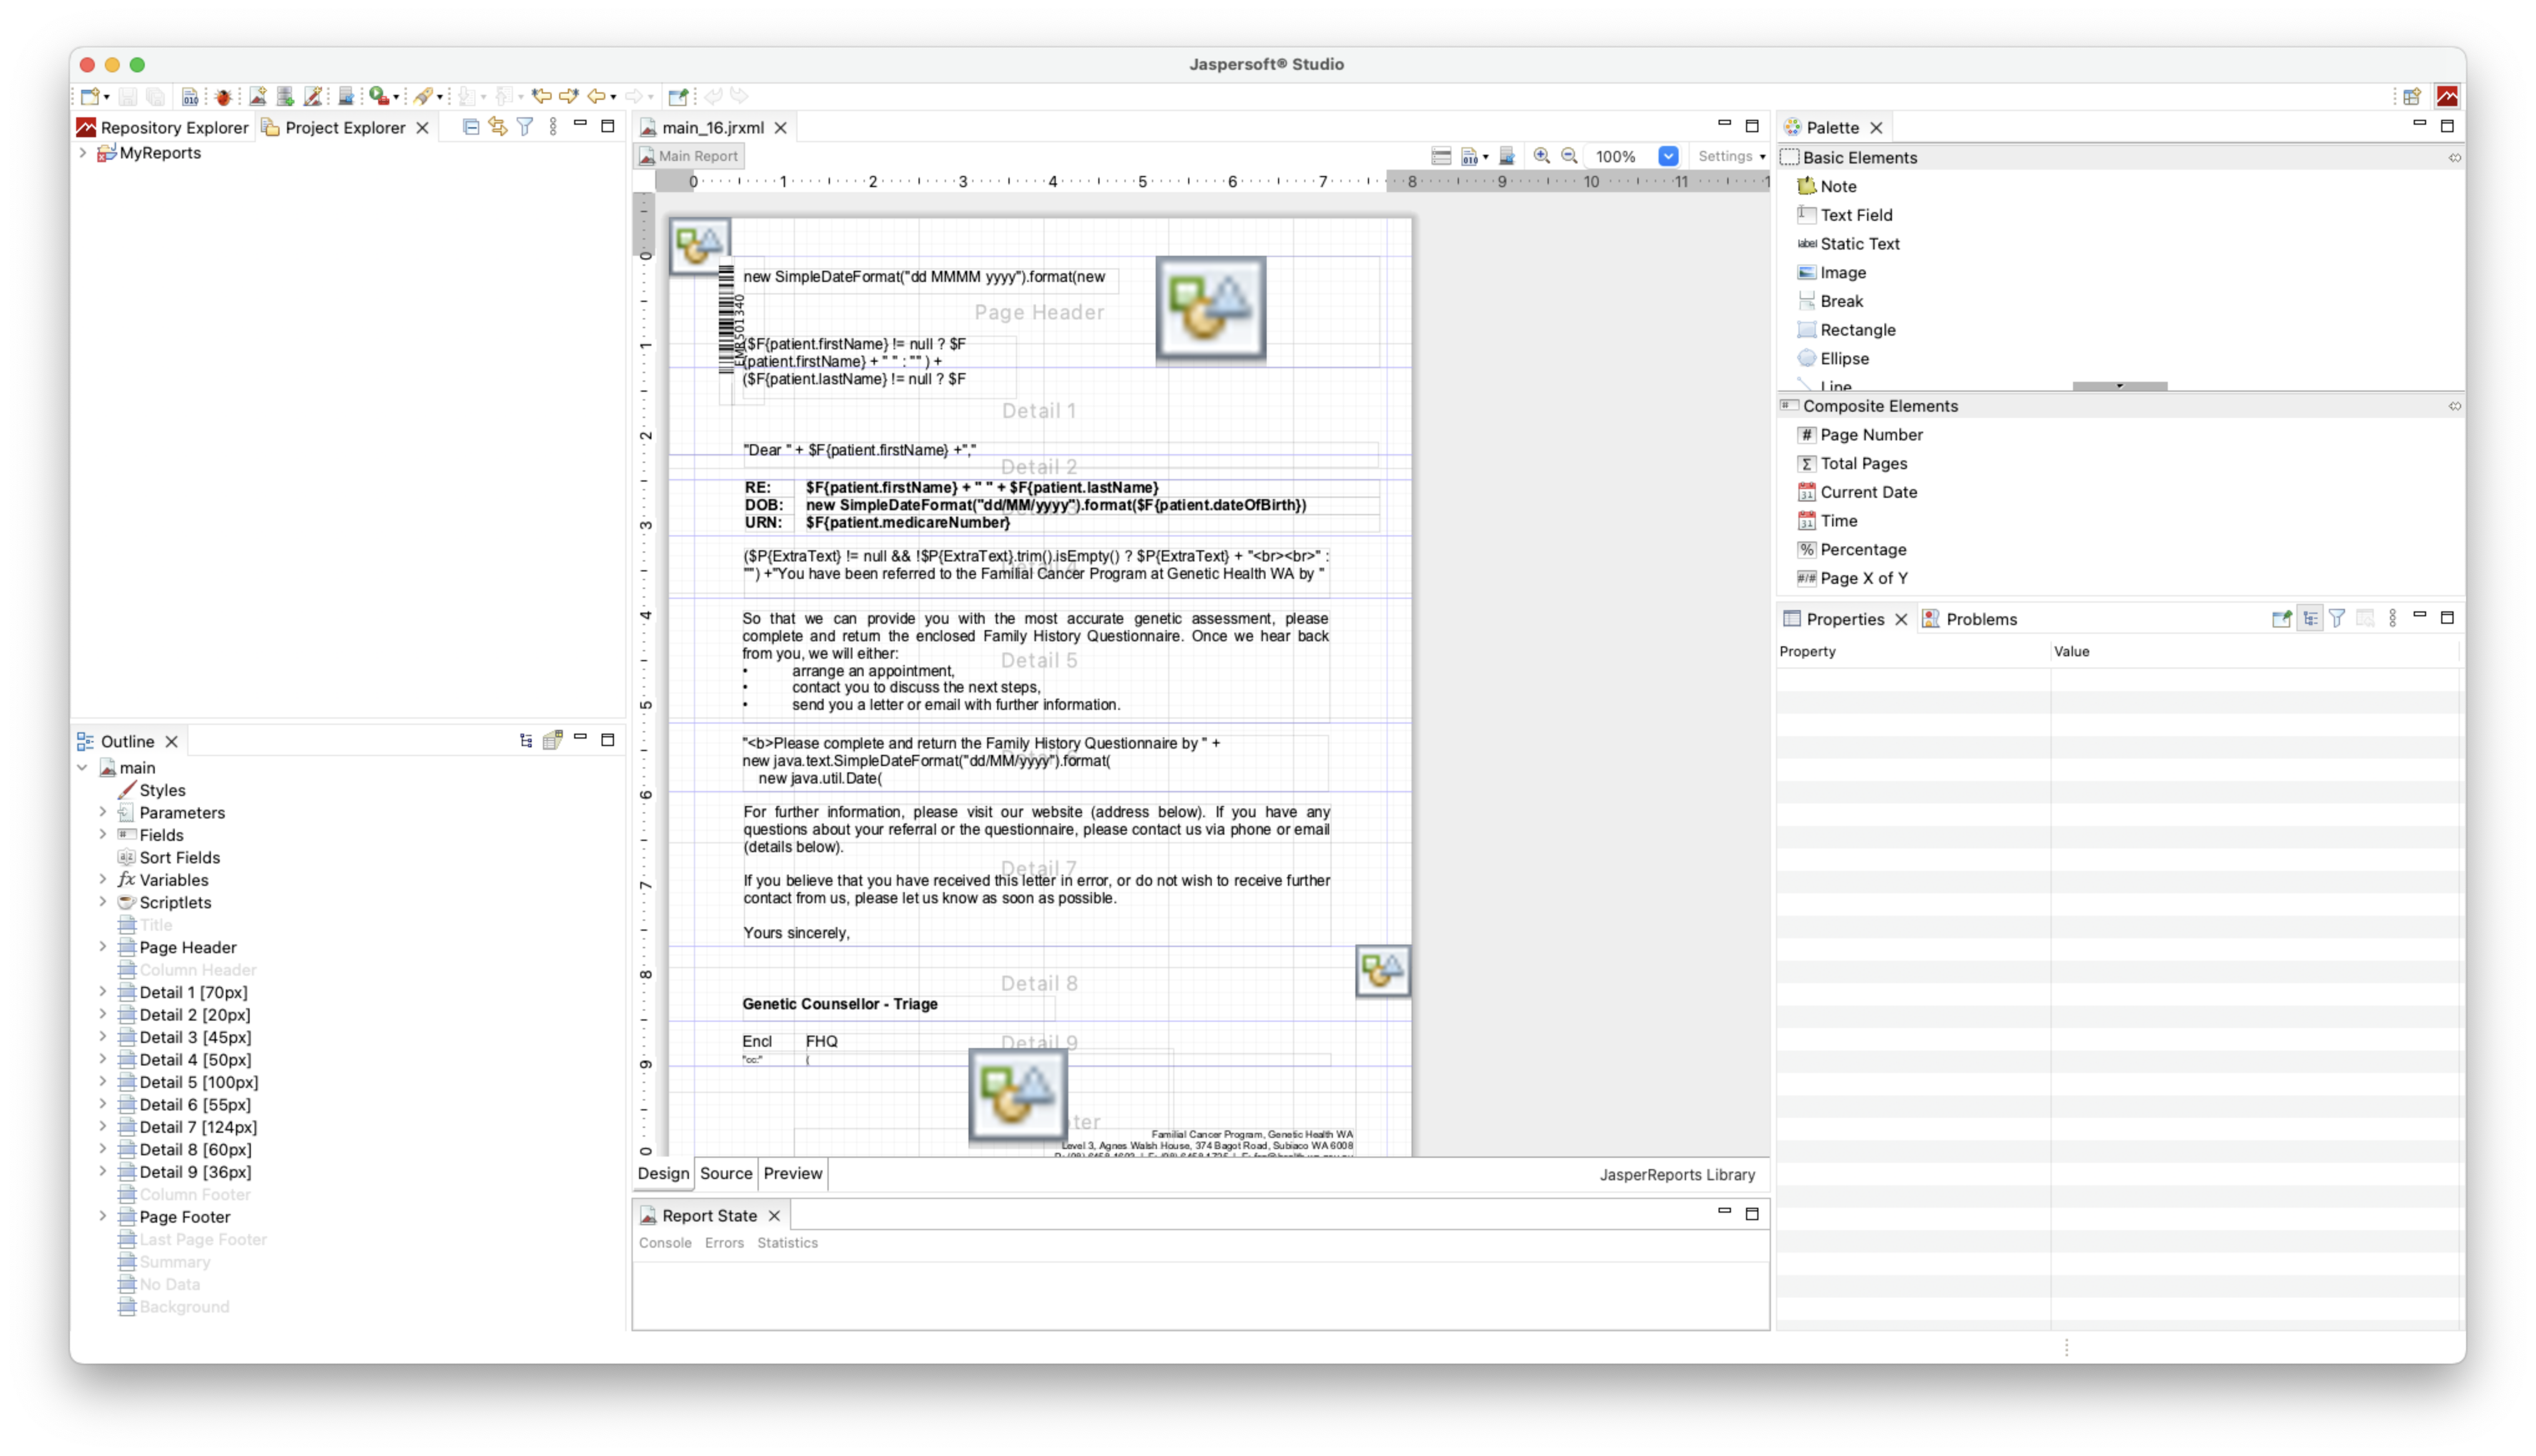
Printing this report would look like so: