Sample Type
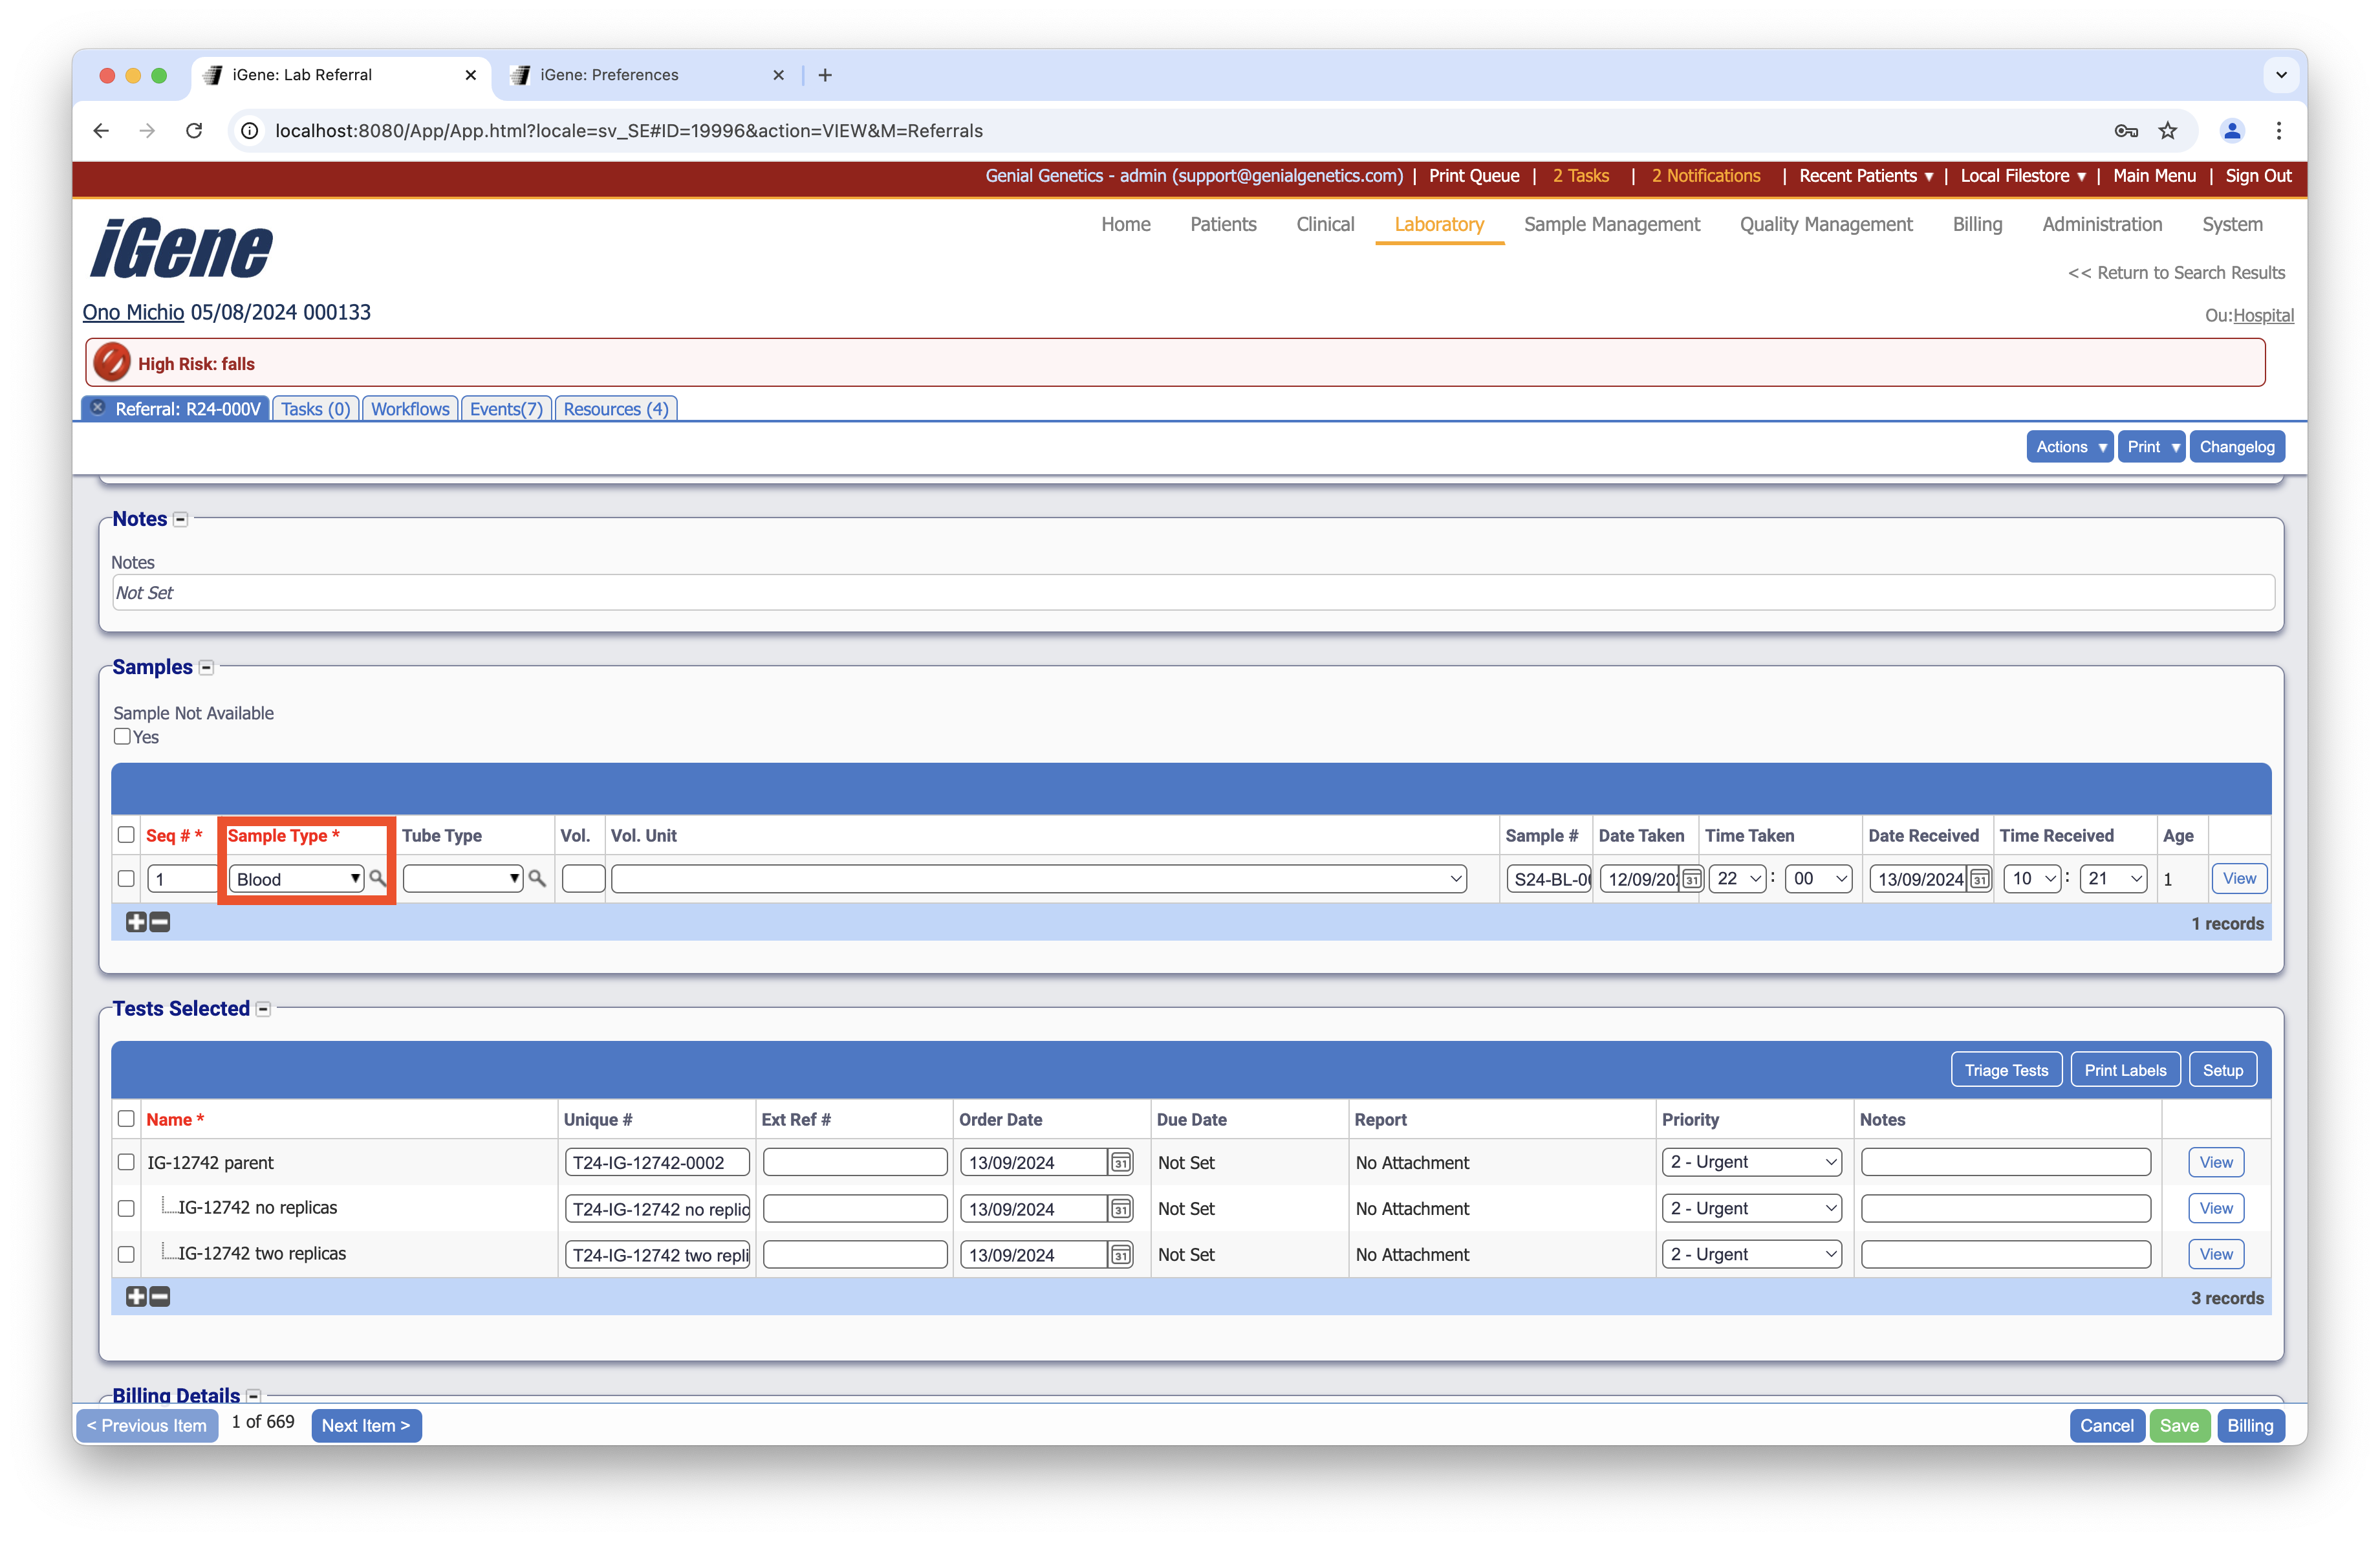
Sample types relate to the specimen which has arrived for processing, or it is a sample which is derived from another sample e.g. Blood converted to DNA via an orderable.
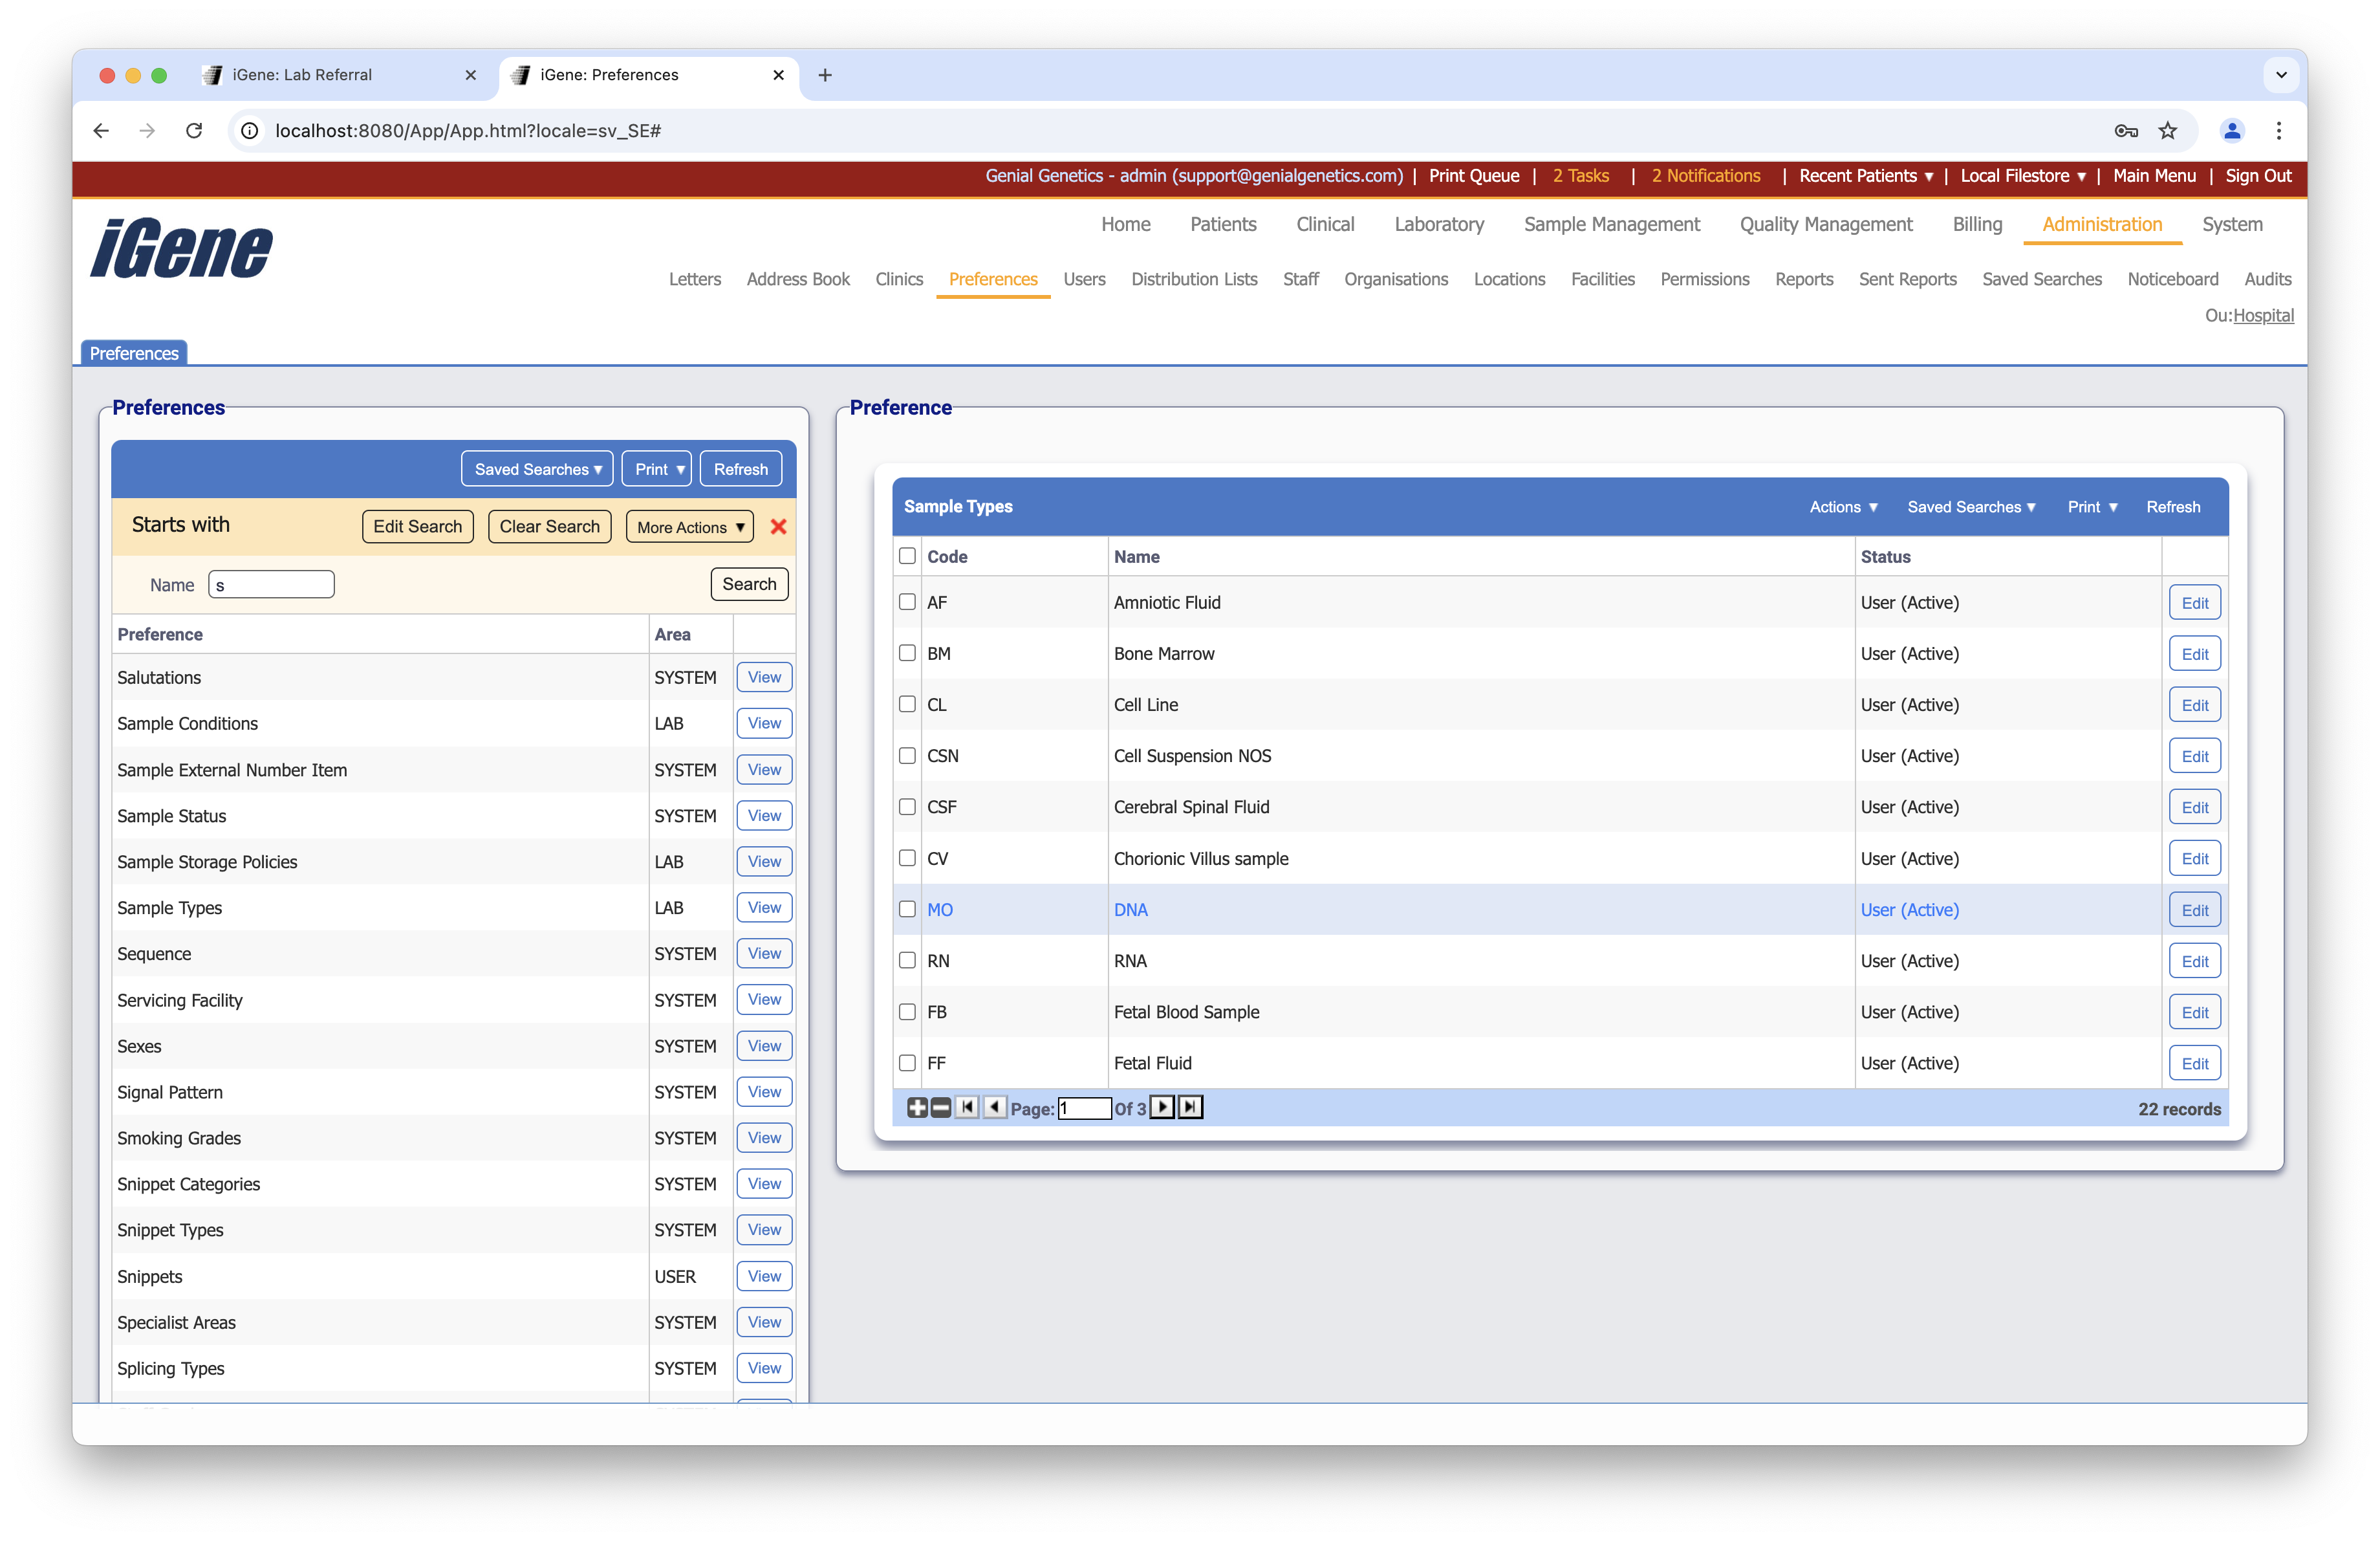
Location
Configuration
When adding or editing a sample type, users are presented with the below form to complete. Always press Save in the bottom right-hand corner of the browser after adding or editing a sample type.
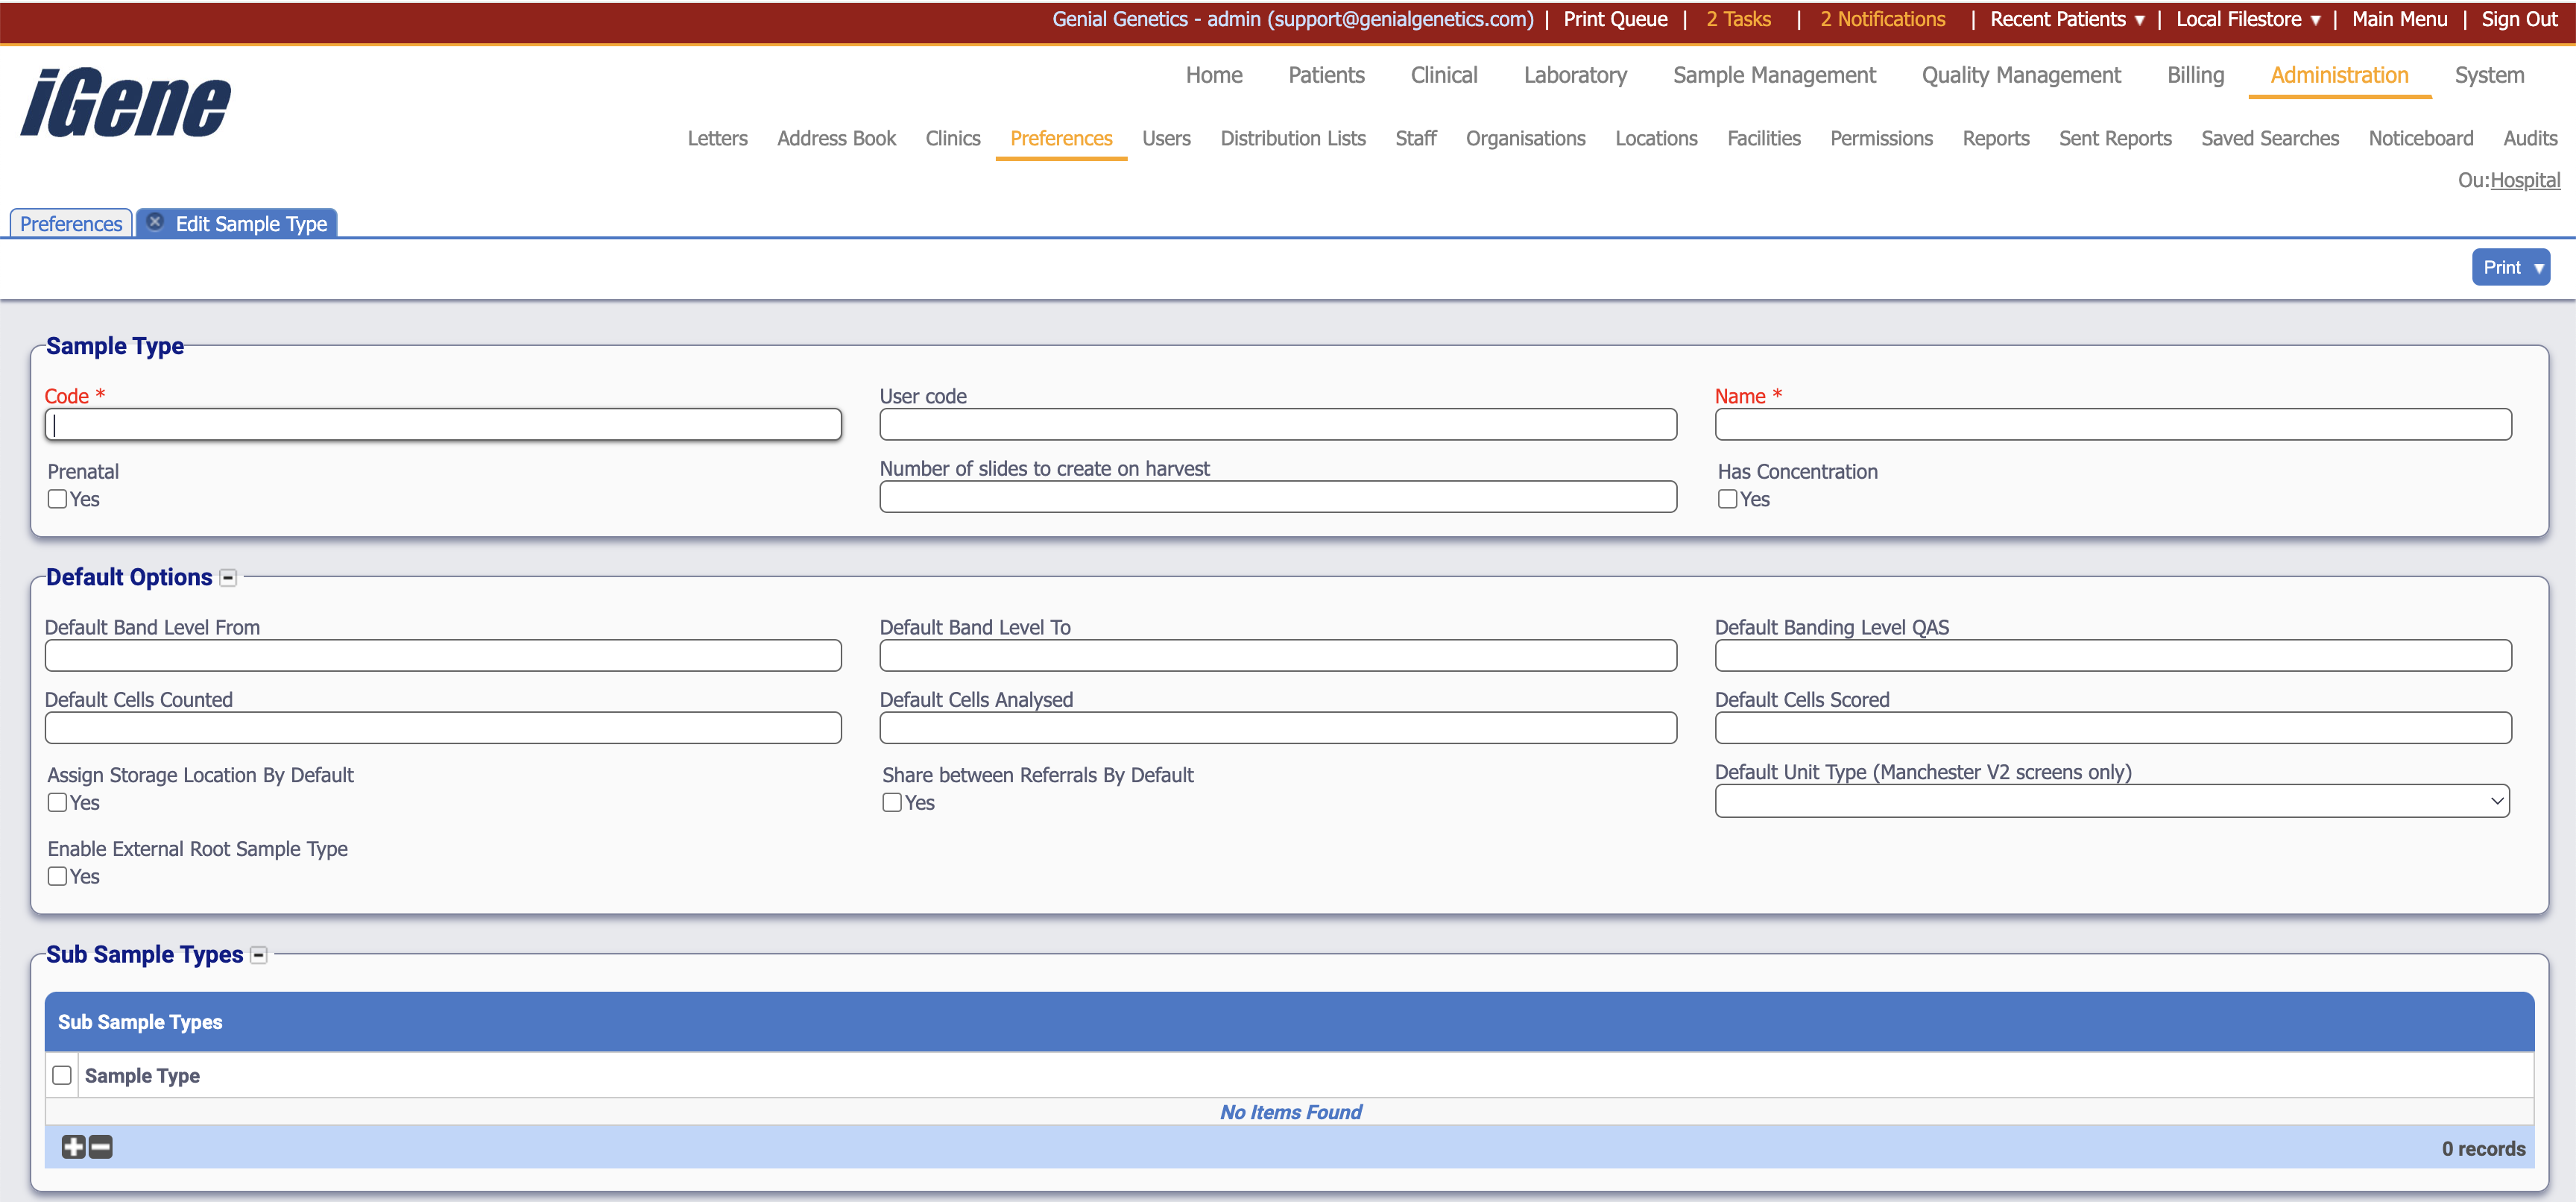
Code (Required, Unique)
The Code is a required field, and it must be unique as this is used within the database. The Code is used on many autocompletes for searching as well as the name value. This should be relevant to laboratory staff.
User Code
Assign a User Code which the site wishes to use. This does not need to be unique like the code value. Typically, this is an internal code or a historic code from a legacy system or can be used in number generation. For example, Blood could have the user code of ‘BL’ and the numbers generated may be ‘17BL232’ where the ‘BL’ comes from the user code.
Name (Required)
A sample type must have a Name. The Name can be any value the user requires. It does not need to be unique, but it is advisable.
Prenatal
The Prenatal checkbox is used to identify if a sample is for prenatal use only. Historically, this has been used for reporting to identify single sample, such as a single fetus items on a report without having to create a full pregnancy.
The prenatal checkbox option also sets the visibility of extra fields on the referral form (if they are within the provided configuration).
Number of Slides to create on harvest
When using culture workflows this field determine the number of slides to make automatically. More can be generated but it will give a base amount of slides to start with.
Has Concentration
Typically used for DNA items. Enabling this allows concentrations to be stored against the sample type. It will also allow the user to specify a calculation based on the additional options which are displayed. On checking, more options are revealed:
- Normal A260/280 Low -> This does not perform any function.
- Normal A260/280 High -> This does not perform any function.
- Concentration Conversion Factor µg/ml -> This is the conversion factor for the concentration calculation used for an OD260 calculation (see Concentration Calculation below).
- Default Path Length mm -> This is the default path length in mm or the concentration.
- Concentration Calculation (Default) (Read Only) -> This is the calculation which is performed on the sample type when it has a concentration. It is a combination of the ‘Concentration Conversion Factor’ field and the ‘Default Path Length’ field. The calculation looks like:
OD260 x (10/<Default Path Length mm Field Value>) x <concentration conversion factor> µg/ml = yield µg/ml
To hide these options, uncheck the ‘Has Concentration’ check box.
Note: Hiding the items using the checkbox does not disable the functionality. If the user wishes to disable the functionality, the options will need to be manually cleared before pressing save or unchecking the check box.
Default Band Level From
Used for chromosome analysis, this field will set a default banding level from value in the chromosome analysis result.
Default Band Level To
Used for chromosome analysis, this field will set a default banding level to value in the chromosome analysis result.
Default Banding Level QAS
Used for chromosome analysis, this field will set a default banding level QAS value in the chromosome analysis result.
Default Cells Counted
Used for chromosome analysis, this field will set a default number of cells counted in the chromosome analysis result.
Default Cells Analysed
Used for chromosome analysis, this field will set a default number of cells analysed in the chromosome analysis result.
Default Cells Scored
Used for chromosome analysis, this field will set a default number of cells scored in the chromosome analysis result.
Assign Storage Location By Default
Checking this option will automatically assign a storage location to the sample when it is booked in on a referral. The location can be changed after it has been set to somewhere else.
Default Storage Location
Each sample type can have a specific storage location. If there is a specific fridge which the laboratory staff always place this specific sample type in, iGene can automatically set this, provided that the Assign Storage Location By Default option is checked. Storage locations are setup in the preference Storage Locations.
Share Between Referrals By Default
It is possible to share a sample between referrals. This is particularly useful if you are doing family testing for a known mutation, or when using banked samples, particularly DNA samples, which can be used to verify mutations. Checking this box will mean that any samples which are given a sample type that has Share Between Referrals By Default checked will be allowed to be shared between referrals.
Sub Sample Types
A sample can have sub sample types. Typically, these allow granular control of the samples. As an example, the user might book a tissue sample type in and the user may specify that the sub sample type is lung or skin. It can also be used to define cell lines such as B-Cells, T-Cells and Myeloid used in leukemia testing.
In order to add items to this table, the Sub Sample Types option must be populated within the preference area. On clicking the add button, a drop down list will appear in the table where the user can select which sub sample types they would like to associate with the current sample type.
To add multiple Sub Sample Types, use the plus button again or, whilst on a selected sub sample type row in the table, press SHIFT and ENTER and a new row will be added.
For more detailed instructions see Assigning Sub Sample Types.